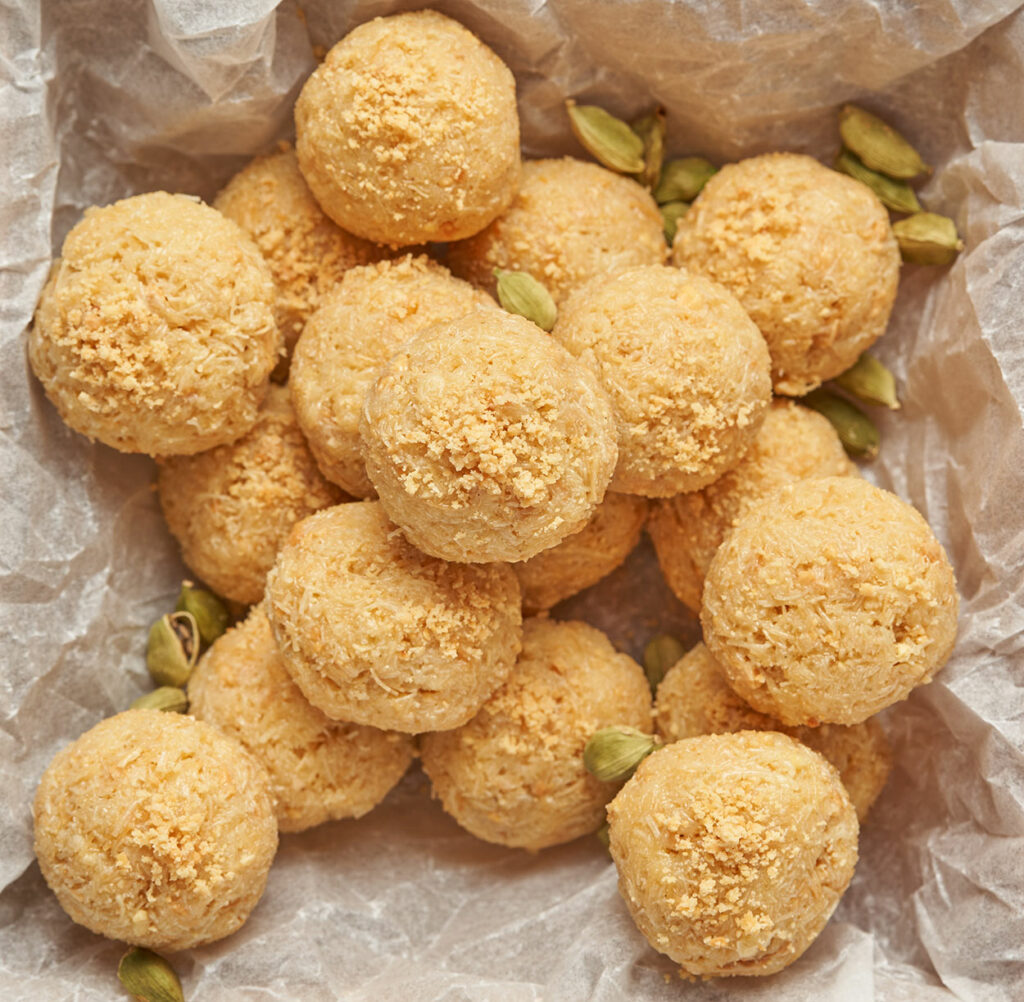
These Cardamom Kunafa Balls with Roasted Almonds are a dessert that we always used to have at our house when we had people over. It was reserved strictly for guests (no idea why), but my siblings and I would sneak into the kitchen, stuff one into our mouth, grab whatever we could in our hands, and make a run for it. They are super easy to make and taste amazing. Crunchy toasted kunafa, fragrant cardamom, roasted almonds, all held together with honey and condensed milk. They are on the sweeter side, so these are best served with Arabic coffee or unsweetened tea.
What you will need to make Cardamom Kunafa Balls with Roasted Almonds

How to make Cardamom Kunafa Balls with Roasted Almonds
There are 3 steps to making these.
- Toast the Kunafa Dough
- Preparing the Almonds
- Assembly
Step 1. Toast the Kuanfa Dough
The first step of these Cardamom Kunafa Balls with Roasted Almonds is toasting the kunafa dough. You can find kunafa dough in the freezer section of most supermarket. It is used in many dessert and savory preperations.
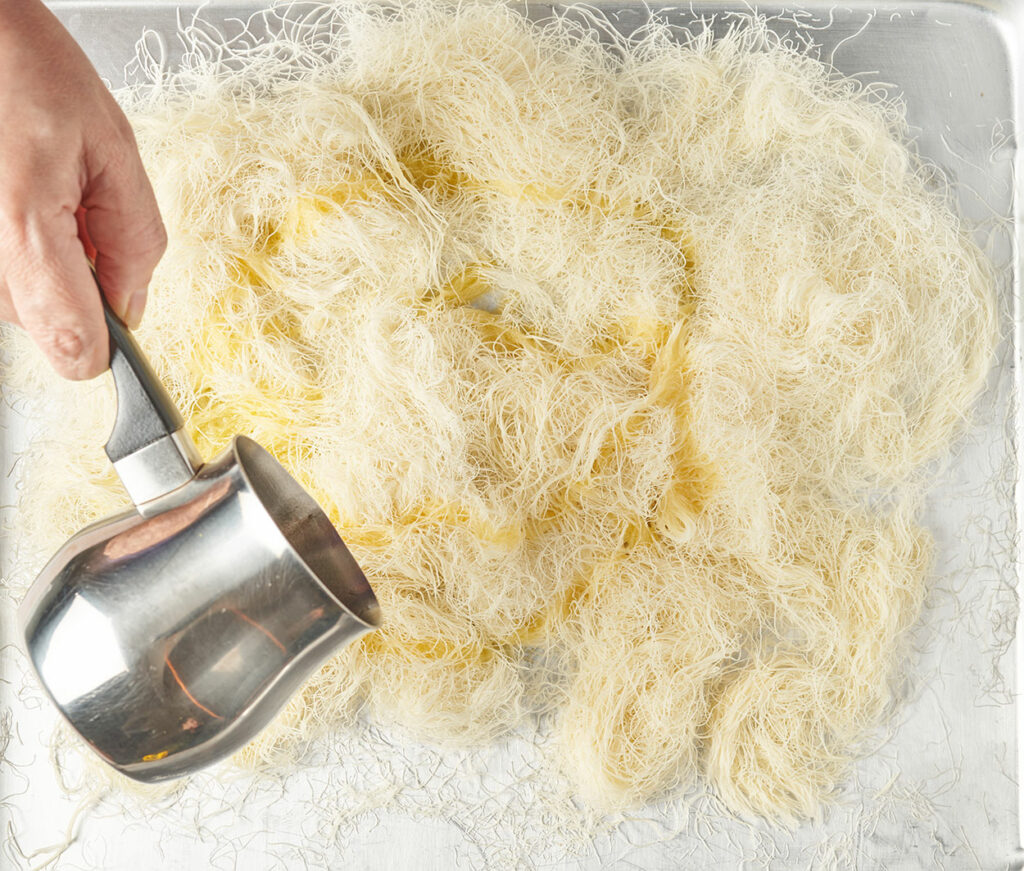
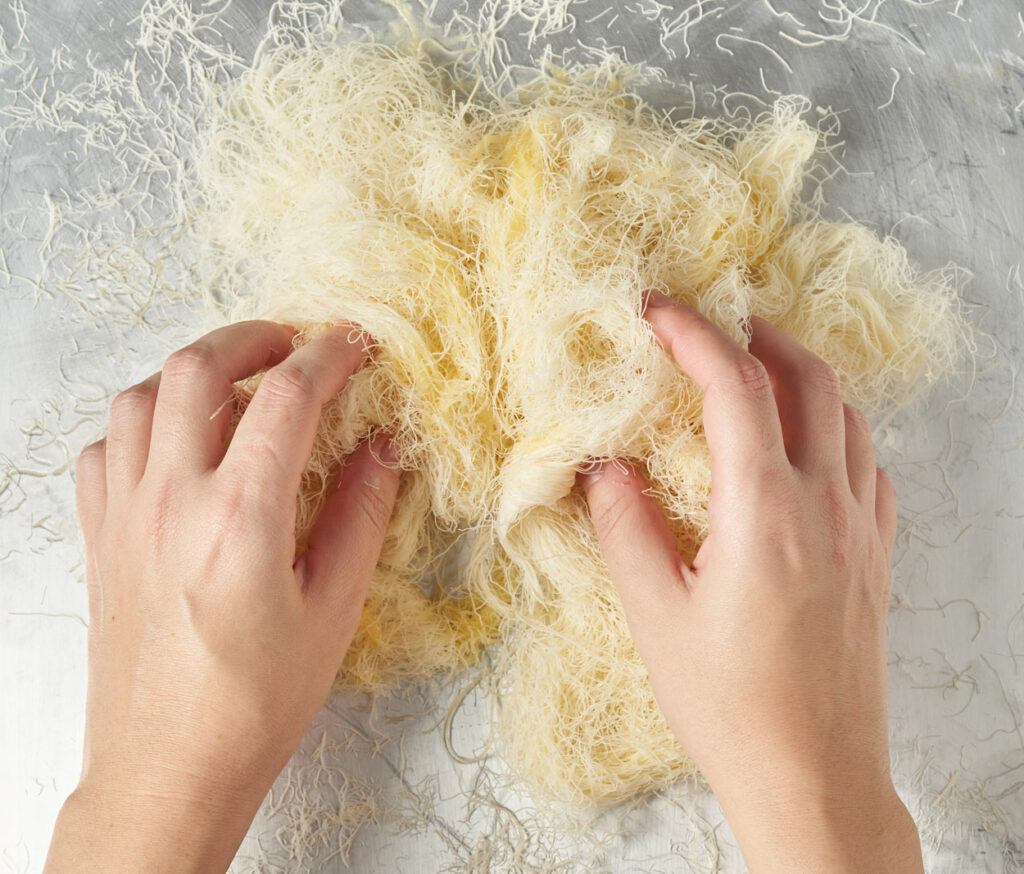
Toasting the kunafa dough is pretty easy to do, preheat your oven to its max temperature. Then mix the dough with some melted butter. You will need to massage the dough into the butter well. Take your time here and make sure the butter is distributed evenly throughout the dough.
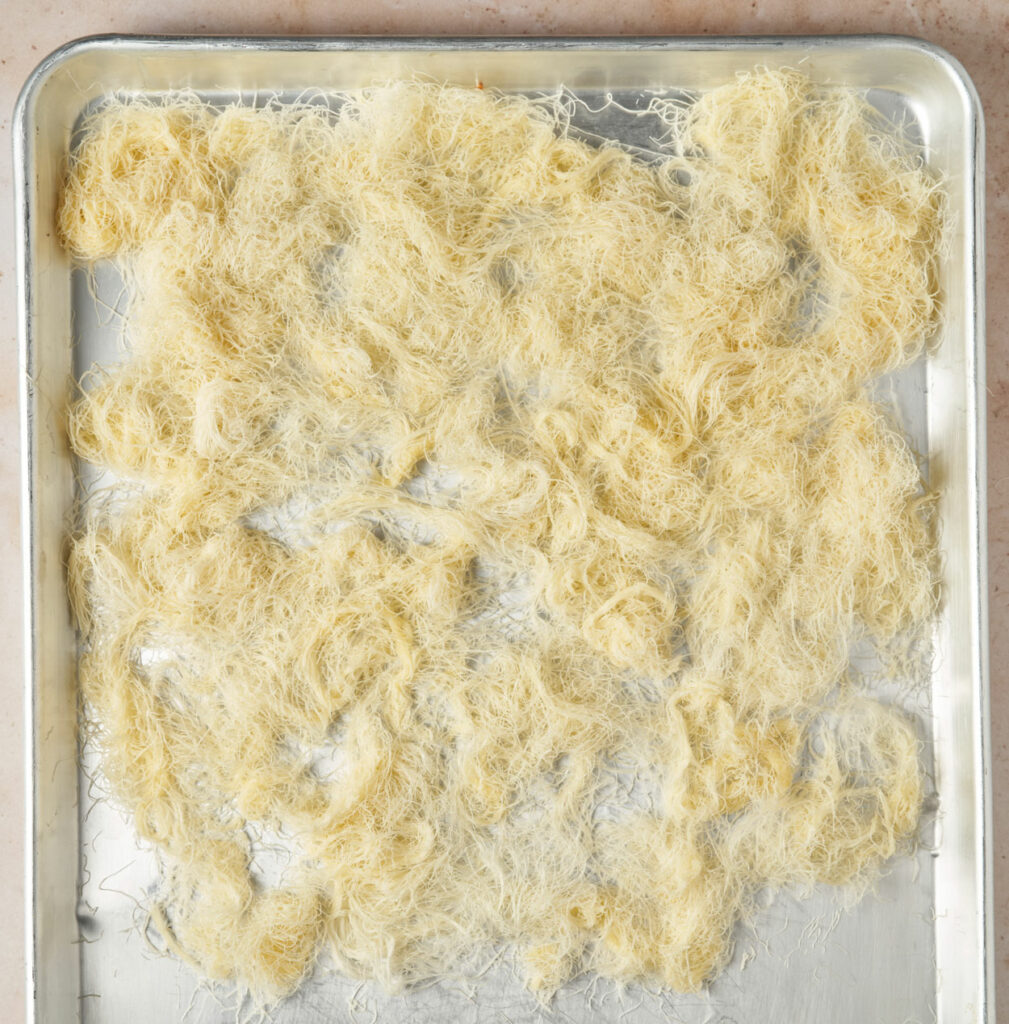
Spread it out onto your baking sheet, and pop it into your oven. Once it starts to brown, carefully open the oven and using a metal spatula toss around so that it bakes evenly. Do this at 5-minute intervals until it is all evenly toasted. Place in a bowl and set aside.
Step 2. Preparing your Almonds
We are using store-bought sliced blanched almonds for this recipe because it’s easier and faster. They do not need to be sliced, you can also use them whole. If you do not have blanched almonds in your pantry, feel free to blanch, peel, and dry raw almonds.
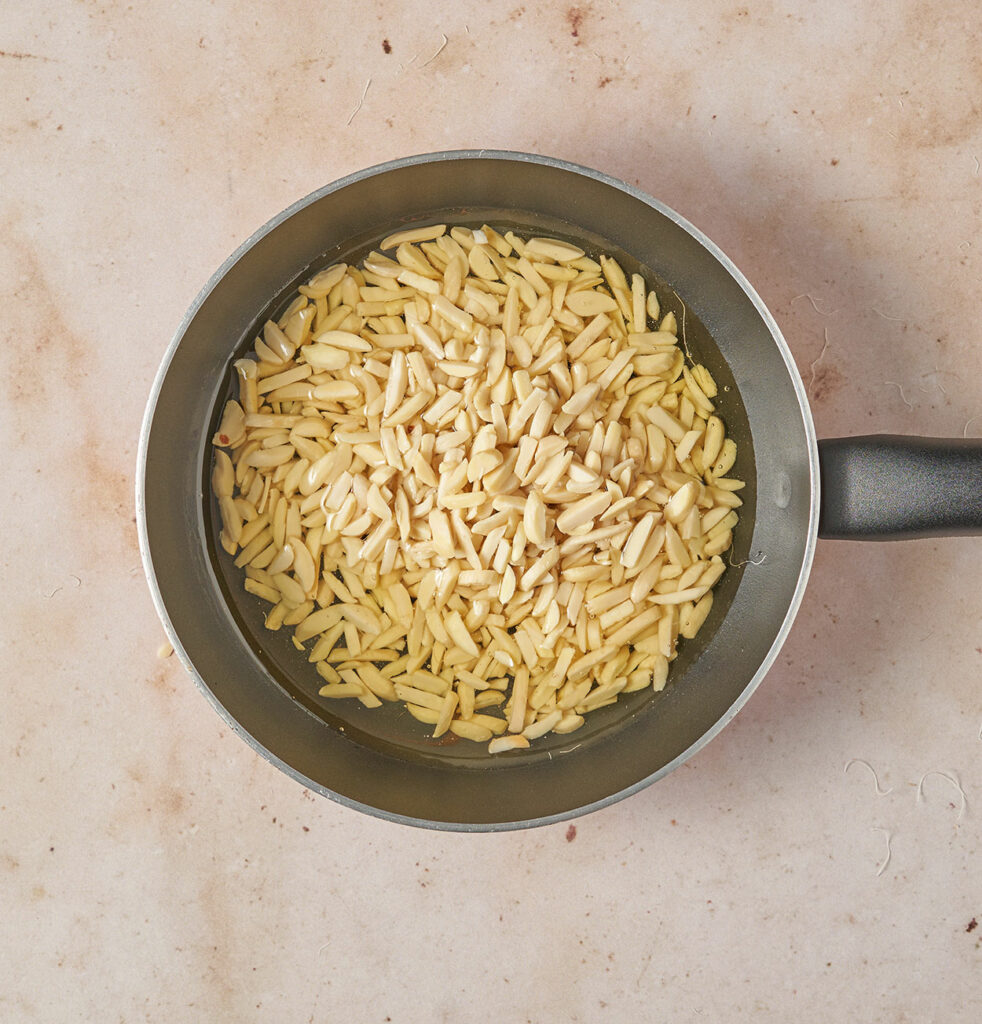
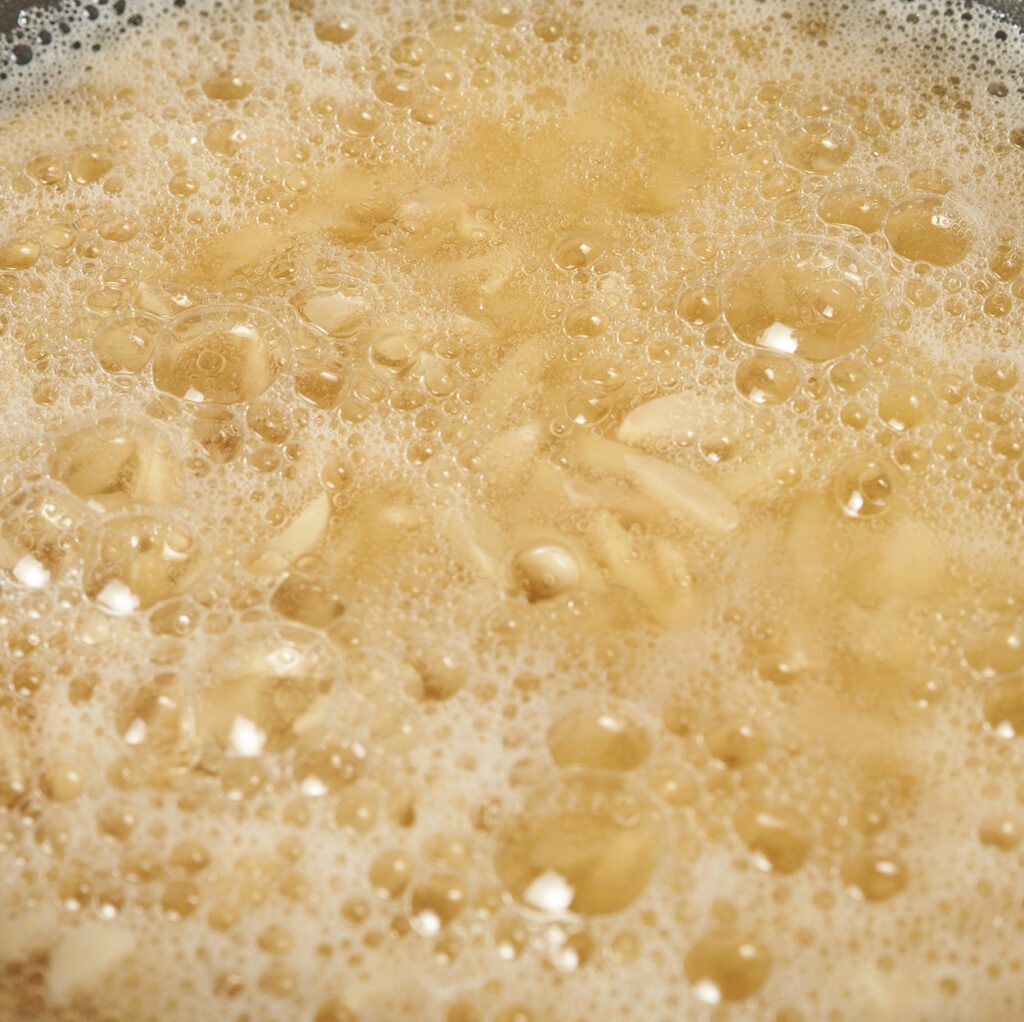
Fill a small saucepan with a neutral oil (we used canola). Add in your blanched almonds (adding them off the heat is a trick we learned that prevents them from browning too fast and burning.
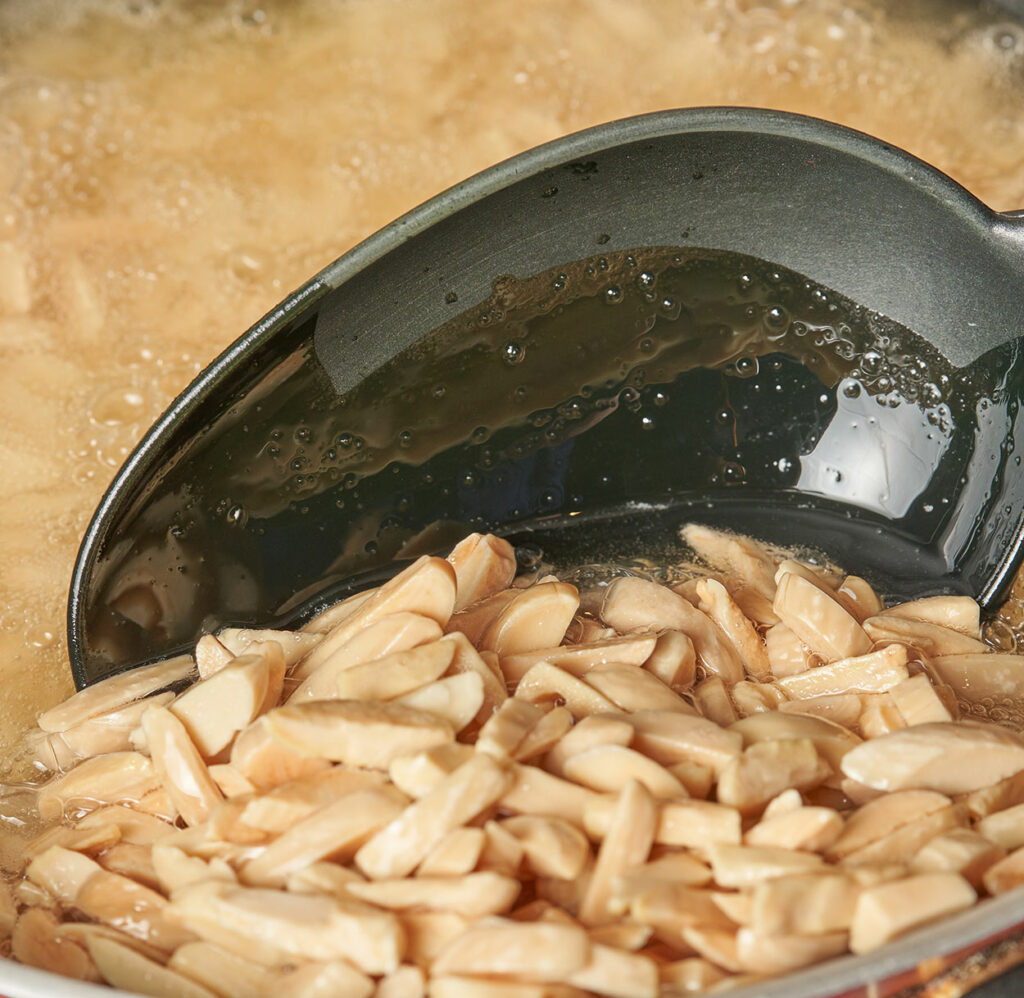
Place the saucepan onto medium heat and fry until very light brown (do not take it past light brown as it will continue to cook outside of the oil.)
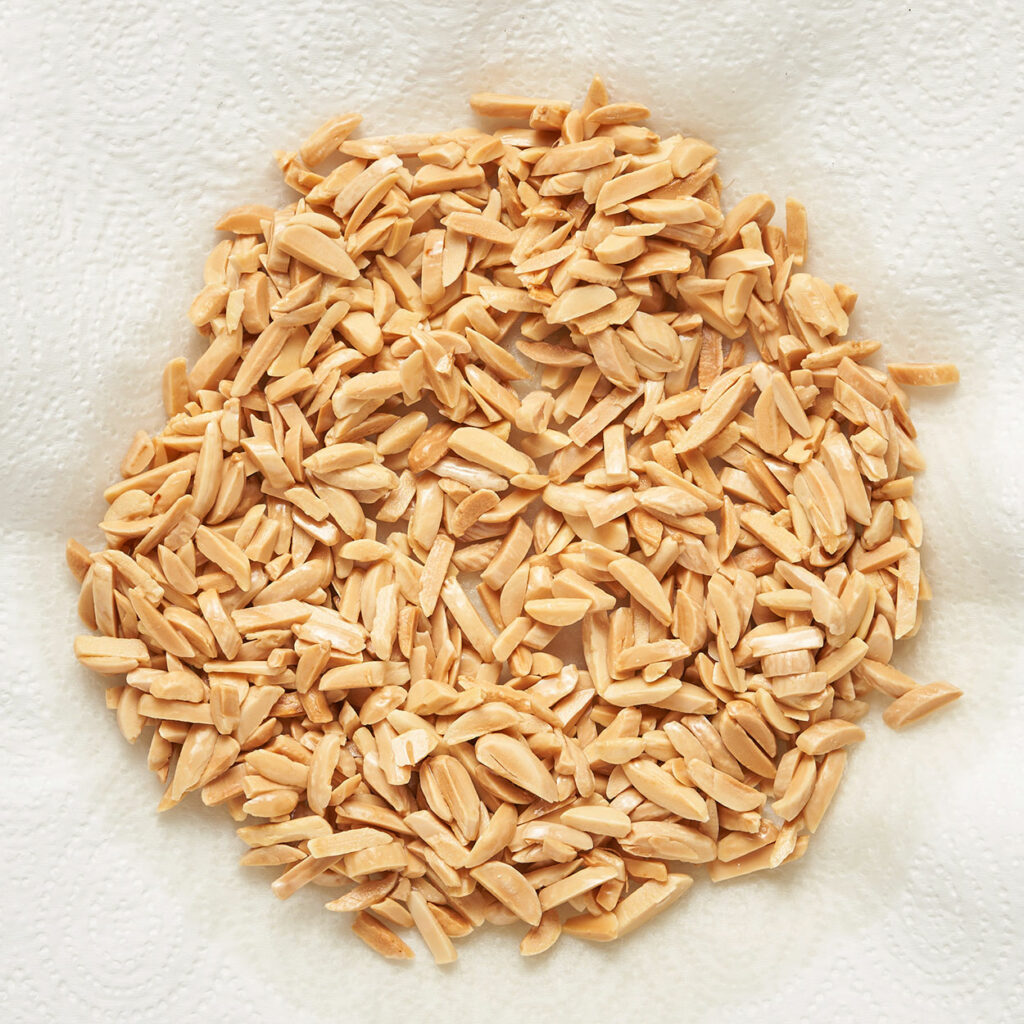
Using a slotted spoon remove almonds and place onto a plate lined with kitchen roll.
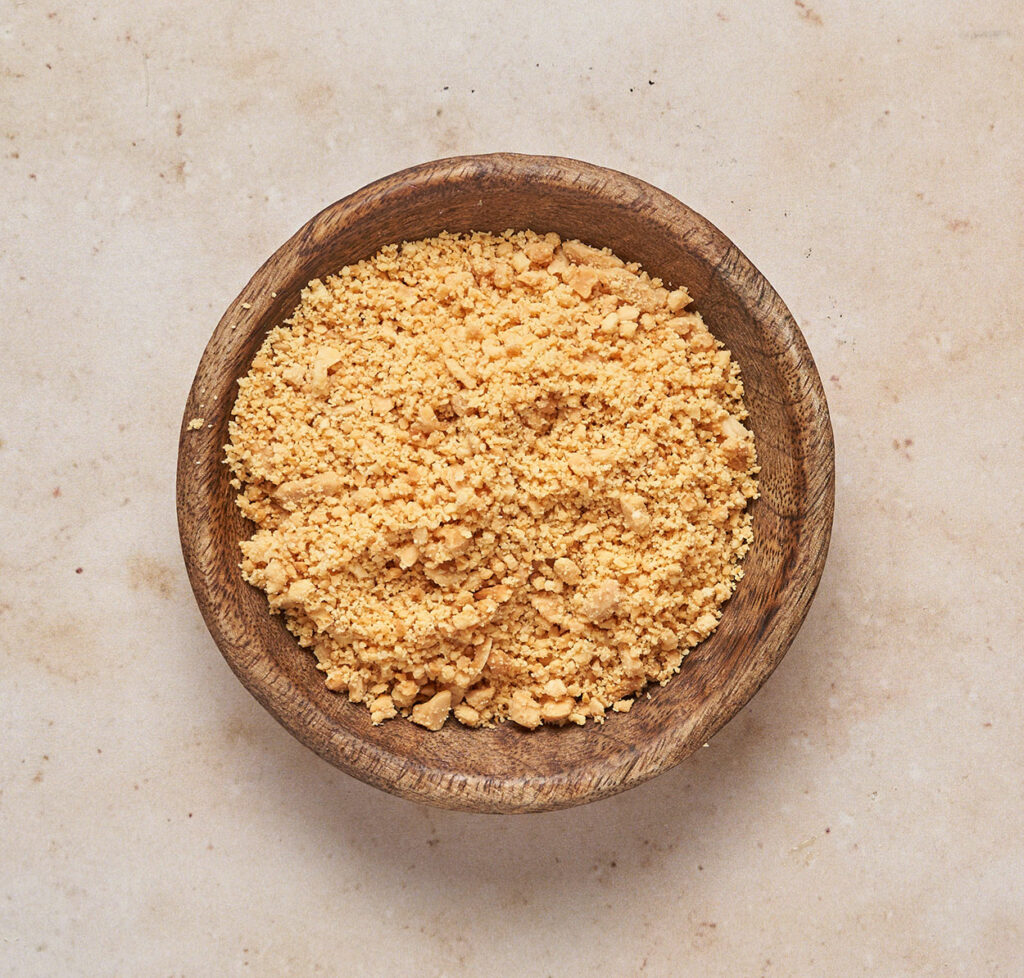
Once slightly cooled place into a grinder and pulse to a semi-fine texture. Set aside.
How to Blanch Raw Almonds
Bring a pot of water to a boil, carefully slide your almonds in and boil for just 1 minute. Then remove from heat and drain into a colander. Peel the almonds while they are still warm. Leave them to dry on a baking sheet lined with a towel for a day. Then they are ready to use. If you want to use them right away you will need to dry them out faster. Place in a preheated oven set to 100C for about 10 minutes or until they feel completely dry.
Step 3. Assembly
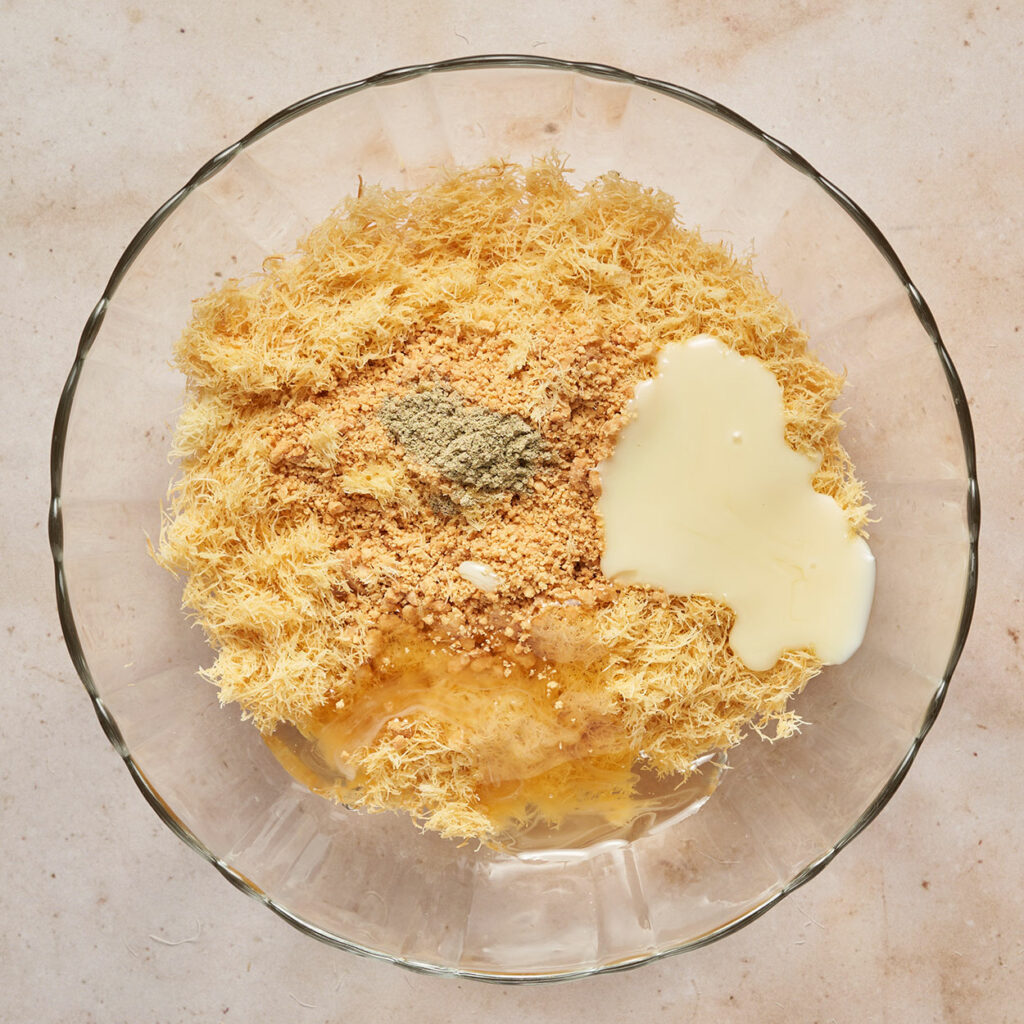
Remove the Kunafa dough and place it into a bowl.
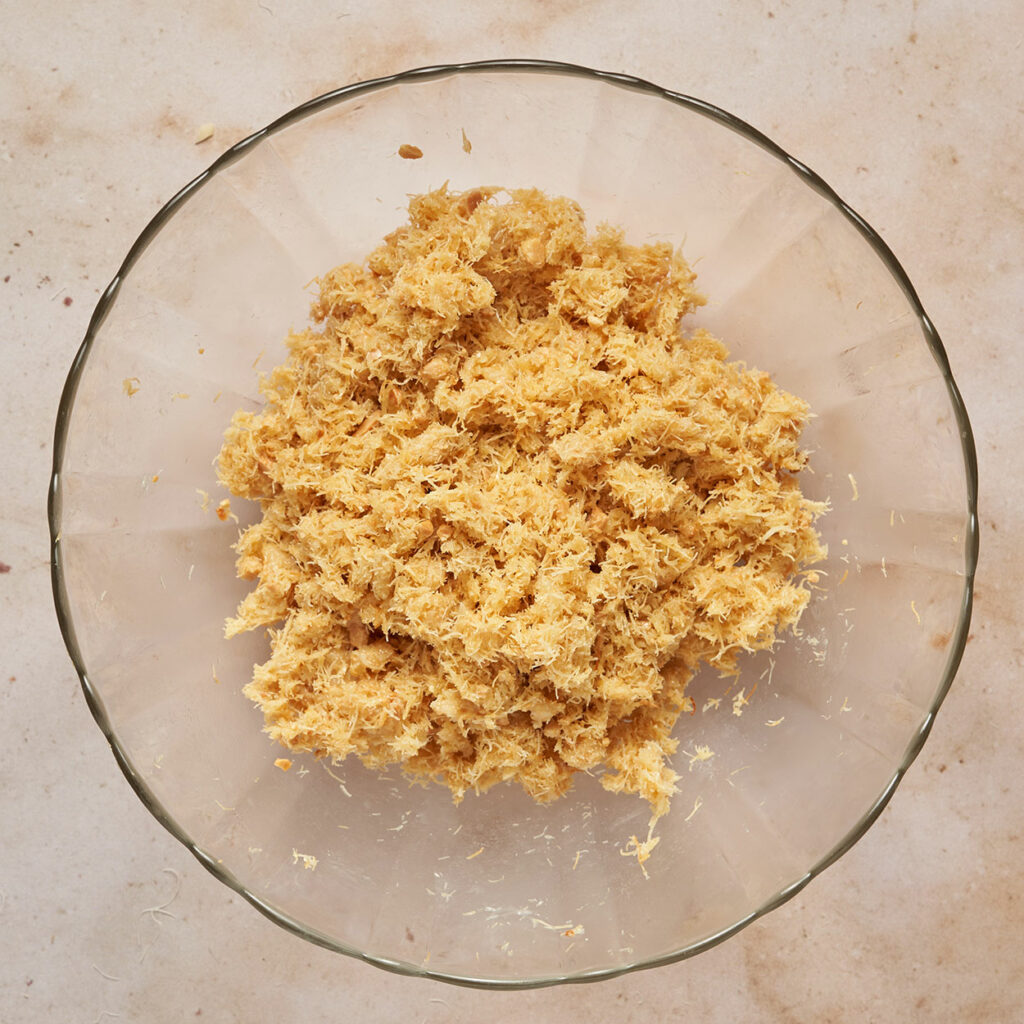
Add your ground cardamom (this is best ground fresh) + condensed milk + honey + ground roasted almonds. Using your hands, mix everything together well. You really need to work the wet ingredients into the kunafa dough well so that they stick together properly.
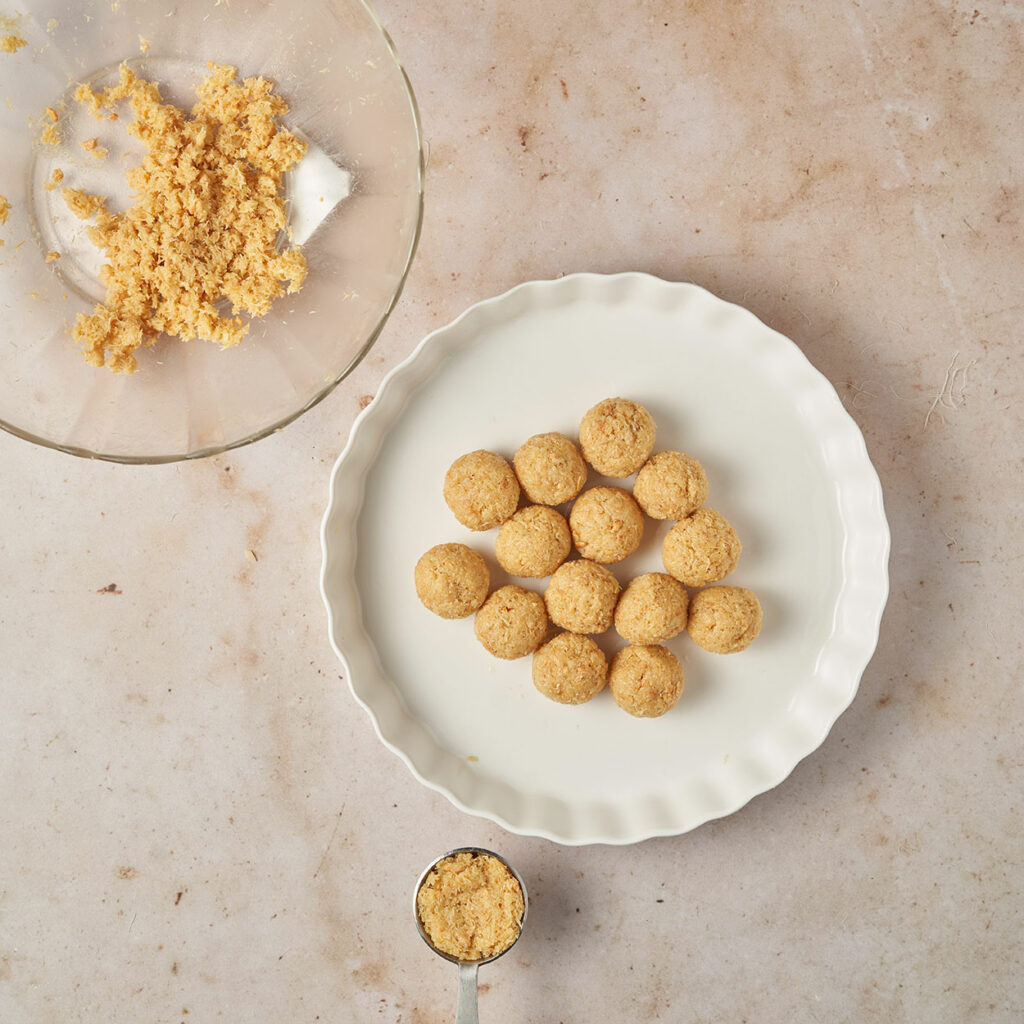
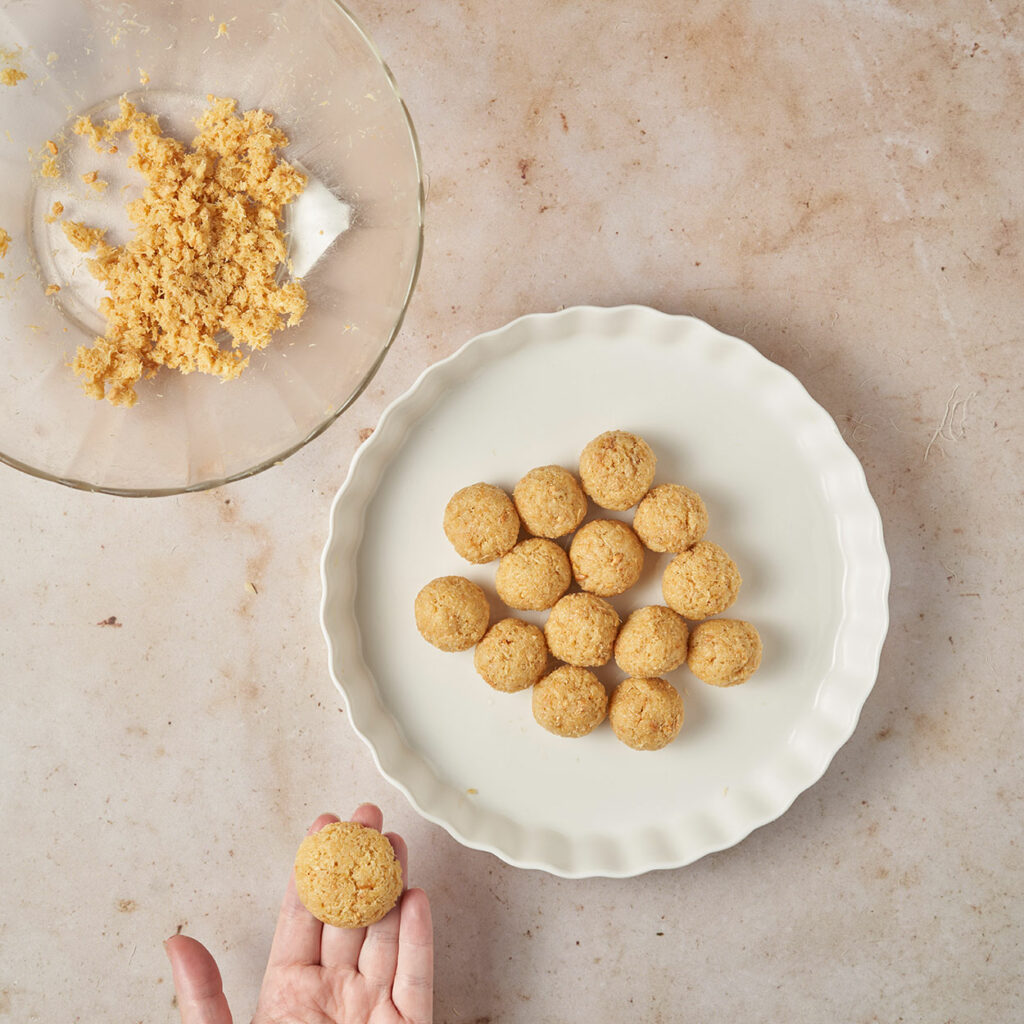
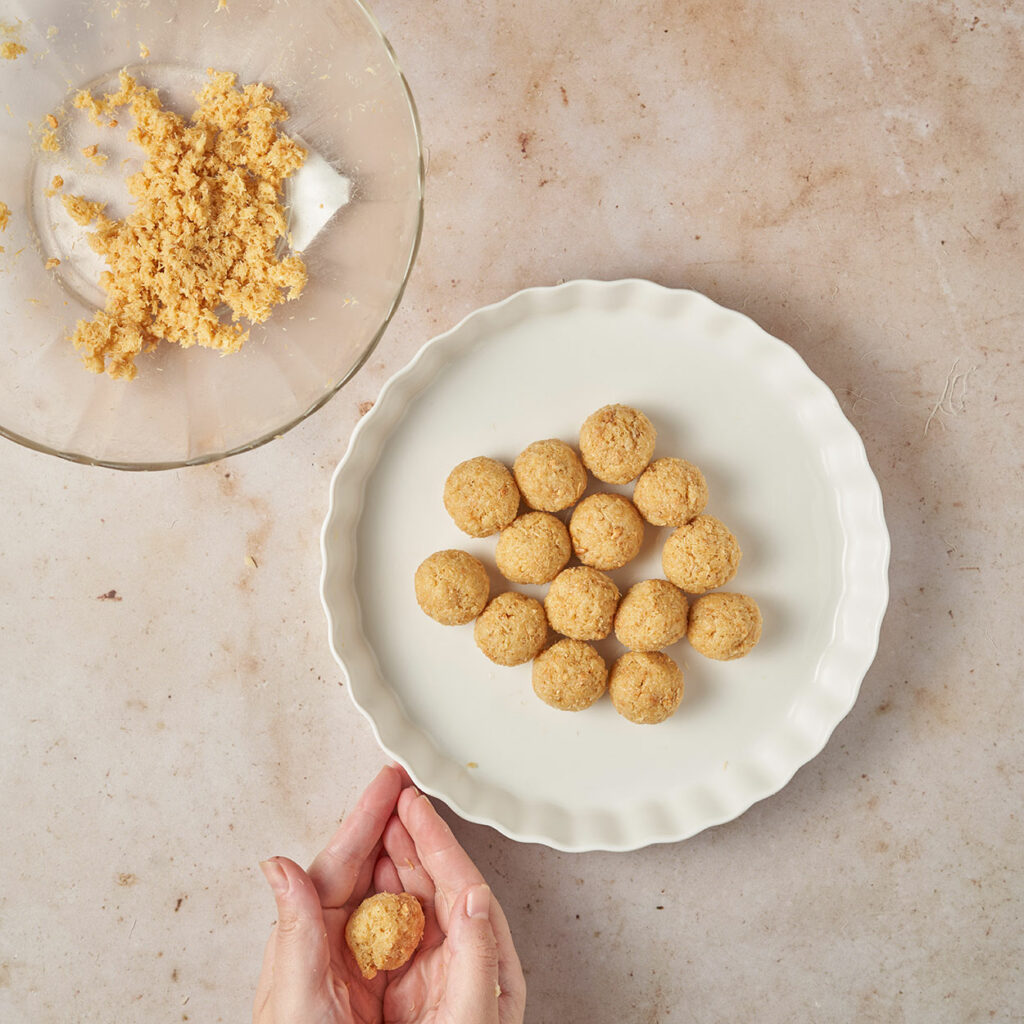
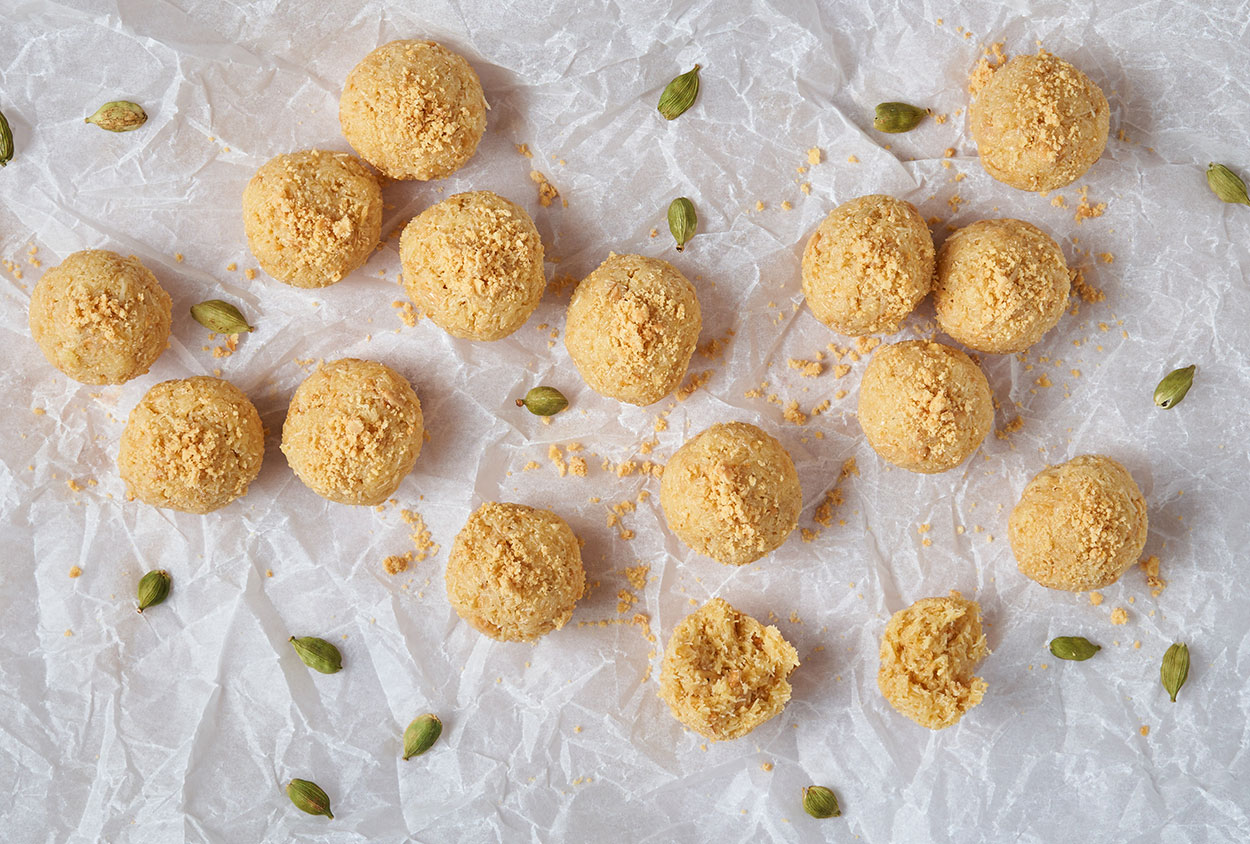
Using a tbsp, pack the mixture into the spoon. Pop-out the kunafa ball onto your hand and squeeze together to form a ball. You can grease your hands with a little butter if it’s sticking too much. Proceed with the rest of your mixture. It should make around 20 balls. You can easily double or triple the recipe.
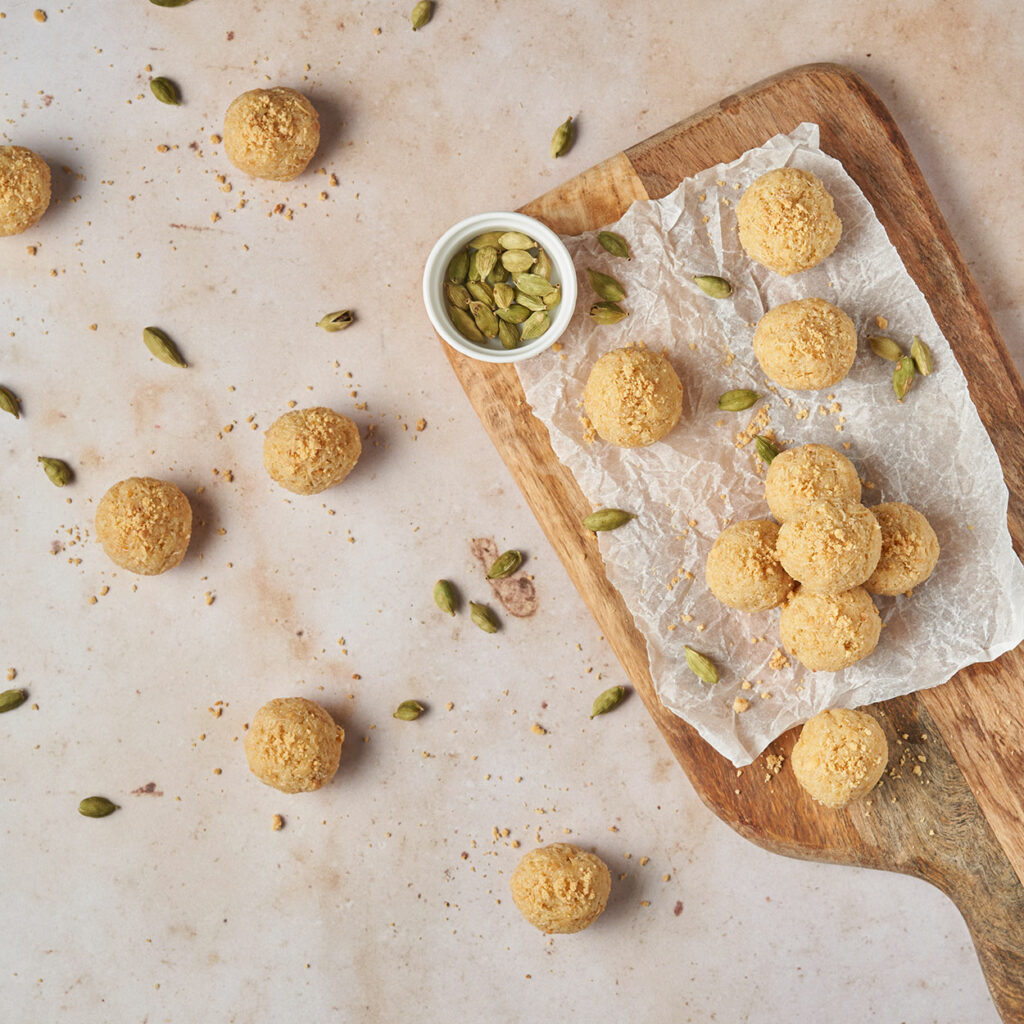
You can eat this right away, or store it in an airtight container in the fridge for up to 1 week. This is great served with some arabic coffee, or unsweetened tea. They are absolutely addictive, good luck with your self-control.

If you make these Cardamom Kunafa Balls with Roasted Almonds let us know! Leave a comment, rate it, and don’t forget to tag a photo #thetablediaries on Instagram. We love seeing all the recipes you and your family enjoy.
Cardamom Kuanafa Balls with Roasted Almonds
Ingredients
- 142 grams shredded kunafa dough (shredded fillo dough) about 5 cups
- 56 grams melted butter 4 tbsp
- 40 grams blanched almonds
- ½ tsp fresh ground cardamom
- 134 grams condensed milk about : ⅓ cup + 2 tbsp
- 26 grams honey about 4 tsp
Instructions
Almonds
- Fill a small saucepan with enough neutral oil to cover the almonds (we used canola). Add in your blanched almonds.
- Place the saucepan onto medium heat and fry until very light brown (do not take it past light brown, it will continue to cook outside of the oil.
- Using a slotted spoon remove almonds and place onto a plate lined with kitchen roll.
- Once slightly cooled place into a grinder and pulse to a semi-fine texture(check image in post). Set aside.
Shredded Kunafa Dough
- Preheat oven to the MAX temperature.
- Put your Kunafa dough onto a backing sheet. Pour on melted butter. Proceed to massage the butter into the Kunafa dough untill it is evenly distributed.
- Spread into an even layer and bake in your preheated oven. Once it starts to brown carefully open the oven and toss around so that it bakes evenly. Do this at 5-minute intervals until it is all evenly toasted.
Assembly
- Remove the Kunafa dough and place it into a bowl.
- Add your cardamom + condensed milk + honey + ground roasted almonds. Using your hands, mix everything together well.
- Using a tbsp, pack the mixture into the spoon. Pop-out the kunafa ball onto your hand and squeeze together to form a ball. You can grease your hands with a little butter if its sticking too much. Proceed with the rest of your mixture. It should make around 20 balls. You can easily double or triple the recipe.
- You can eat this right away, or store it in an airtight container in the fridge for up to 1 week.