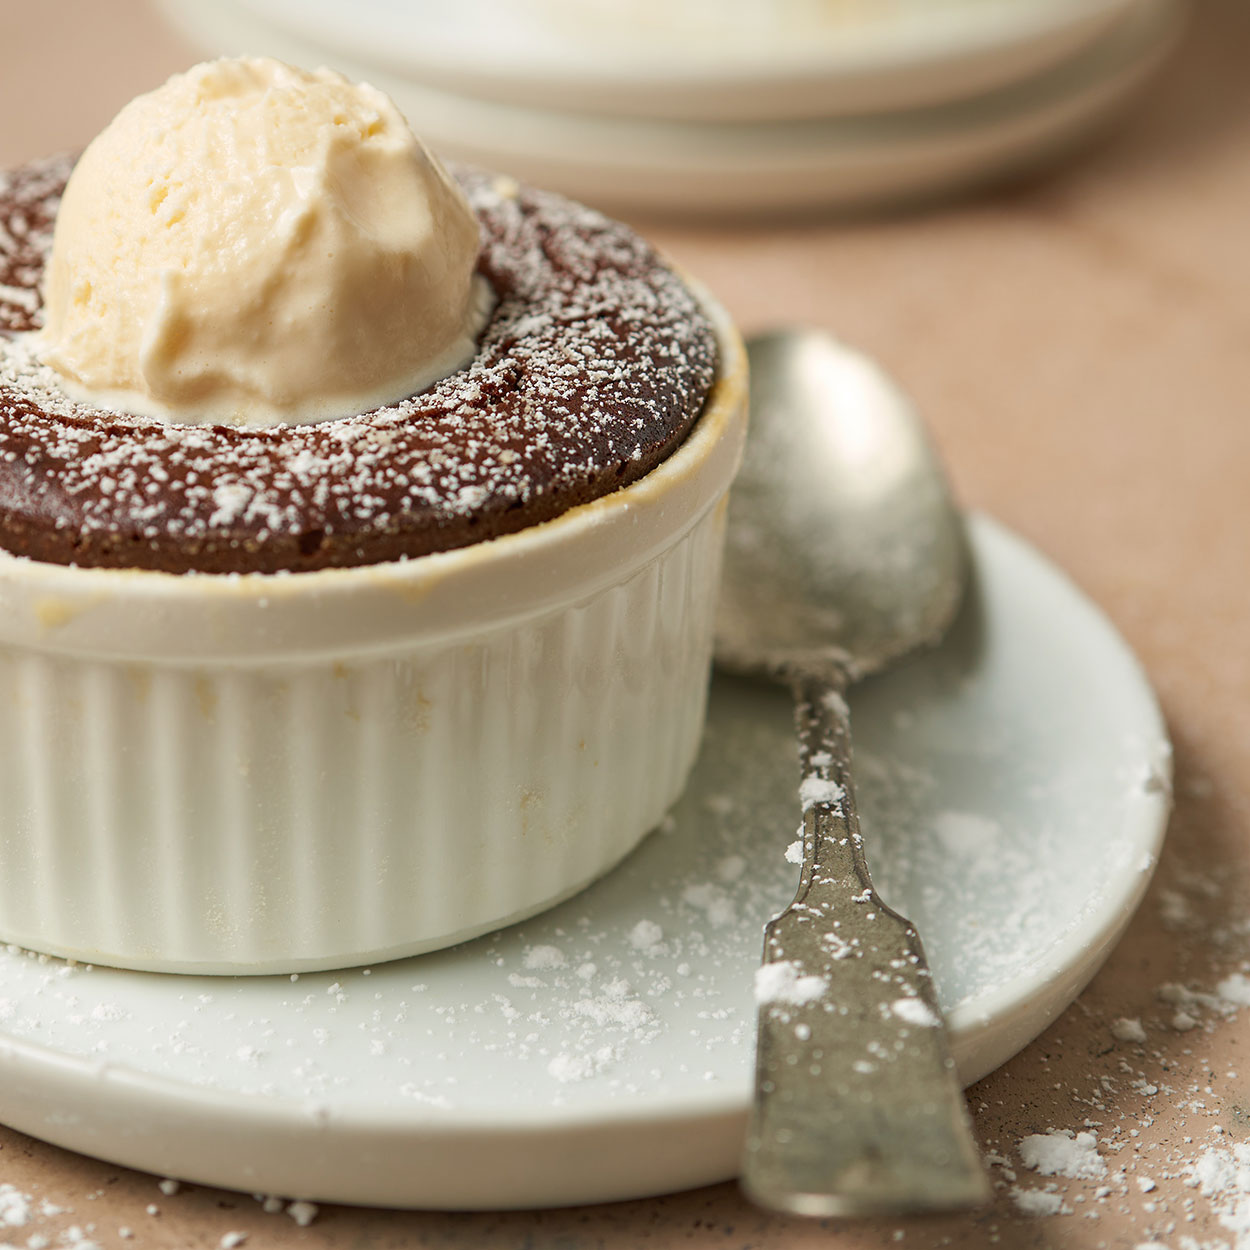
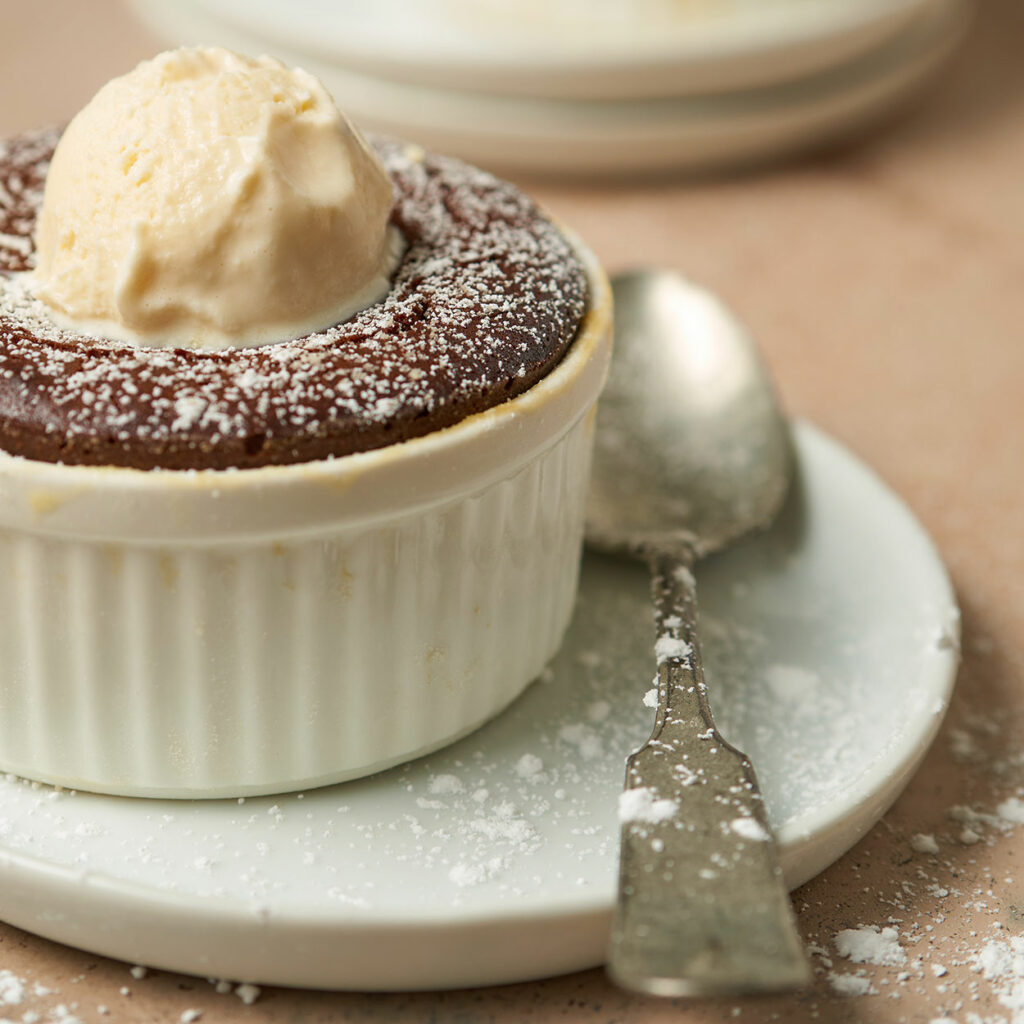
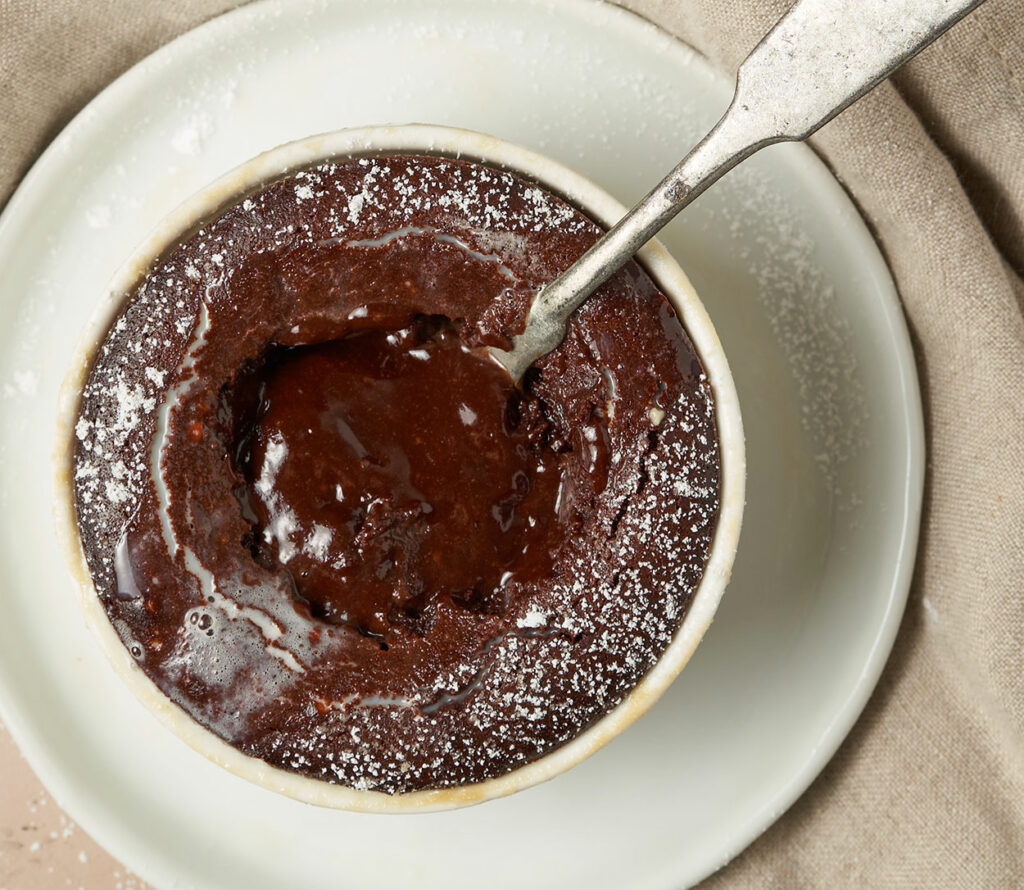
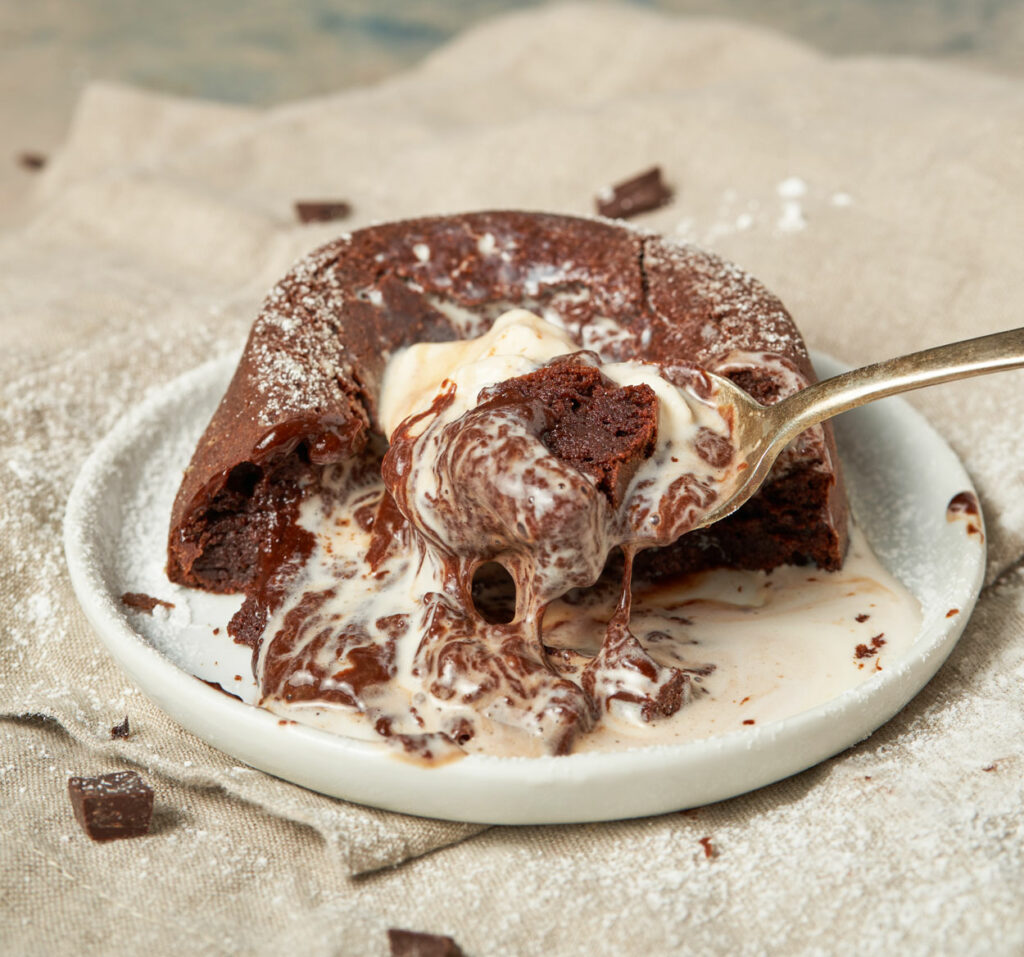
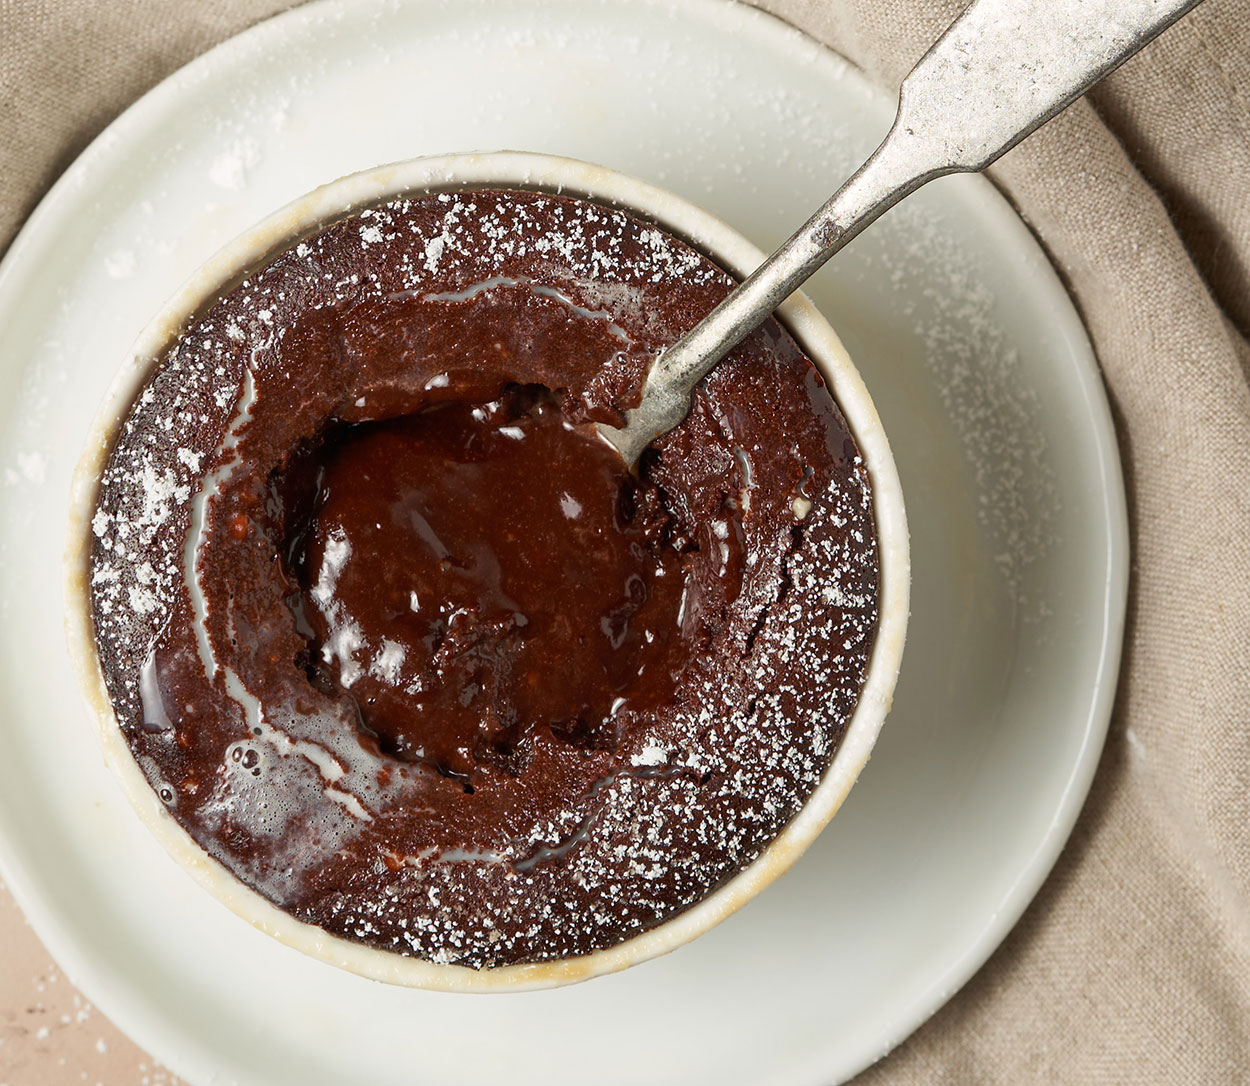
This Dark Chocolate Lava Cake for 2 makes for the perfect sweet ending to any meal. A rich decadent chocolate cake with a warm liquidy gooey center, best of all it is dangerously easy to make. 7 basic ingredients and about 20 minutes is all you will need to whip this up. Many of you will be celebrating Valentine’s Day at home this year, so why not make it special? We have conveniently adjusted the quantities to produce 2 perfect portions. Dollop on some vanilla ice cream, a sprinkling of powdered sugar and you will have a dessert that rivals any restaurant dessert out there. ENJOY!
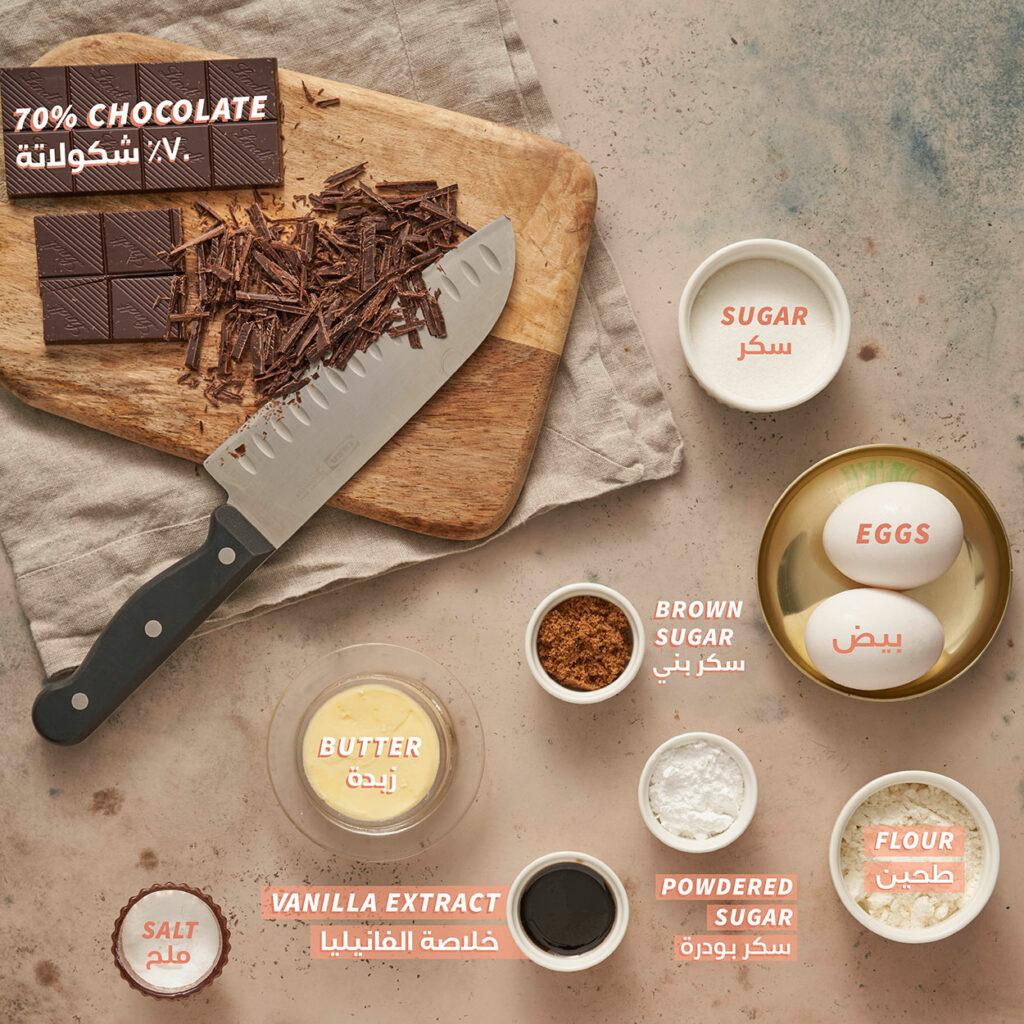
What you will need to make Dark Chocolate Lava Cake
Equipment:
To make these you need to have ramekins 4-6 ounce (8 cm in diameter, and around 4 to 5 in depth) ramekins work perfectly. Don’t stress if you don’t have ramekins you can easily make these in a large muffin tin. They will probably make 4 muffin sized portions. Other then that this is a pretty easy recipe. Lets get started
How to make Dark Chocolate Lava Cake
- Prep. your ramekins with butter and flour.
- Melt The Chocolate
- Make the Batter
- Spoon the batter into your ramekins
- Bake
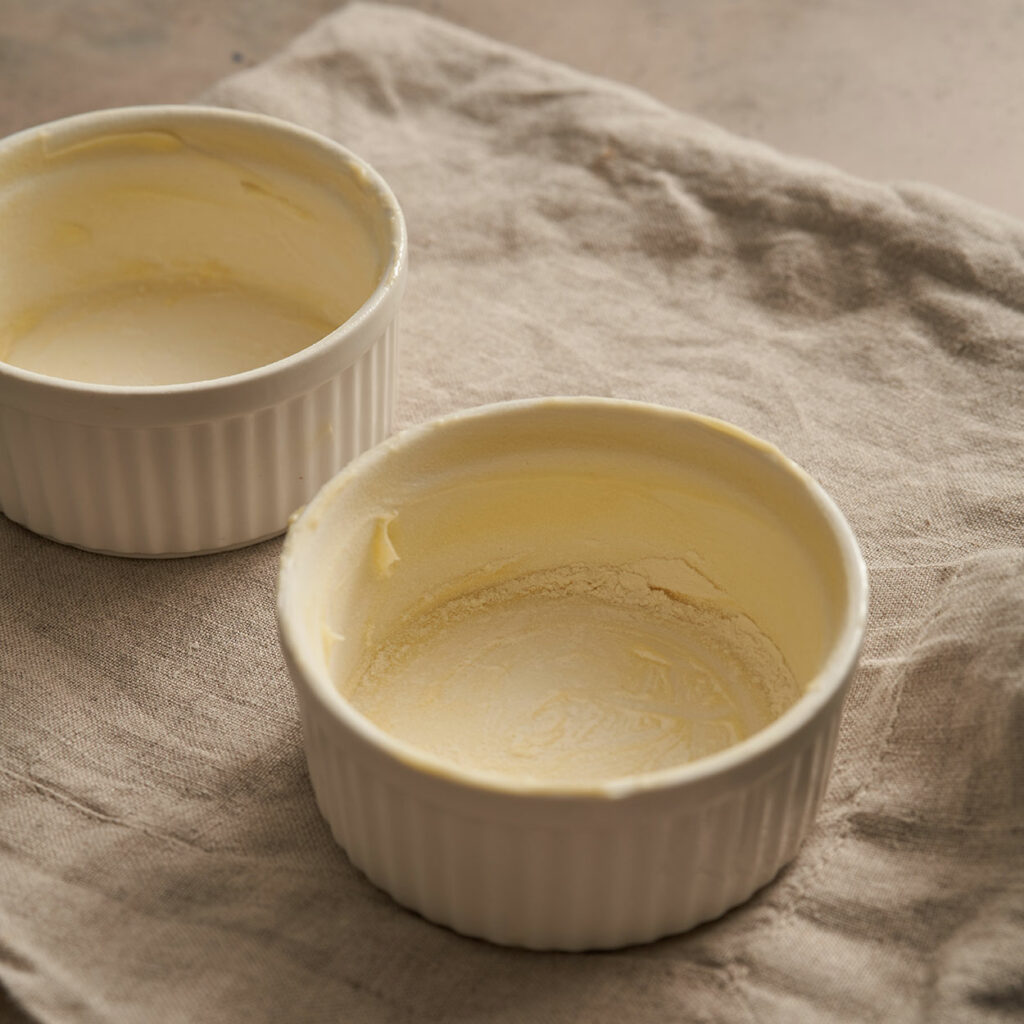
Prepare your Ramekins
Grease 2 ramekins (4-6 ounces) all over with butter then dust with flour. Rotate the flour all around the inside of the ramekin to ensure the flour coat all the walls. Invert the ramekins and tap to get all the excess flour out. Set that aside.
Make your Chocolate Batter
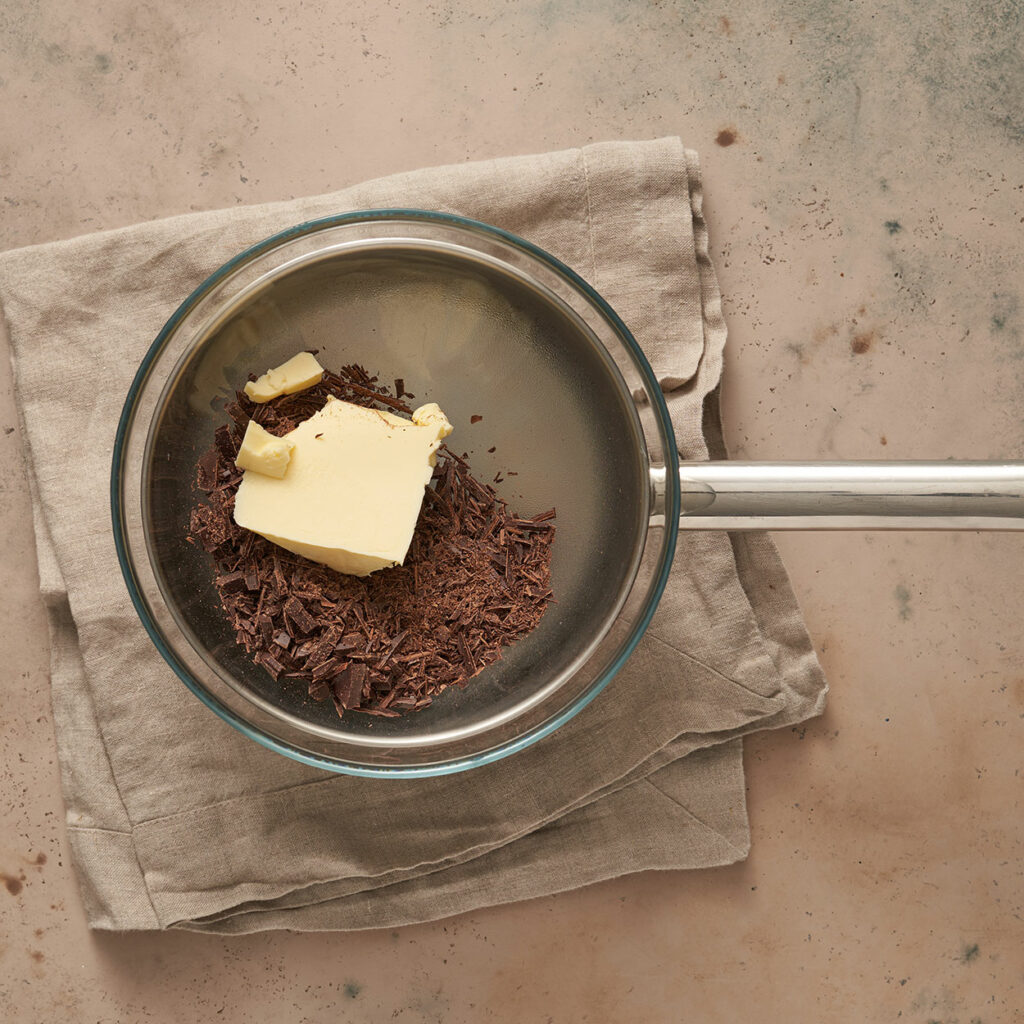
Use a nice dark chocolate for this, anything from 60-70% cocoa will work well. Chop you chocolate finely.
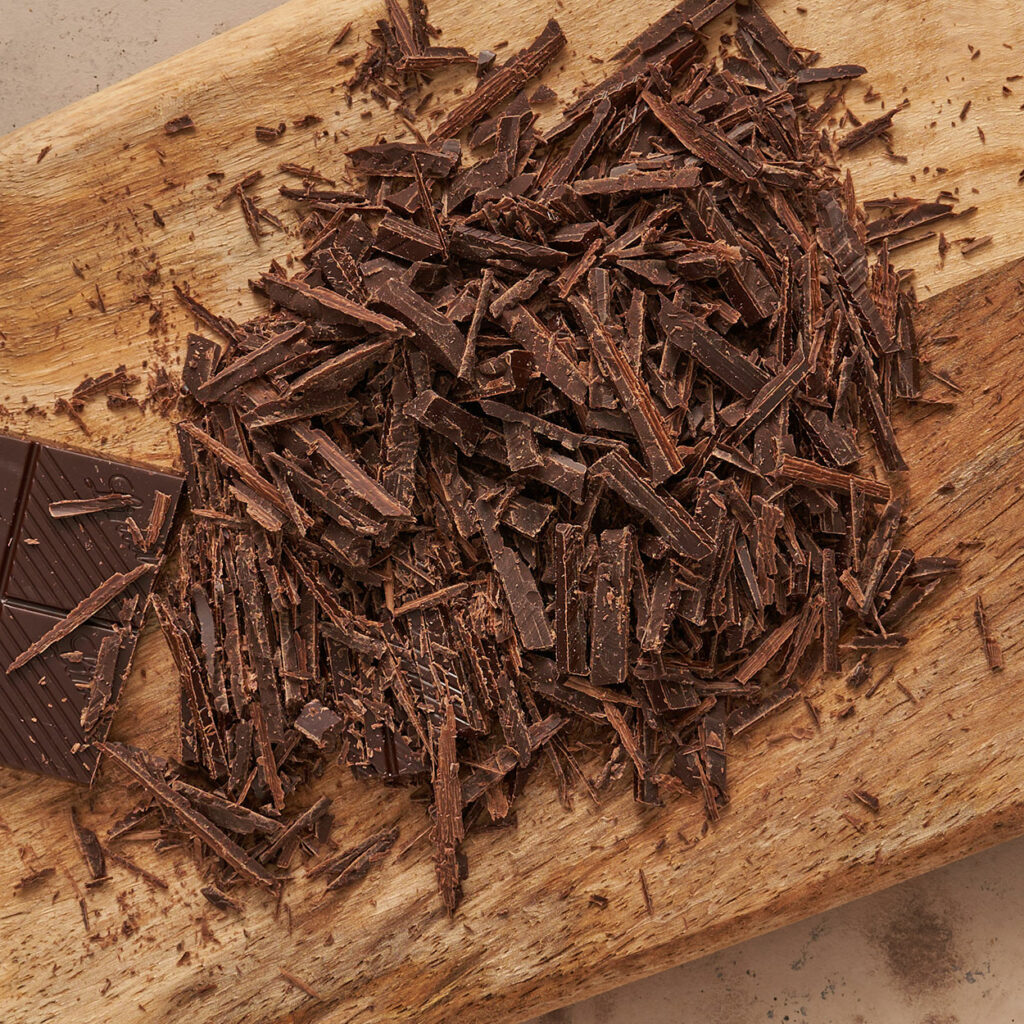
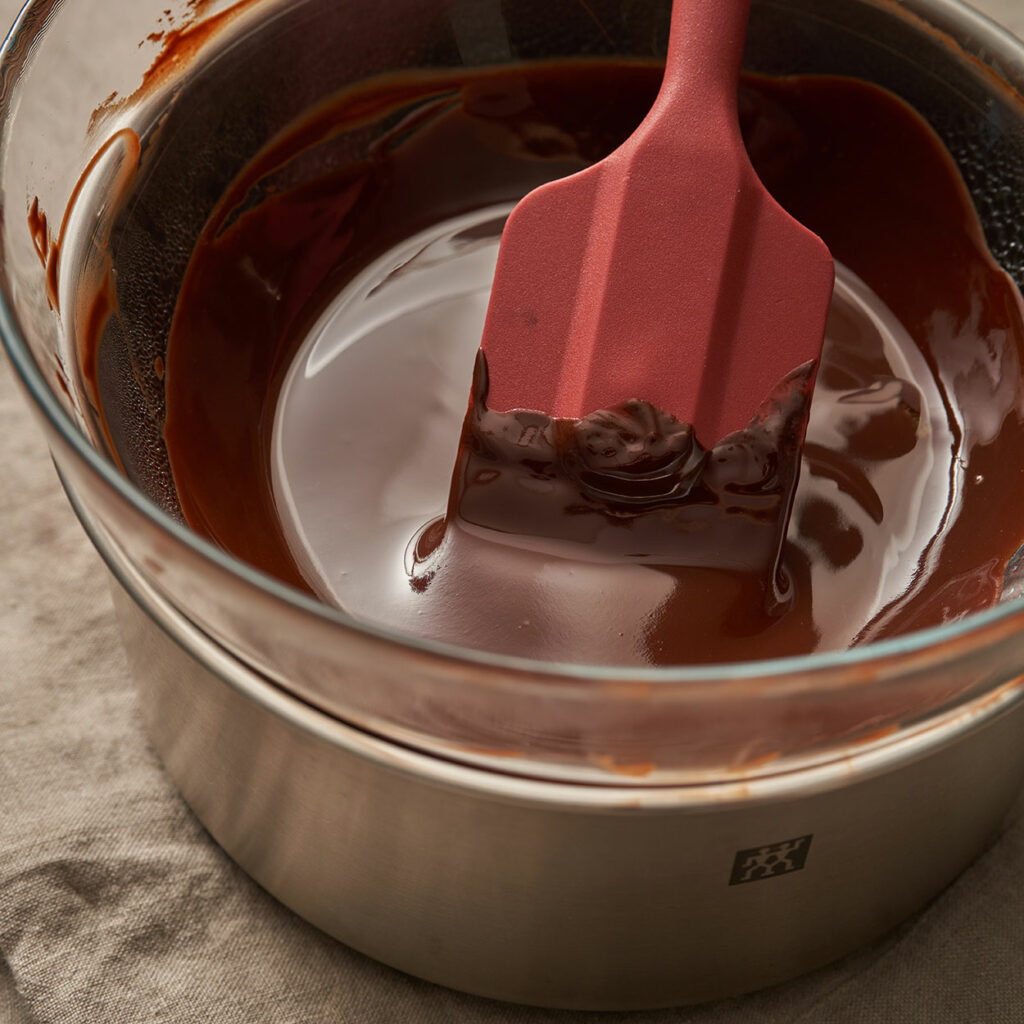
To melt the butter with the chocolate we are going to use something called a bain-marie. A bain-marie is simple a double boiler method used to melt ingredients for cooking. To make a bain-marie, in a small saucepan fill about 1 inch of water and bring it to a simmer on low heat. Place a glass bowl above the pan make sure the water does not even come close to touching the bottom of the glass bowl. Add the chopped chocolate and butter to the glass bowl and allow that to melt stirring occasionally. Set that aside.
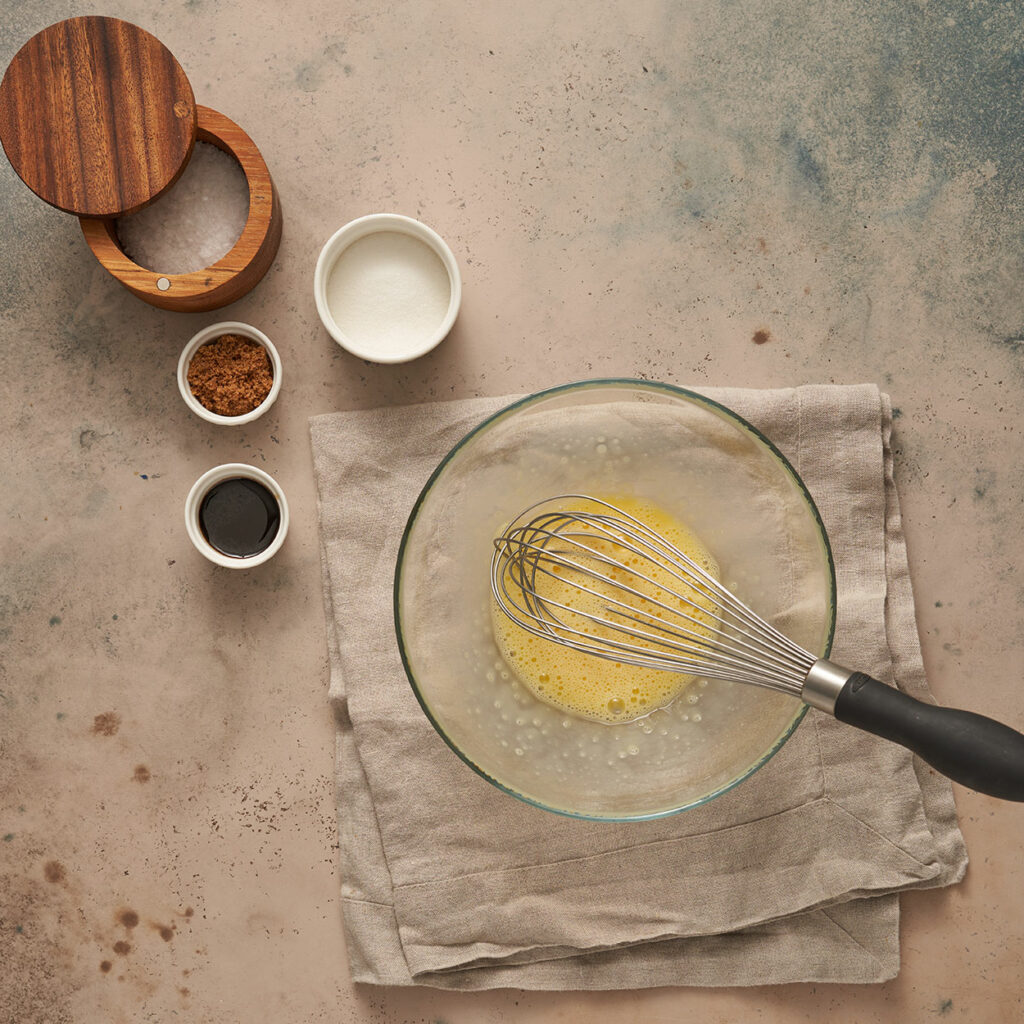
In a medium-sized bowl whisk together the egg and egg yolk untill frothy, about 2 min.
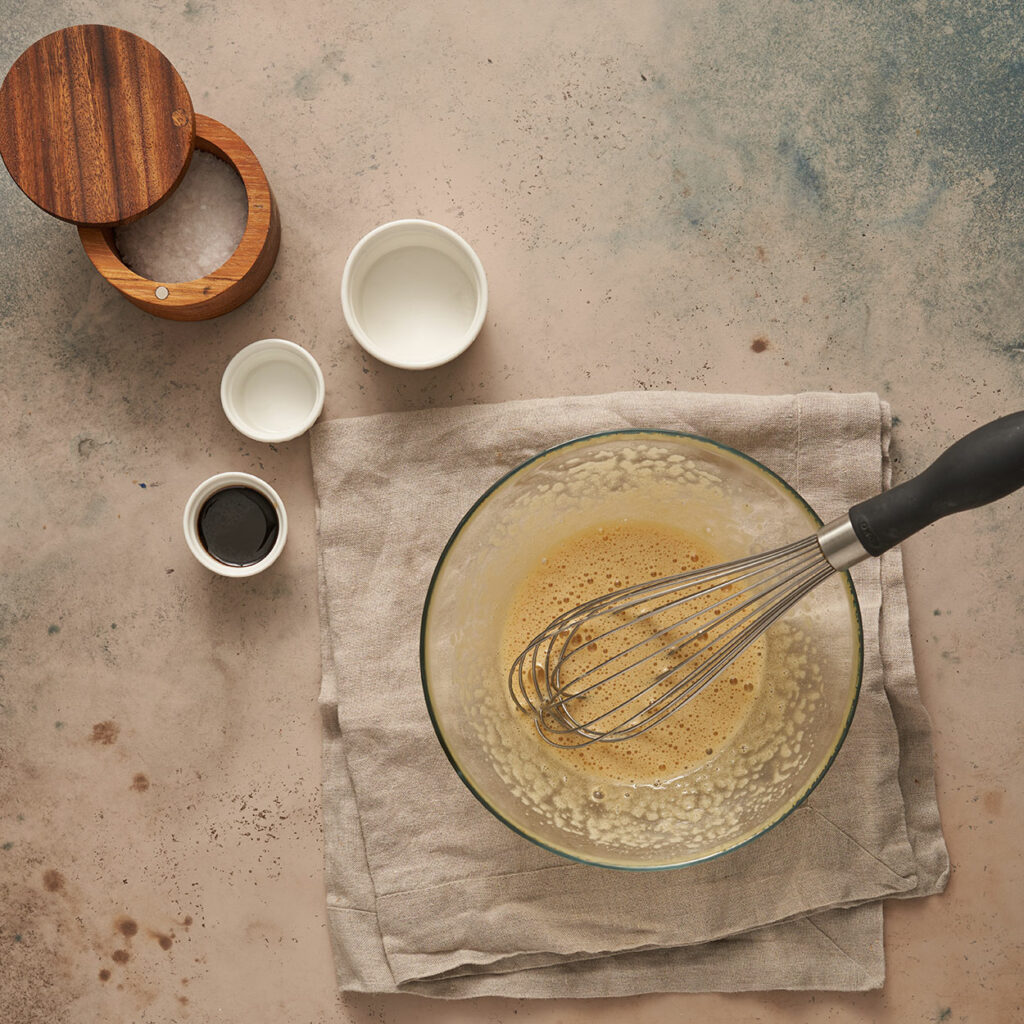
Gradually add in your brown and white sugar, keep whisking untill the mixture is paler in color and has almost doubled in size.
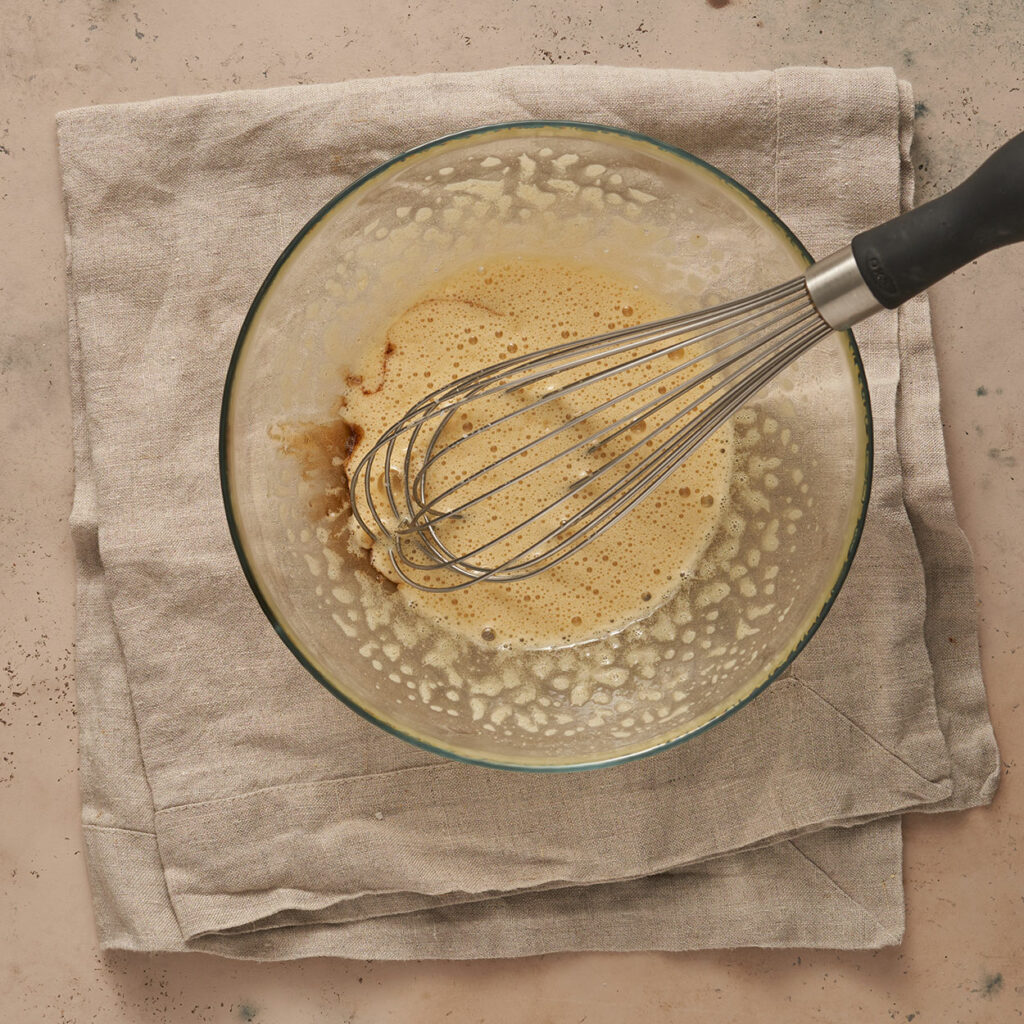
Add in vanilla and sea salt. Give it one last whisk.
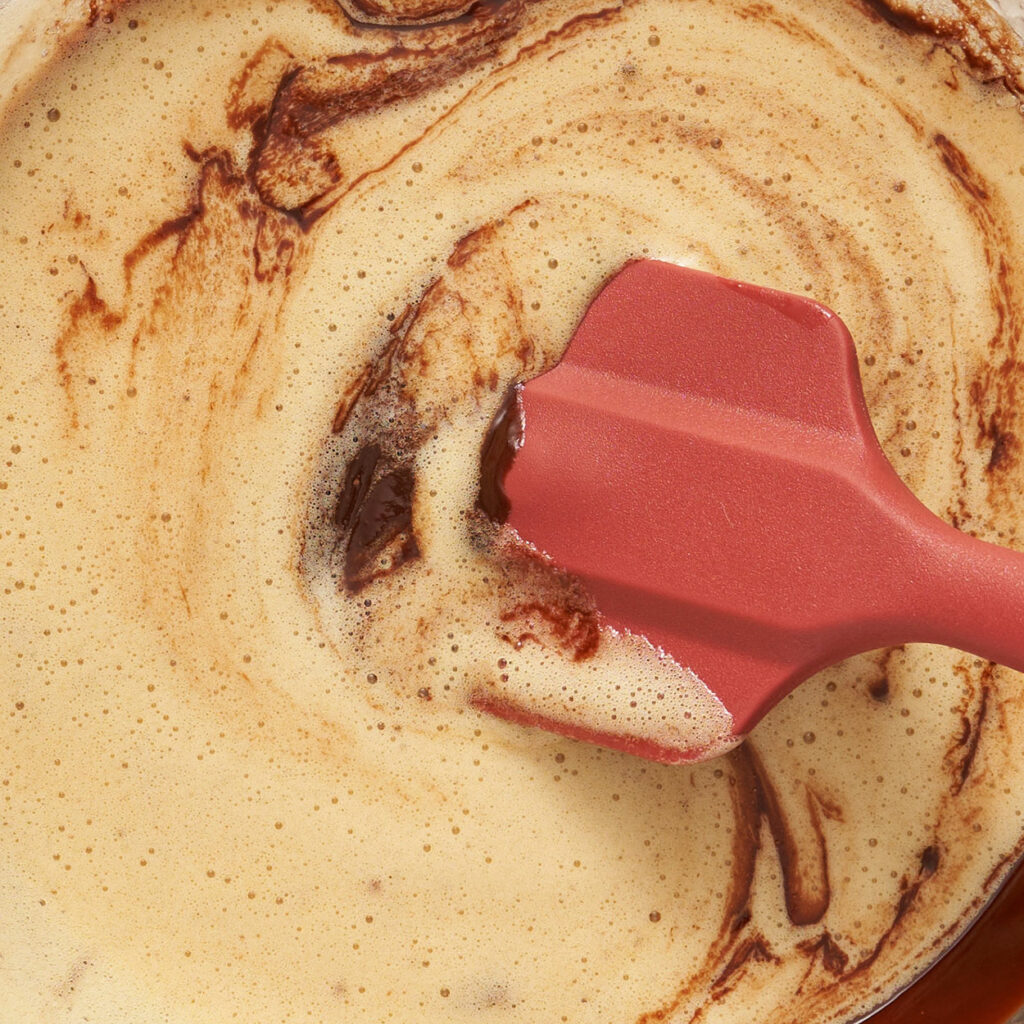
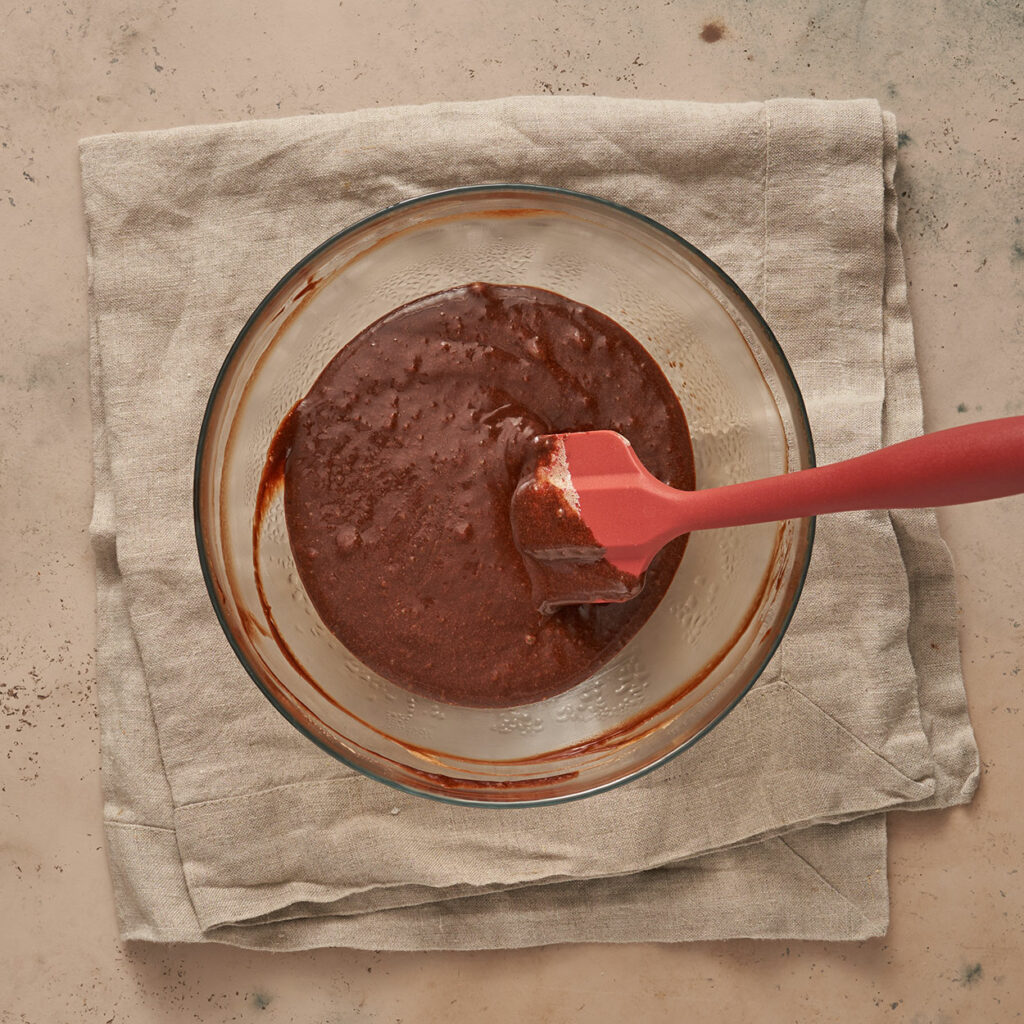
Switch to a rubber spatula, add your egg mixture into your chocolate. Fold that together until completely incorporated. Make sure you are reaching the bottom of the bowl as you fold.
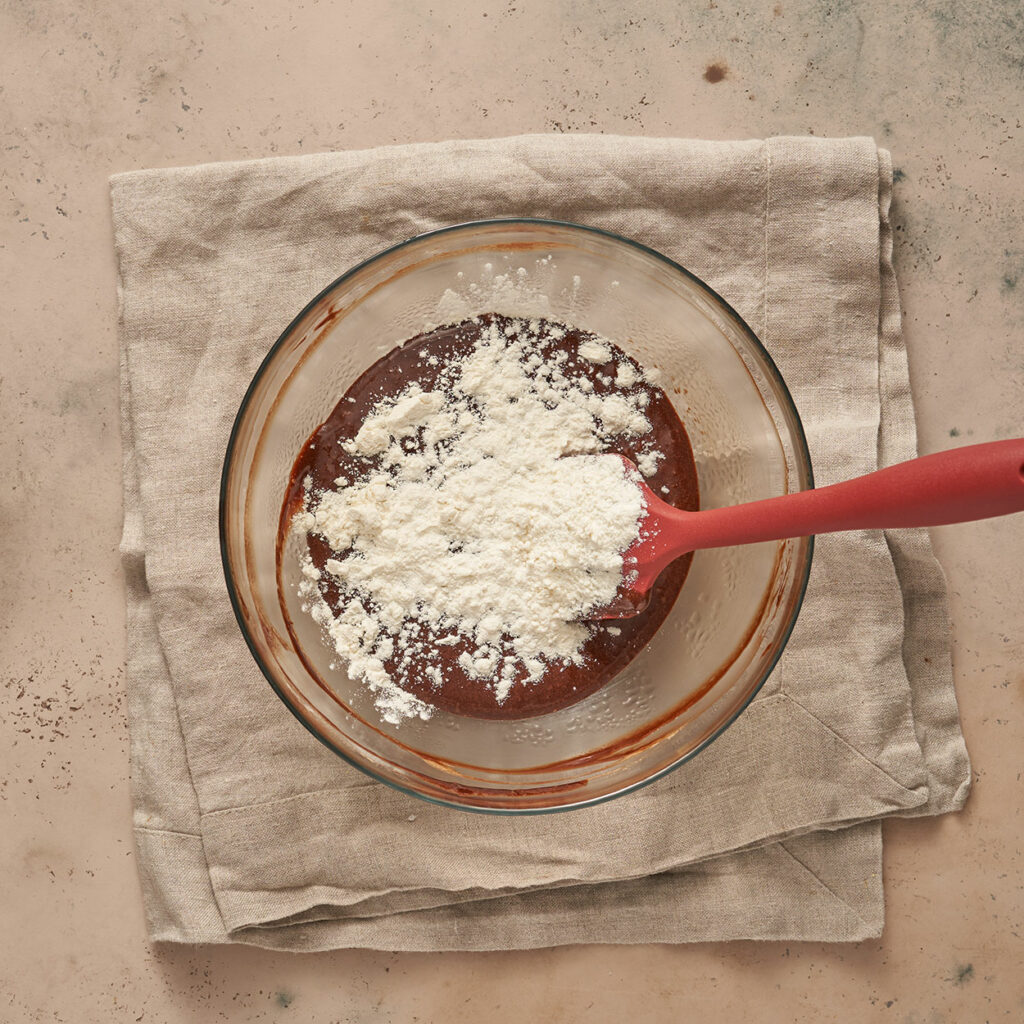
Add in your flour and continue to fold that in.
Divide the mixture between your two ramekins evenly.
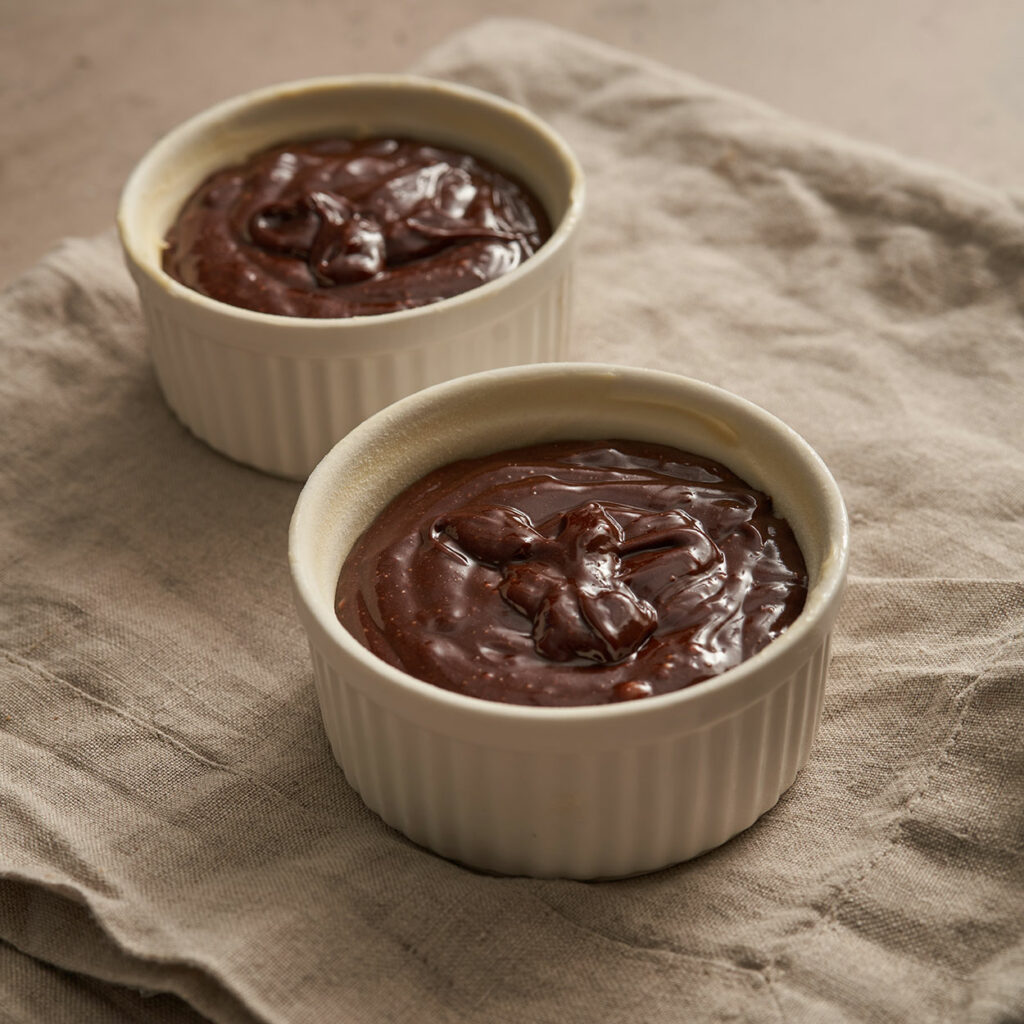
Bake your Lava Cakes
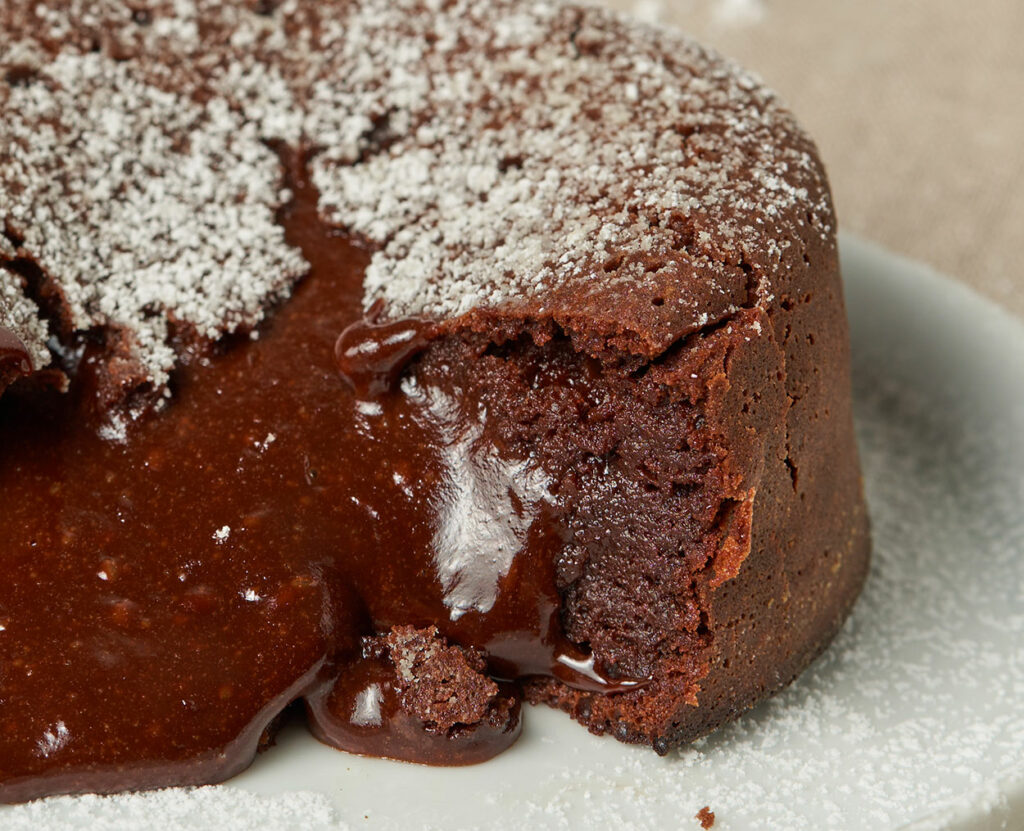
Preheat your oven to 230°C on the fan option if you have it. This is where you need to pay attention, the baking time will vary according to the size of your ramekin as well as your oven. The fan option will circulate the heat better making these bake faster (7-8 minutes). If you do not have the fan option it will take closer to 9-10 minutes. The best way to do this is to use your eyes. The edges should be firm and set with a slight jiggle in the center. Do not over bake these or the center will cook and you will just have chocolate cake.
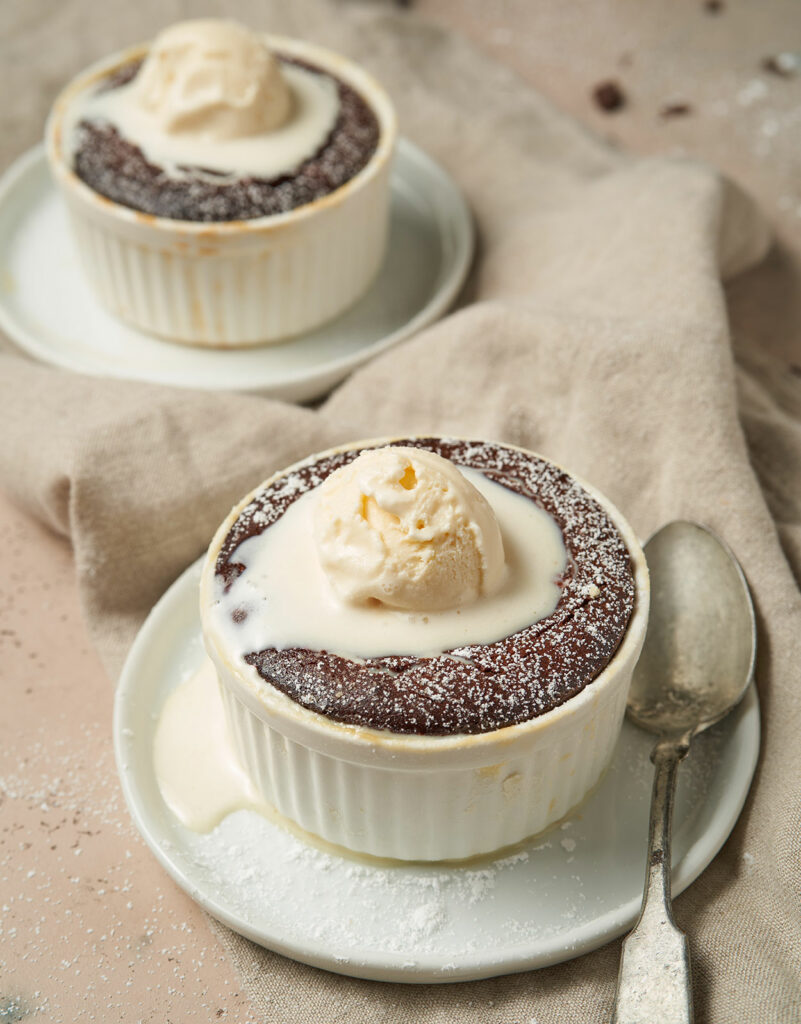
Remove from the oven, allow to rest for a minute. Then invert the ramekin onto a plate (or just eat out of the ramekin). Dust with powdered sugar, dollop on a scoop of vanilla ice cream and enjoy while hot.
Dark Chocolate Lava Cake for 2
Ingredients
- 82.5 grams 60-70% chocolate finely chopped
- 57.5 grams unsalted butter ¼ cup
- 1 whole egg
- 1 egg yolk
- 10.5 grams brown sugar scant 1 tbsp
- 21.5 grams granulated sugar 1.5 tbsp
- 1 tsp vanilla extract
- ¼ tsp fine sea salt
- 9.5 grams all-purpose flour 1 tbsp
- powdered sugar for dusting
- vanilla ice cream optional
Instructions
- Preheat your oven to 230°C.
- Grease 2 4-6 ounce ramekins (8 cm in diameter, and around 4 to 5 cm depth) all over with butter then dust with flour, rotate the flour all around the inside of the ramekin to ensure the flour coat all the walls. Invert the ramekin and tap to get all the excess flour out. Set that aside. *See note if you do not have ramekins*
- In a small saucepan fill about 2-3 cm of water and bring it to a simmer on low heat. Place a glass bowl above the pan, make sure the water does not even come close to touching the bottom of the glass bowl.
- Add the chopped chocolate and butter to the glass bowl and allow that to fully melt stirring occasionally. Set that aside.
- In a medium-sized bowl whisk together the egg and egg yolk untill frothy, about 2 min.
- Gradually add in your brown and white sugar, keep whisking untill the mixture its paler in color and has almost doubled in size.
- Add in vanilla and sea salt. Give it one last whisk.
- Switch to a rubber spatula, add your egg mixture into your chocolate. Fold that together until completely incorporated. Make sure you are reaching the bottom of the bowl as you fold.
- Add in your flour and continue to fold that in.
- Divide the mixture between your two ramekins equally.
- Bake time will vary depending on the size of your ramekins as well as your oven. Place ramekins in your preheated oven and bake for 7-8 minutes with the fan option on. If you do not have the fan option it will take closer to 9-10 minutes. The best way to do this is to use your eyes. The edges should be firm and set with a slight jiggle in the center. Do not over bake these or the center will cook and you will just have chocolate cake.
- Remove from the oven, allow to rest for a minute. Then invert the ramekins onto a plate. Dust with powdered sugar, dollop on a scoop of vanilla ice cream, and enjoy while hot.

