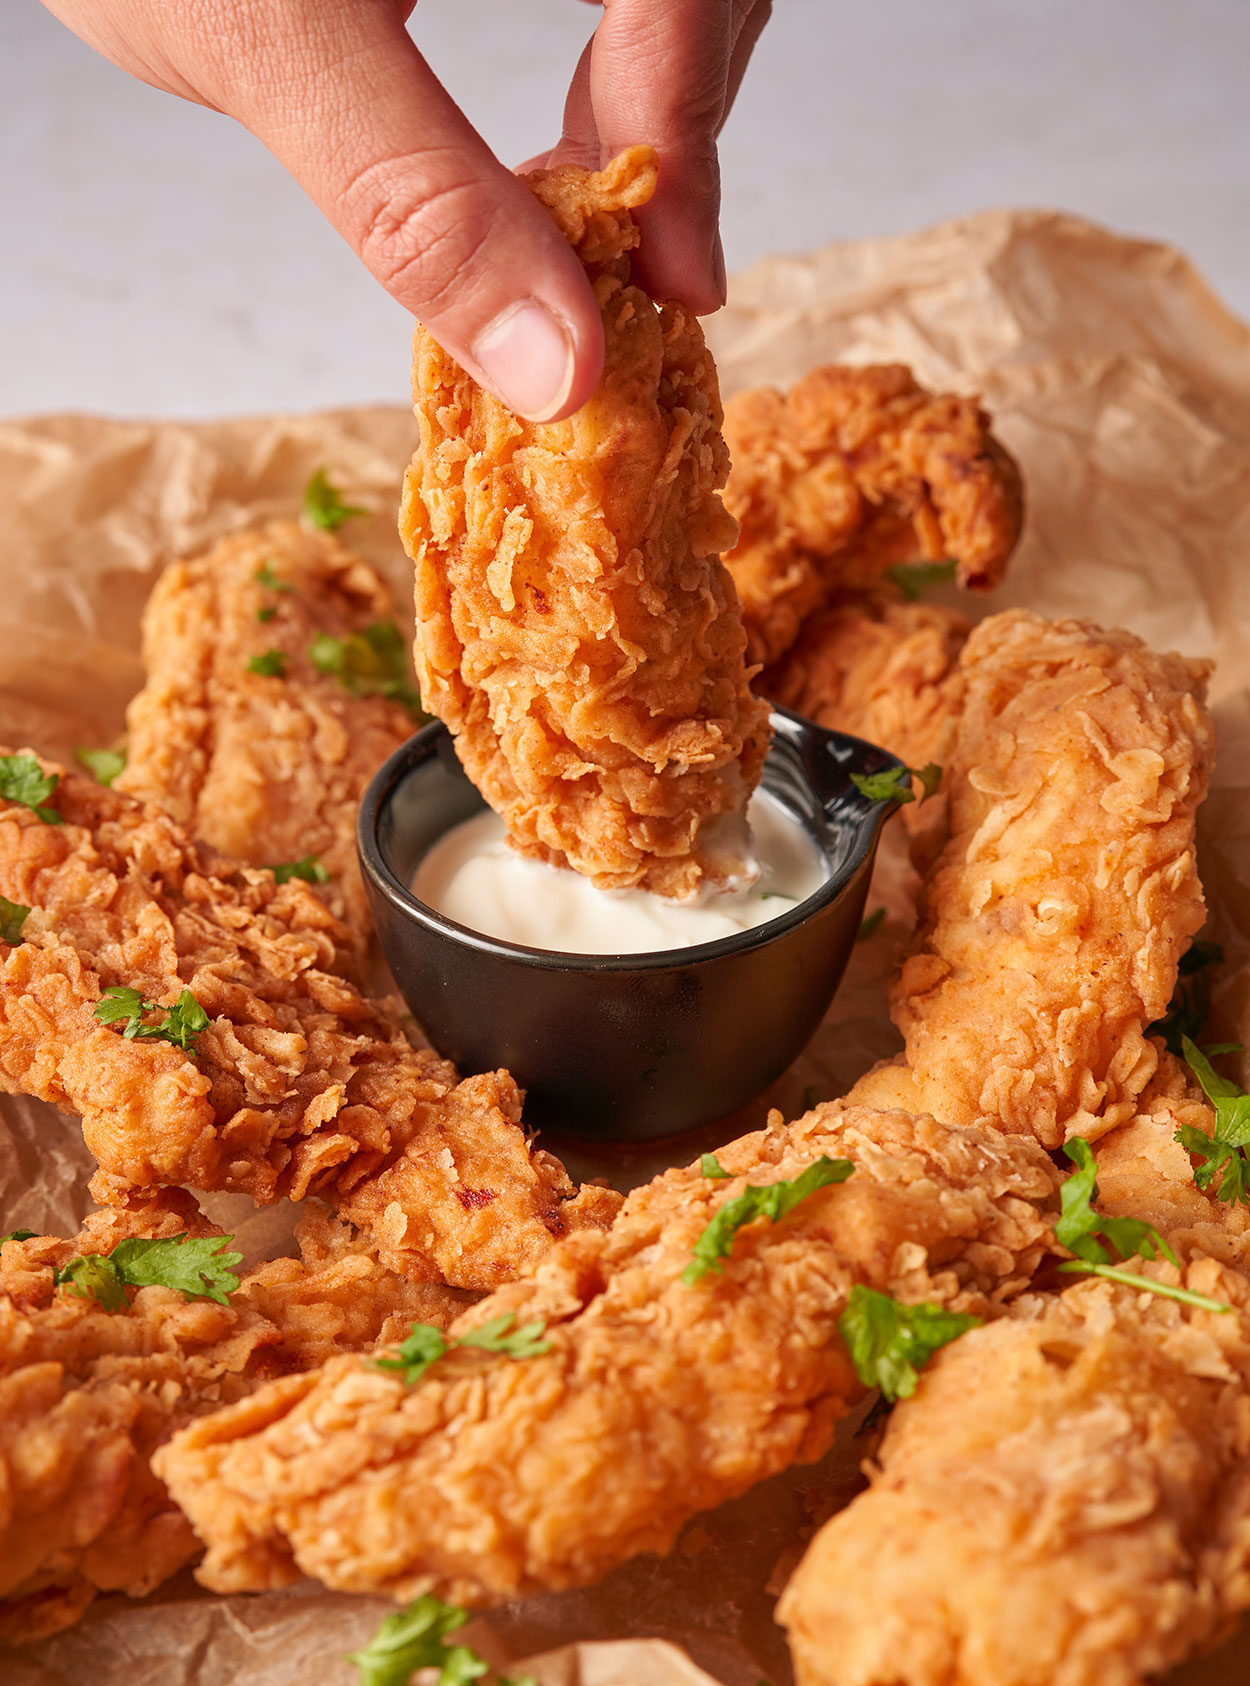
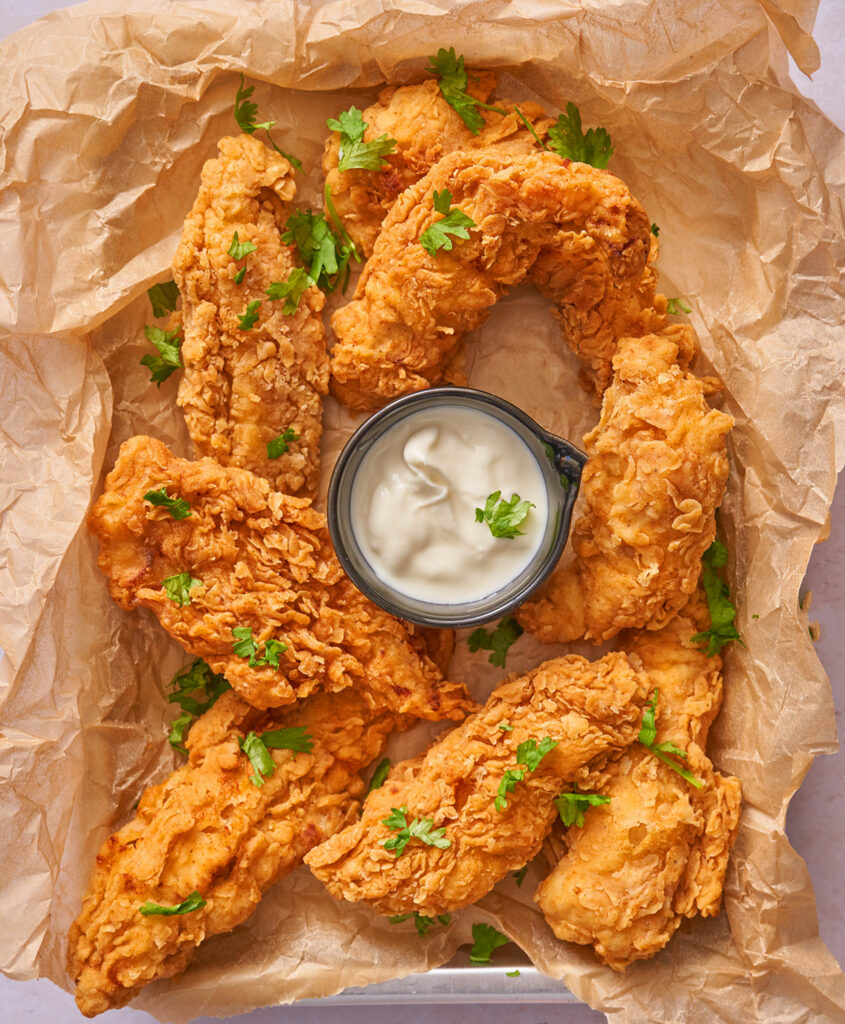
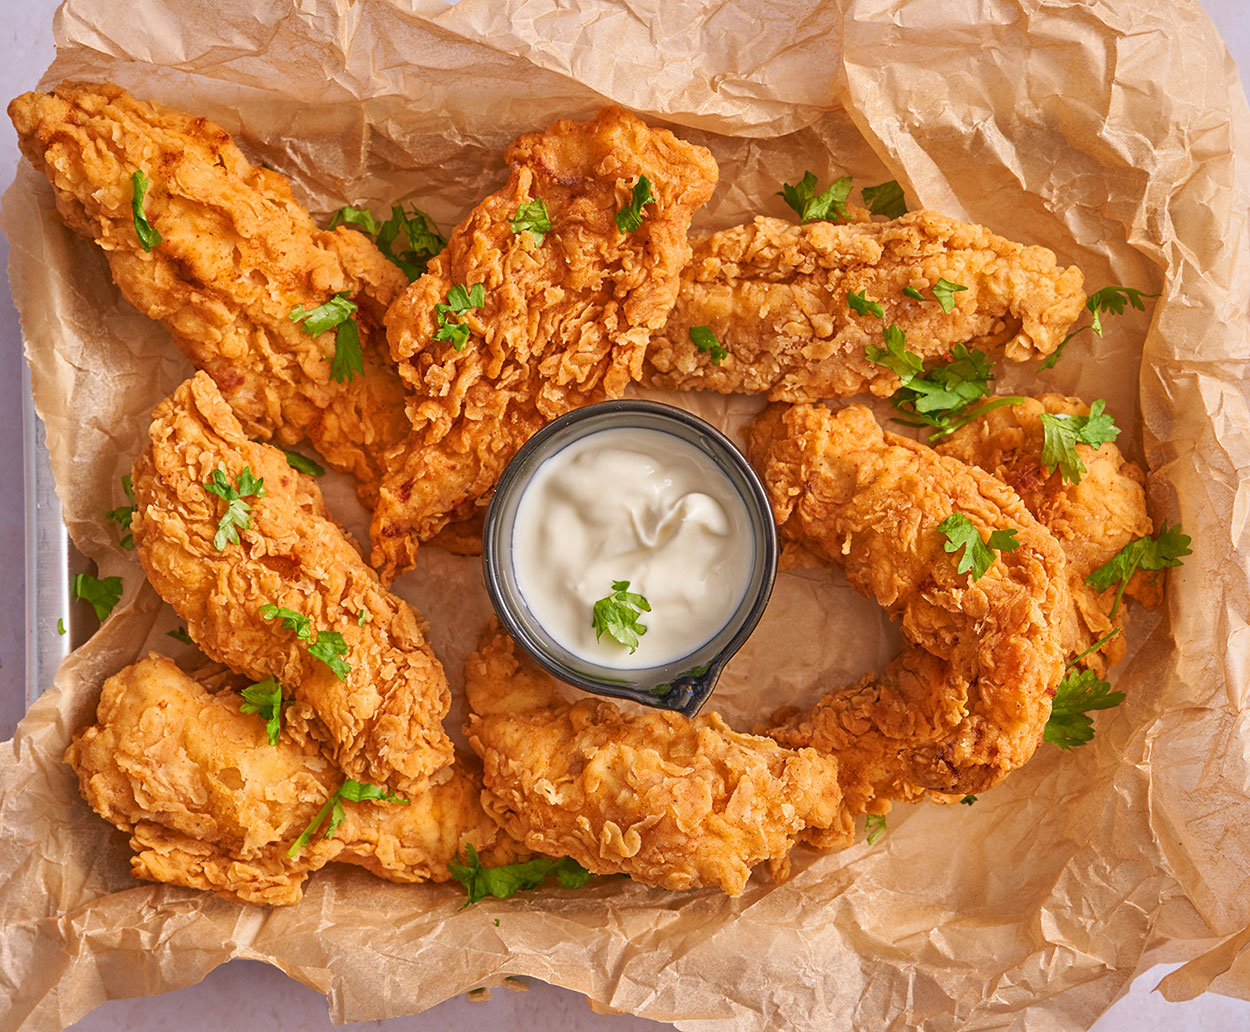
Let’s be honest no one likes the actual act of deep frying and what it entails. There are few things worth going through the trouble and these Crispy Buttermilk Fried Chicken Tenders are definitely one of them.
People have a lot of issues with deep frying chicken. The breeding falling off or being too oily, the chicken not being cooked all the way through, and most importantly not getting that crunch that is synonymous with good fried chicken. Get your pencil and paper out, by the time we are done with you, you are going to know how to make the perfect crispy chicken tenders that would rival your favorite fast-food restaurant. Not only that but we will share two different glazes, Honey Sriracha, and Sticky Garlic Soy for some crazy extra flavor.
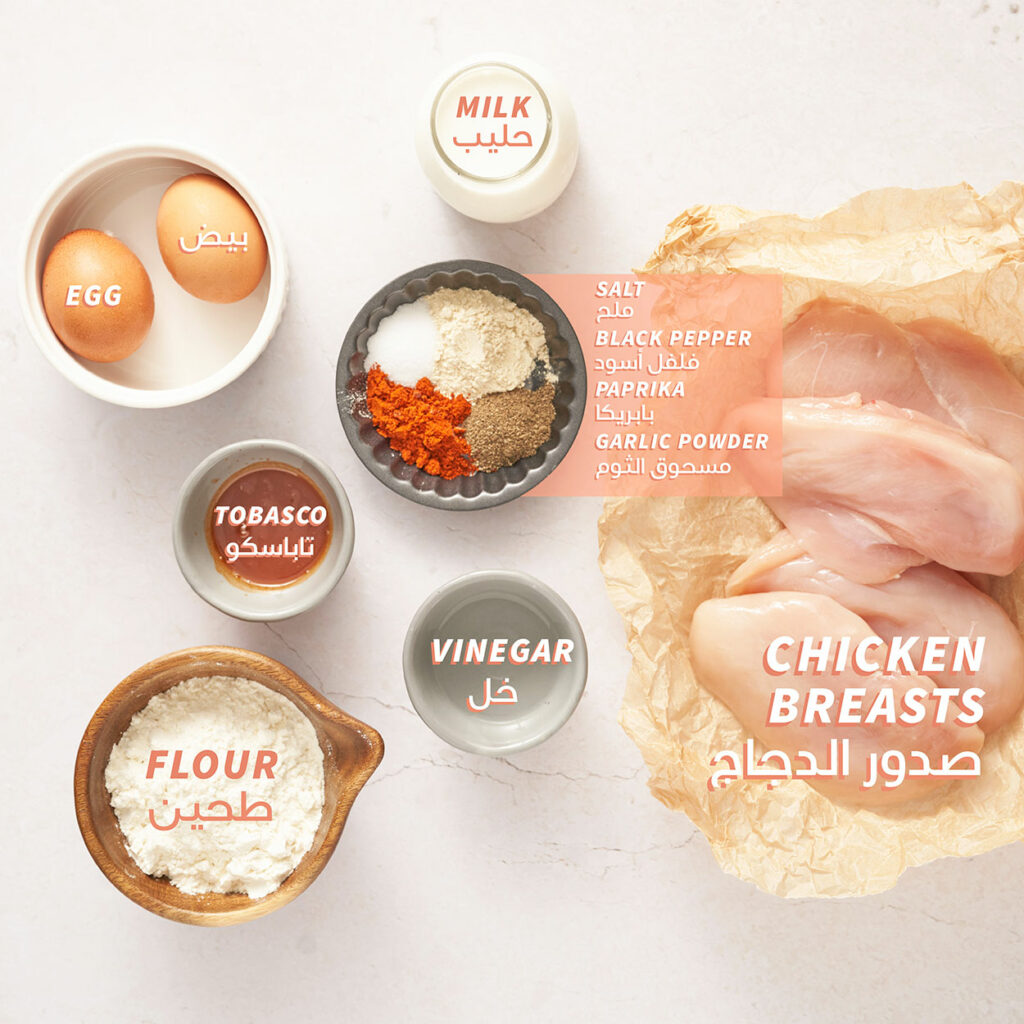
Here is what you will need to make our Crispy Buttermilk Fried Chicken Tenders
THE RULES :
- It is common knowledge that letting chicken soak in buttermilk is the holy grail of fried chicken. Buttermilk helps tenderize the chicken and helps the coating stick better. If you have time soak your chicken overnight in the fridge. If not 2 hours minimum will give you a similar outcome. Can’t find buttermilk? No problem, make your own. Mix 1 tablespoon vinegar or lemon into 1 cup of milk. Give it a mix and let it sit on the counter for 5 minutes. Voila! You now have buttermilk.
- Use a neutral oil for frying, one with a high smoking point. Oils like canola and peanut work best.
- Controlling the temperature of the oil is key to making a perfect chicken tender. A cooking thermometer is a must! Too hot and you will have burnt raw chicken tenders. Too low and you’ll have a greasy mess. Heat your oil over medium-high heat to 175°C and fry your chicken in batches making sure not to overcrowd your pan. Before you put in your second batch make sure your oil temperature has come up again to 175°C. Safety note: Chickens proper internal temperature should be 75°C (165°F)
- Dredging is king! Dredging techniques vary, we make a wet batter + dry flour to fry our crunchy buttermilk fried chicken tenders. We find this yields the closest texture and loudest crunch that rivals any fast food or restaurant fried chicken.
- Seasoning; it is so easy to under season this. So season everything with a heavy hand, the chicken tenders, the buttermilk marinade, the flour, the wet batter. Season it all!!
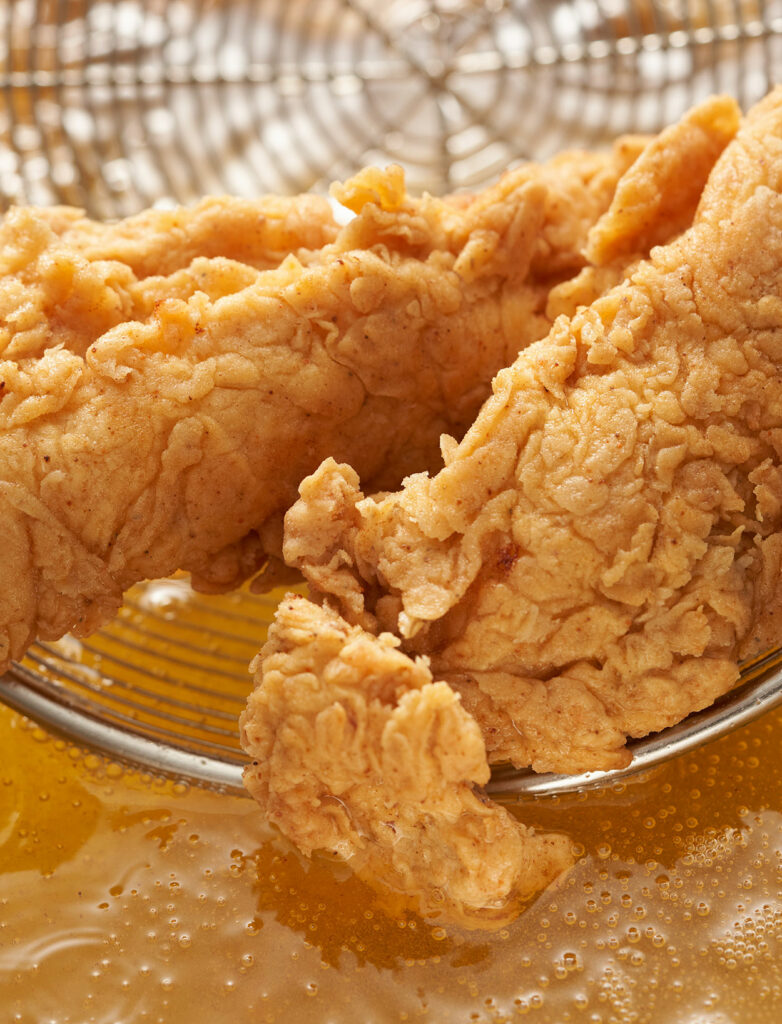
- Ditch the paper towels! Letting your chicken rest on paper towels is something our moms always seemed to do, but it’s wrong. Sorry mommies. While it does help soak up a little of the oil it also causes the chicken to steam making the breading soggy. Instead, use a spider strainer and give the chicken a good shake to remove excess oil then place chicken on a cooling rack set on a baking sheet. Don’t stack these on top of each other give each one proper room too cool and retain the crunch we have worked so hard on.
Marinate Your Chicken
The key to tender, juicy, chicken tenders is buttermilk. Buttermilk is hard to source an easy hack is to place 1 tablespoon of vinegar or lemon juice into 1 cup of milk and set aside for at least 5 minutes.
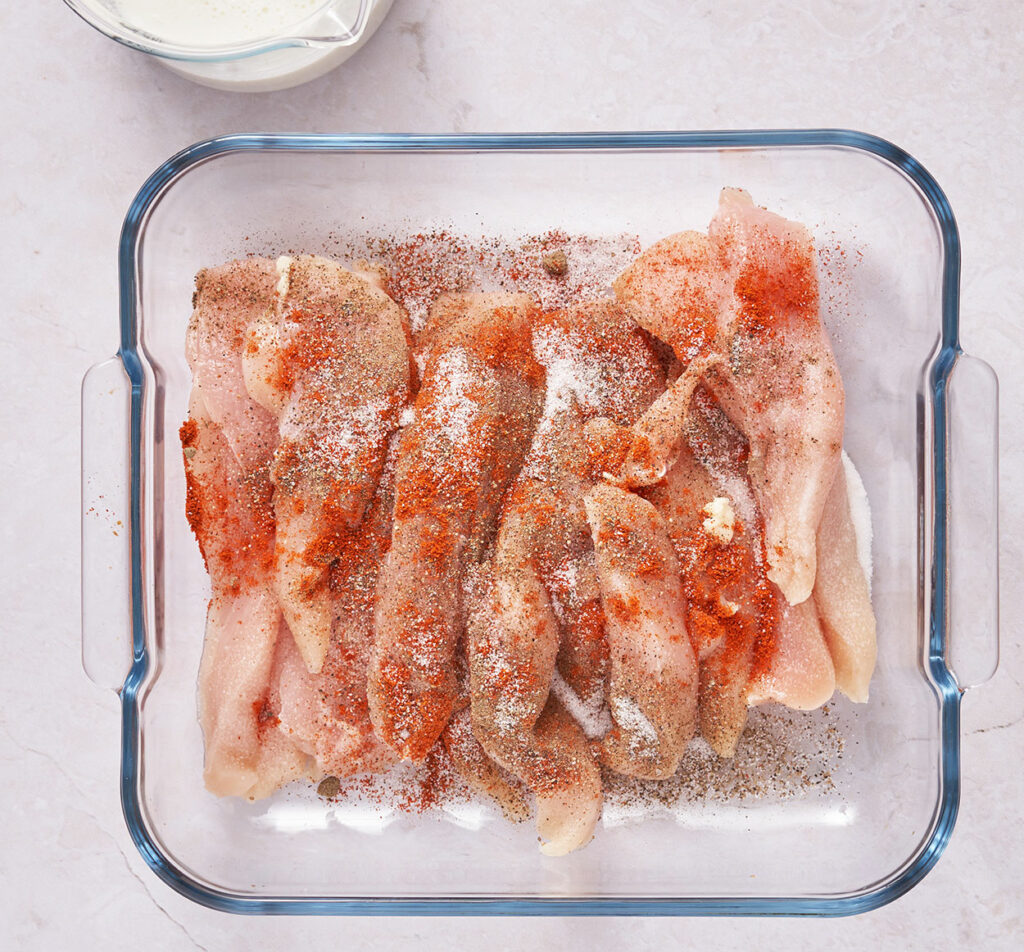
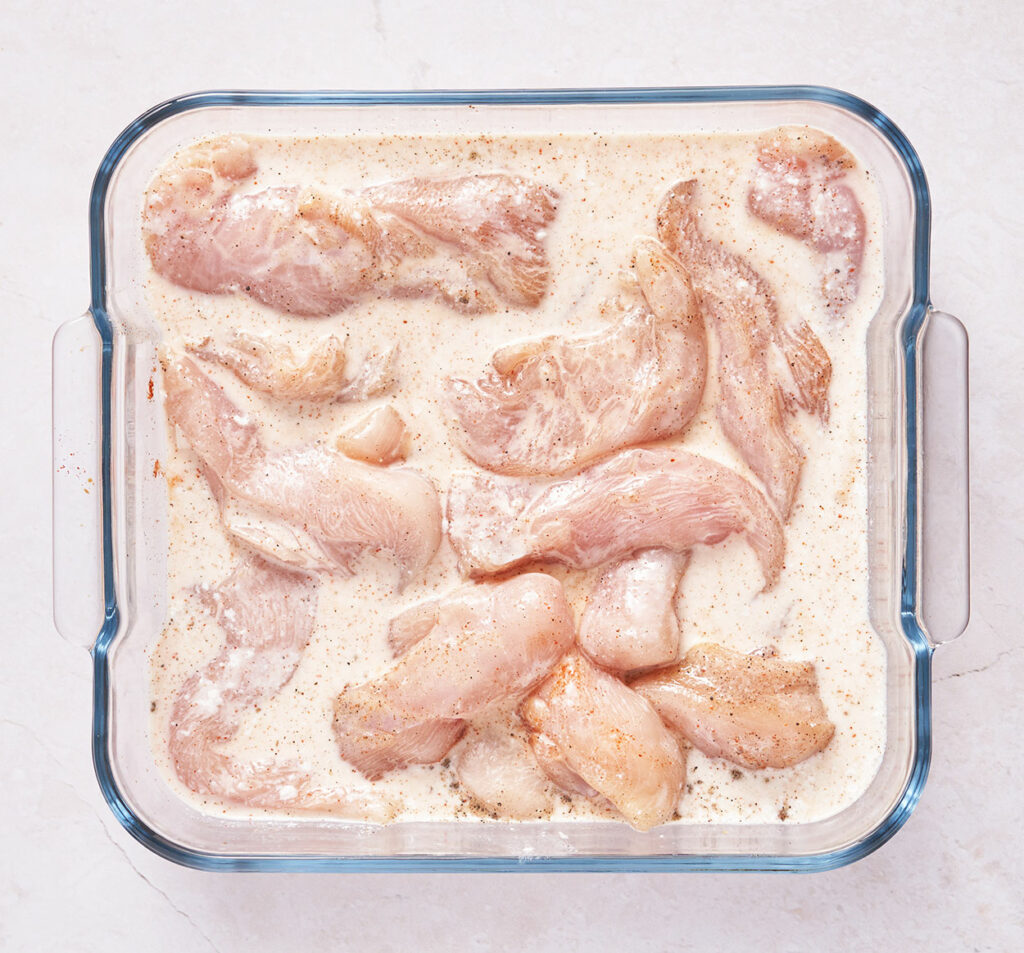
Cut each chicken breast into about four pieces. Place those into your marination dish and generously rub the pieces with dry seasoning: salt, pepper, and paprika.
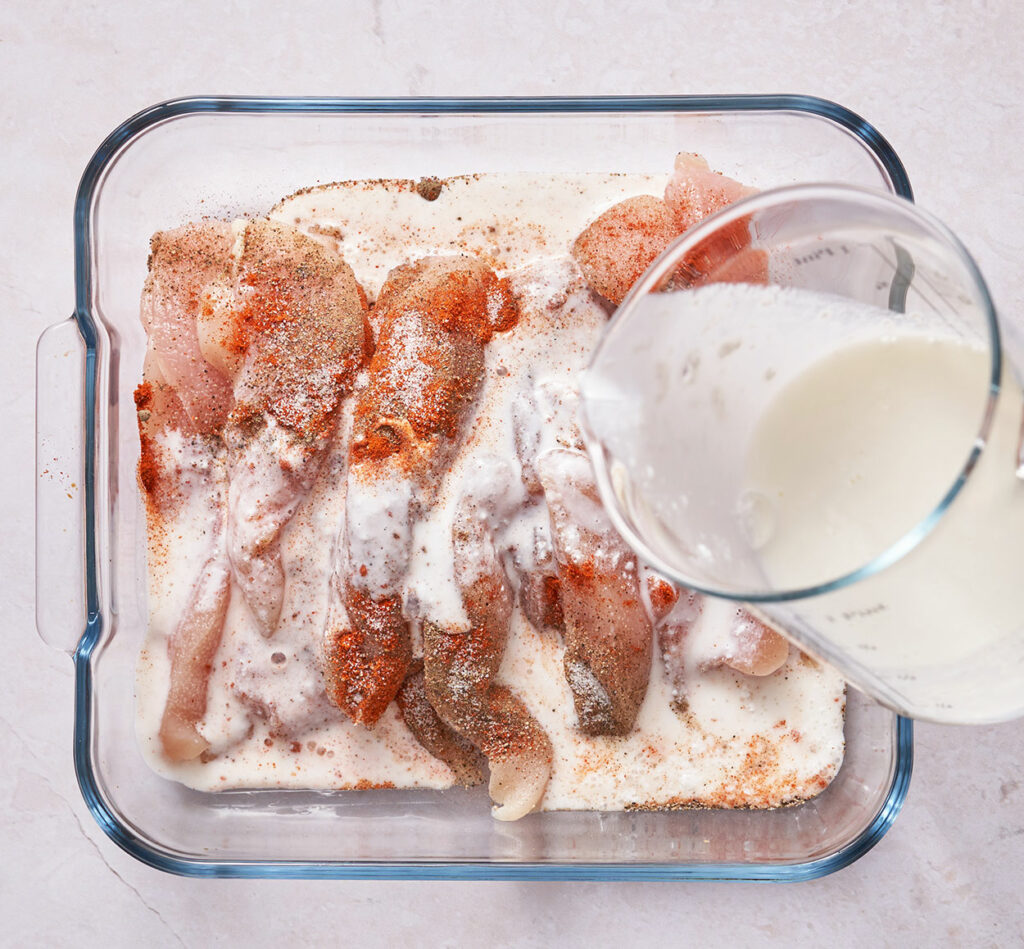
Does your milk look weird and curdled? Then your homemade buttermilk is ready! Pour buttermilk onto the seasoned chicken strips and mix with your hands. Cover with a cling wrap and let that sit in the fridge overnight. If you are tight on time 2 hours minimum will suffice.
Dredging
Wet Batter
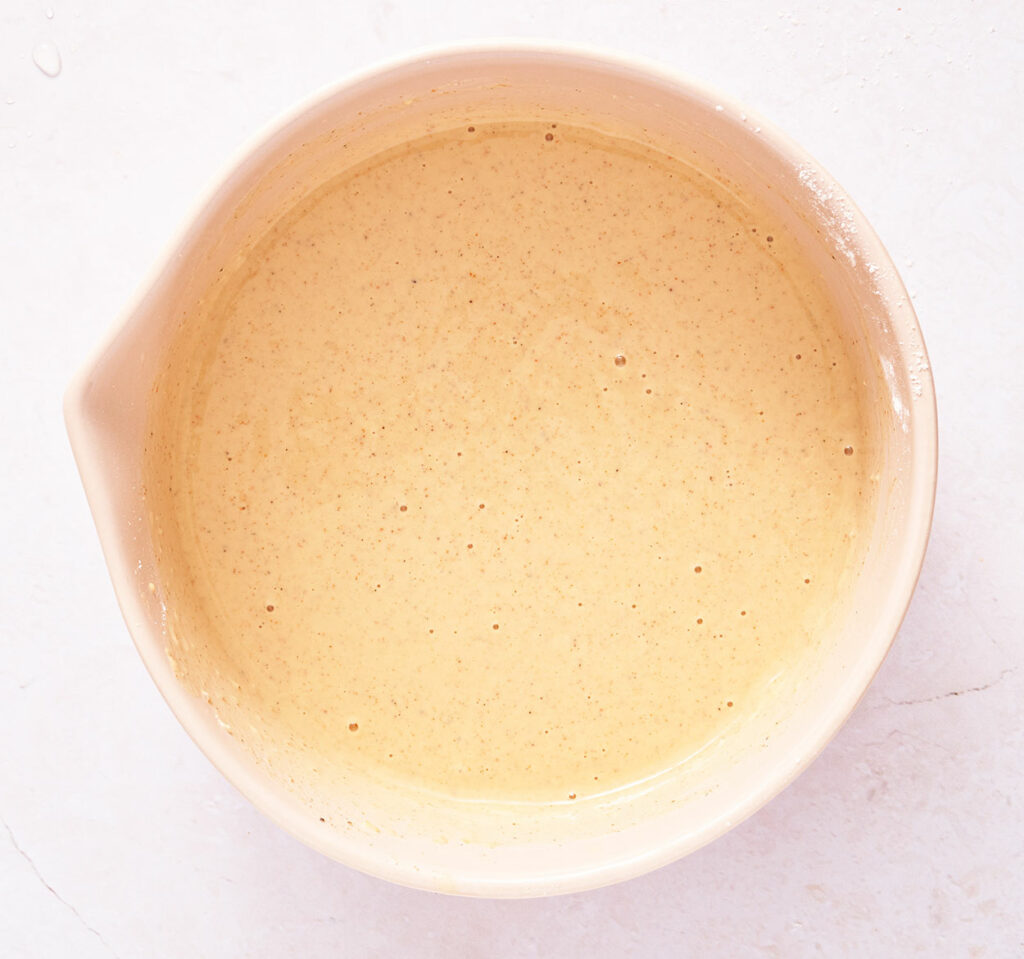
A wet fry batter will take the place of your traditional egg in the dredging lineup. In addition to this will just need some seasoned flour and your set.
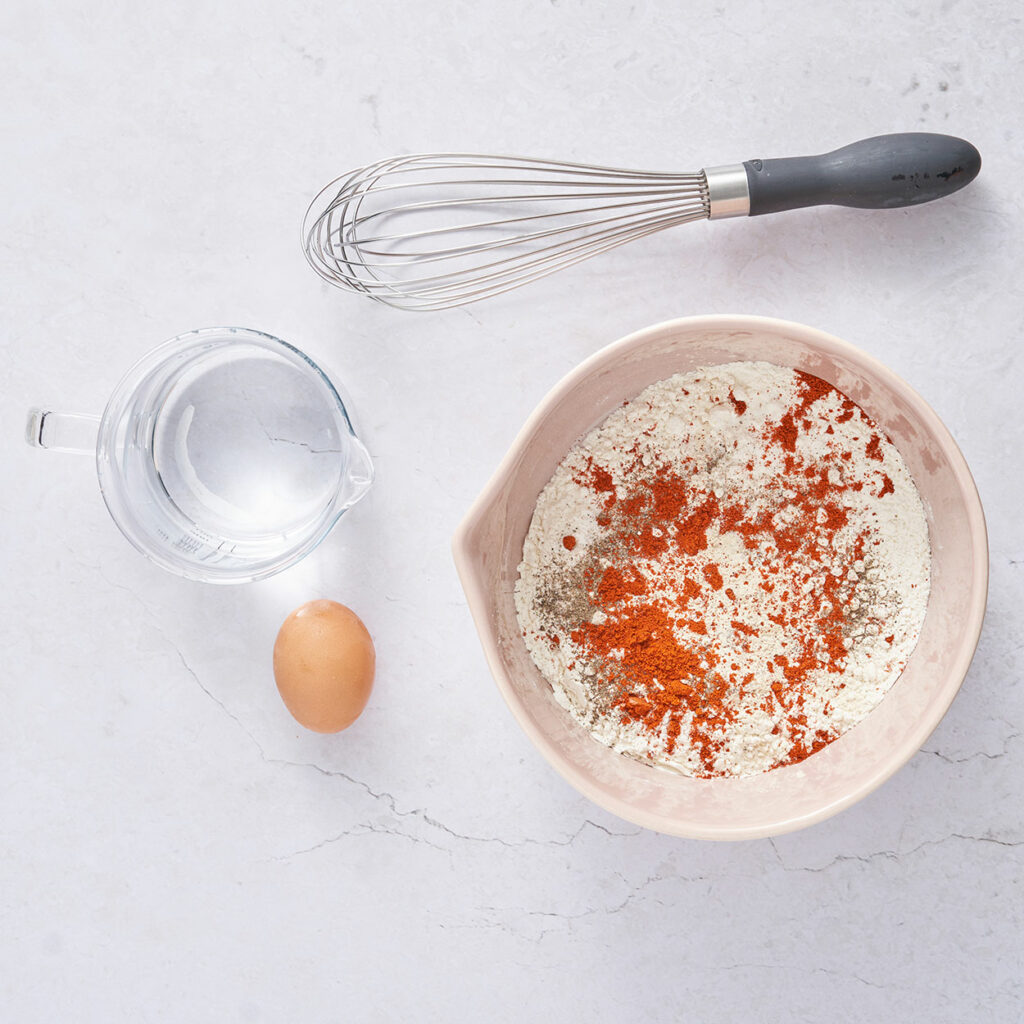
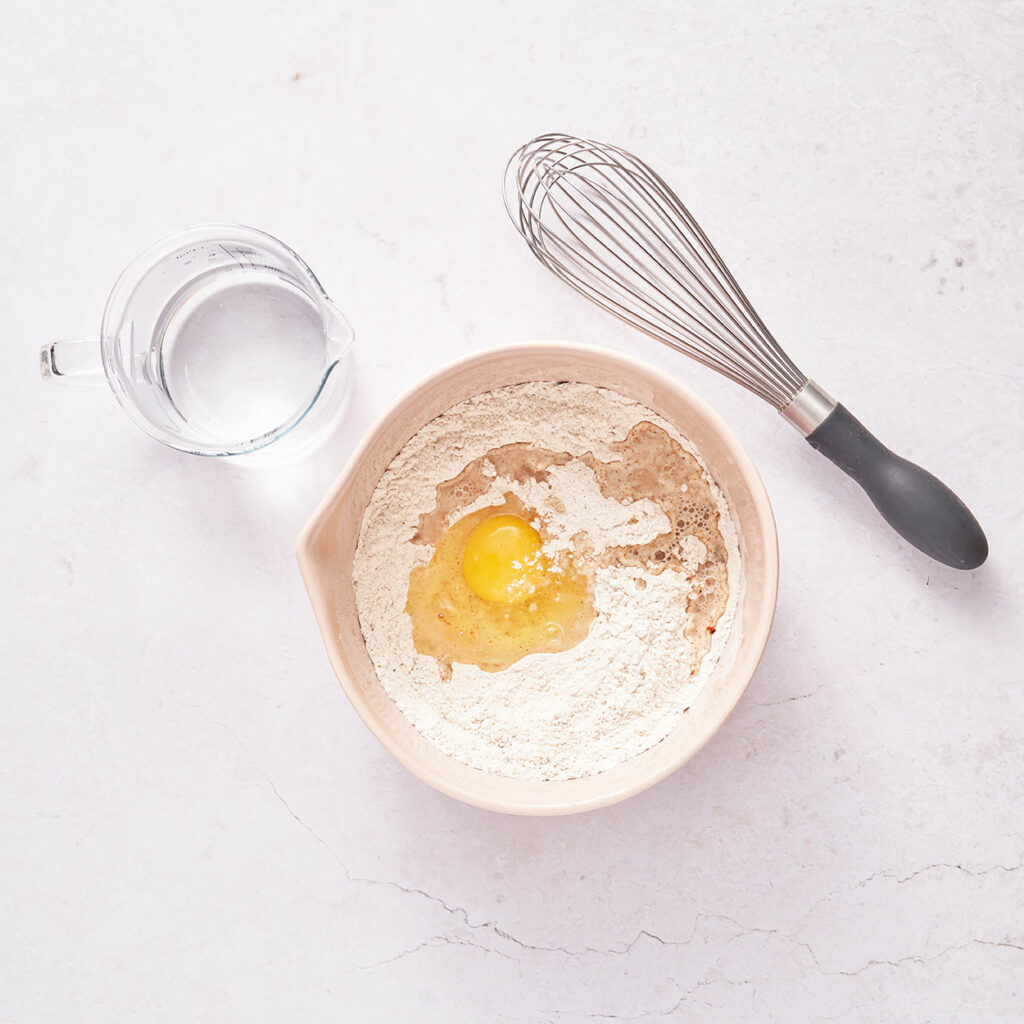
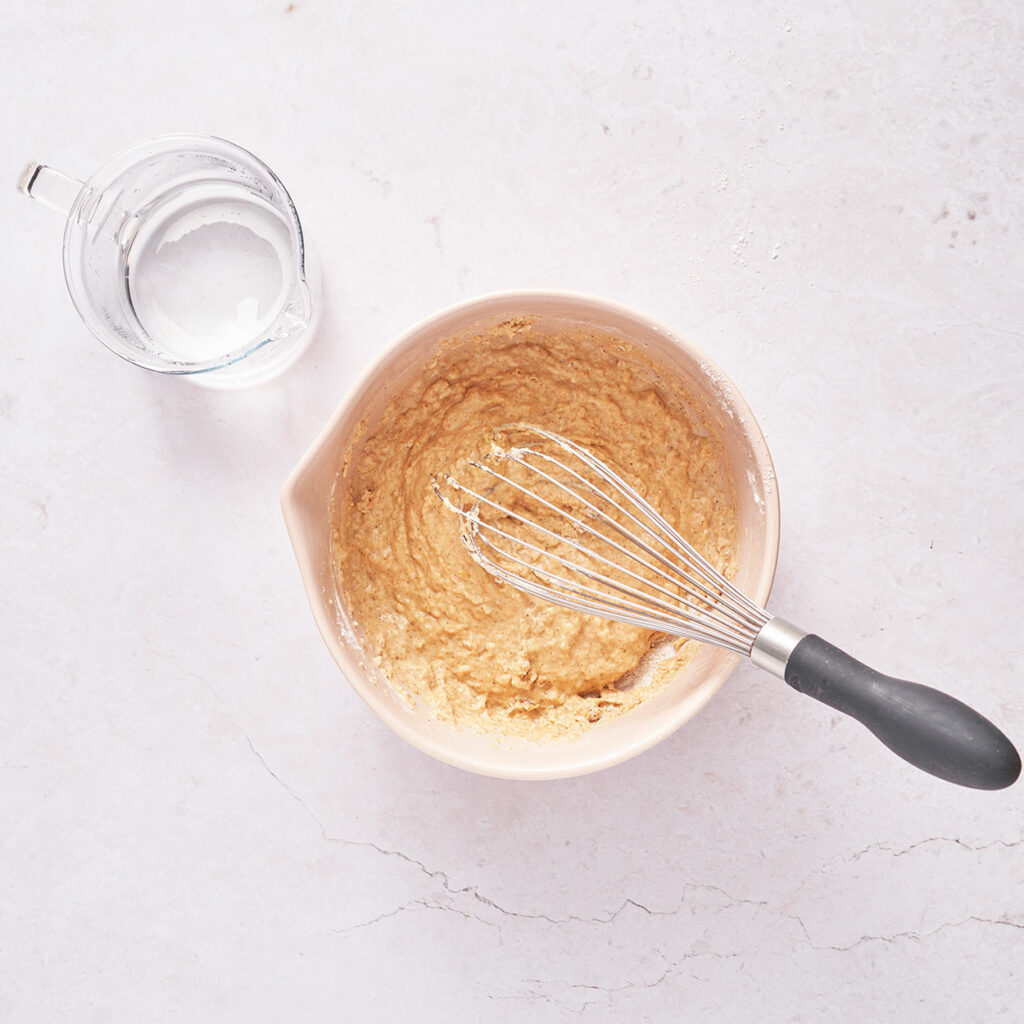
For the wet batter, whisk 1 cup of flour + paprika + black pepper + salt + garlic powder until distributed evenly. These are the classic seasoning but feel free to experiment with your own seasoning mix. Crack in your eggs and 4 tablespoons of water. Whisk together until you reach a paste-like consistency. You might need to add an extra tablespoon or two of water. Once your mixture is “pasty” enough, pour in 1 cup of water and whisk (If you like spice add a tablespoon or 2 of Tabasco). The texture should not be too thick, add water to thin it out. The consistency should be like thick buttermilk or thick heavy cream. Set Aside.
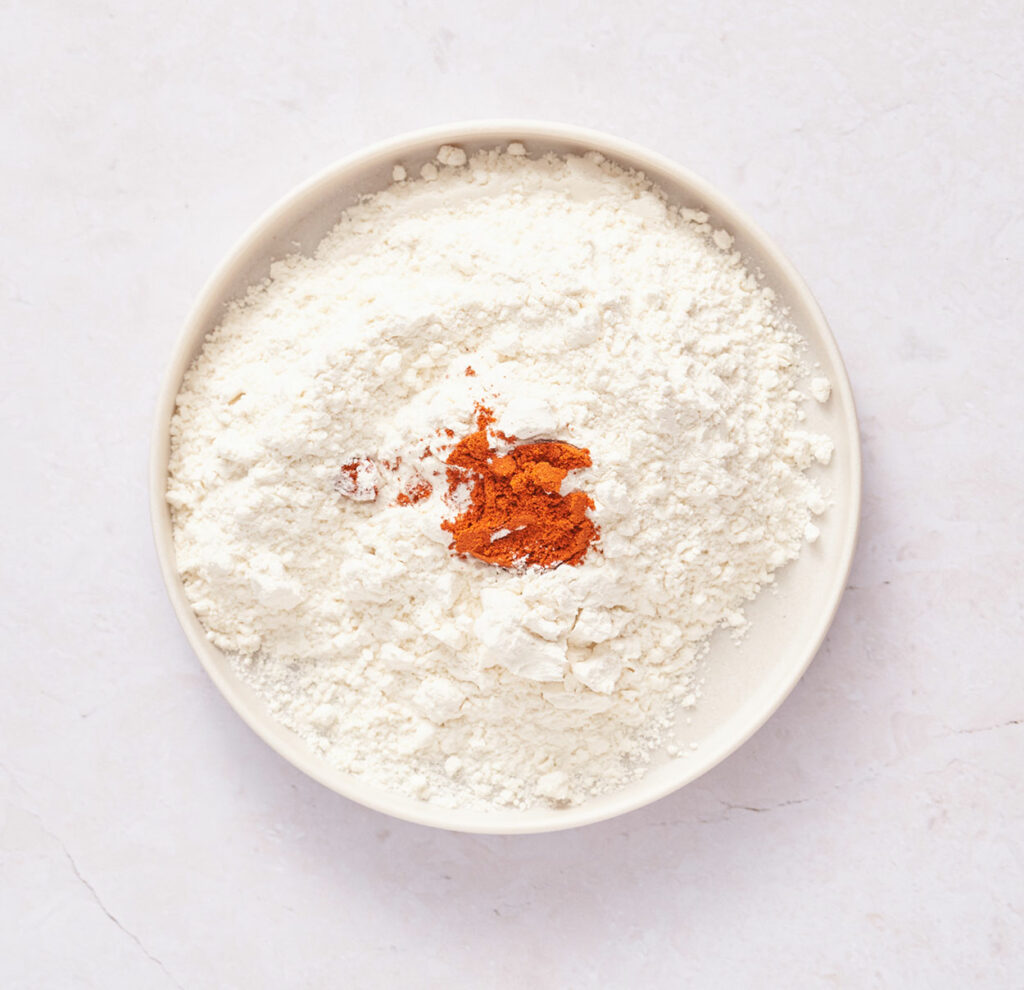
Flour
In a shallow plate whisk your flour with all the seasoning (salt, pepper, paprika) and set aside.
Dredging Chicken Tenders
Set up your workstation: We have the marinated chicken still sitting in buttermilk, we have the wet batter and we have the flour mixture. You will also have an additional plate to place dredged chicken tenders. Choose one hand for anything wet and one hand for the dry. That way you avoid clumpy flour fingers.
Dip your marinated chicken into the flour and cover completely, dip it in the wet batter letting the excess batter drip off, dip again in the flour mixture pushing the flour down onto the chicken making sure it sticks everywhere. Do not lift the chicken by the tip (or the dredge will slide off) hold it flat in your hand and shake off excess flour. Set aside on a plate. As you continue your flour will get lumpier WE WANT THIS. These are all the extra crunchy bits you all love. So just keep going.
Place in the fridge while we heat up the oil.
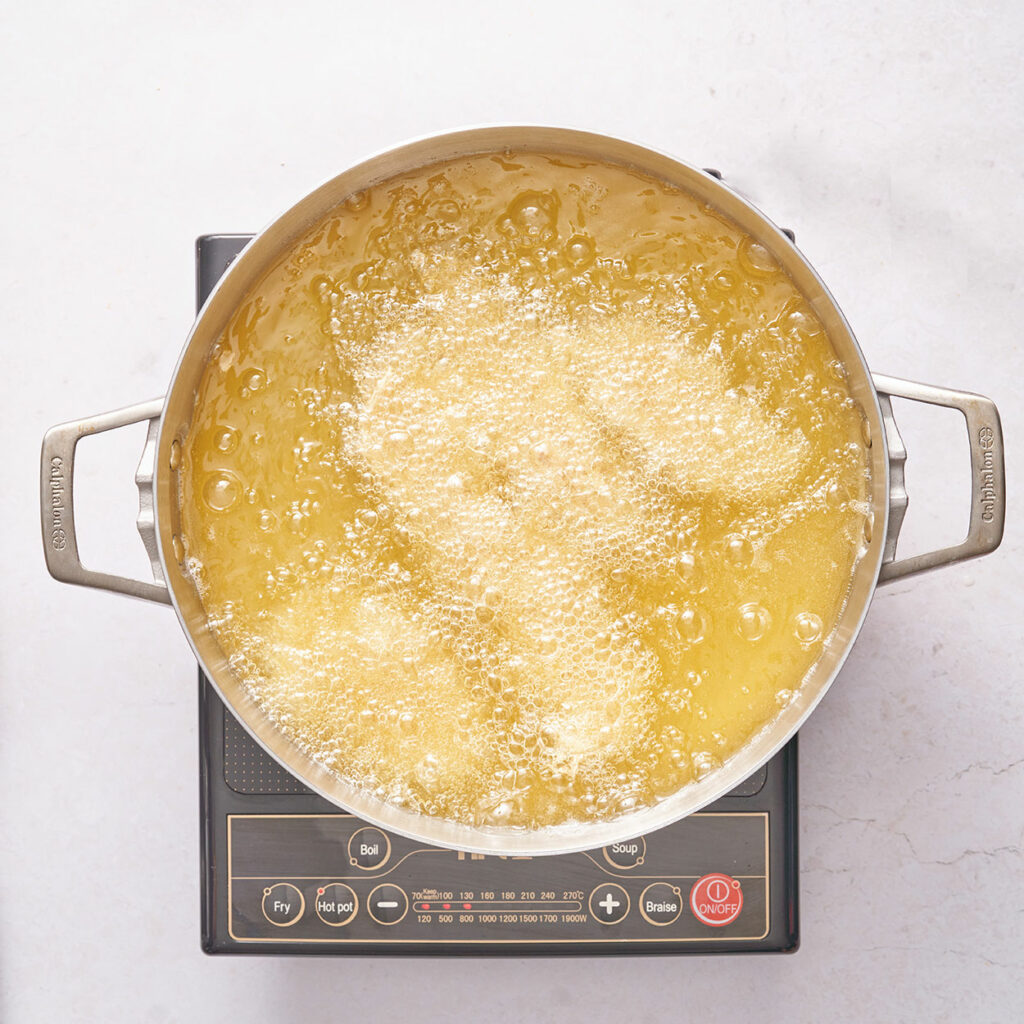
Frying Chicken Tenders
Using a cooking thermometer. Heat vegetable oil to 175°C. Preferably in a dutch oven ( we used a stainless steel so it would be easier for us to show the chicken in the pictures).
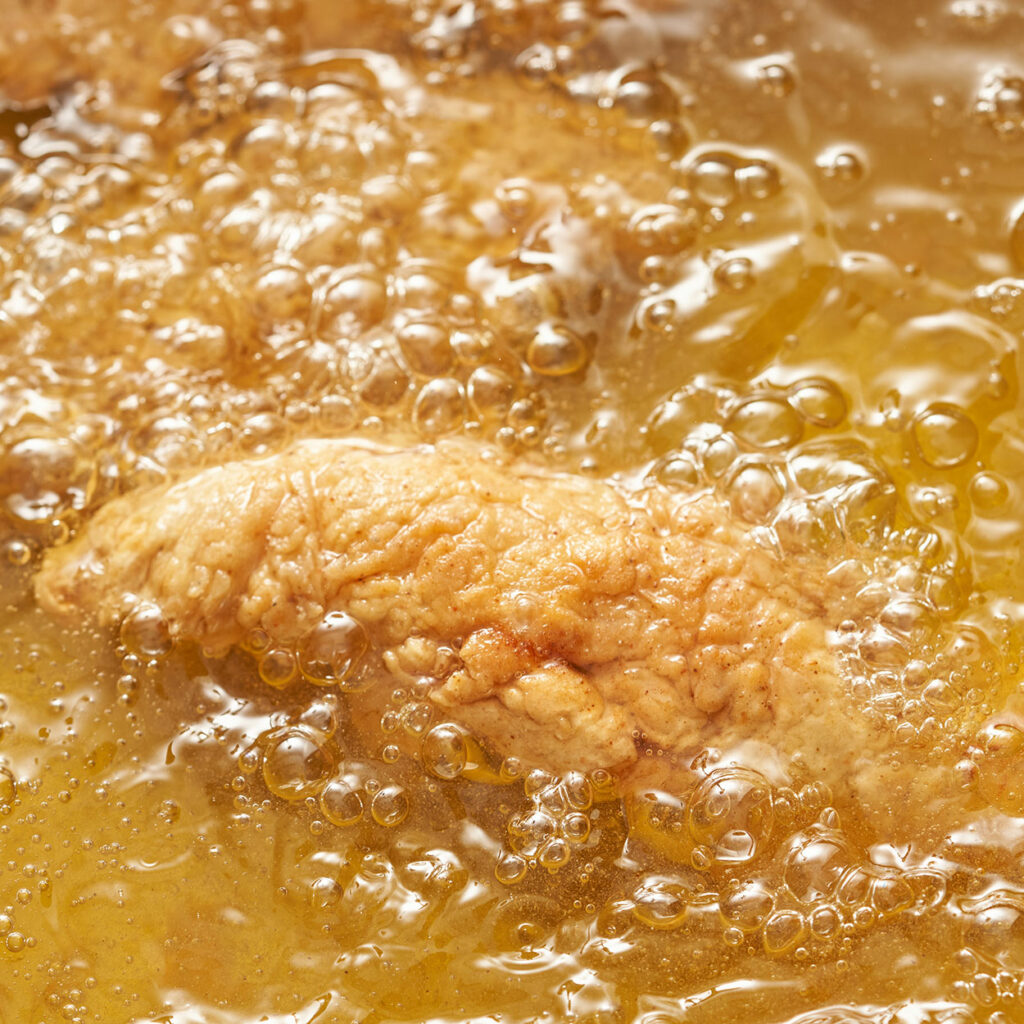
After the oil reaches the right temperature fry your chicken in batches without overcrowding your pan. Fry for 5-6 minutes until golden brown. Using a spider strainer remove the chicken giving them a gentle shake to remove any excess oil. Then place chicken on a cooling rack set on a baking sheet. Don’t stack these on top of each other give each one proper room too cool and retain the crunch we have worked so hard on. Before placing the second batch into oil check the temperature again making sure it climbs back up to 175°C
If you’re making a double recipe preheat your oven to 120C and place your fried chicken in a single layer on a wire cooling rack on a baking sheet, while you fry the rest.
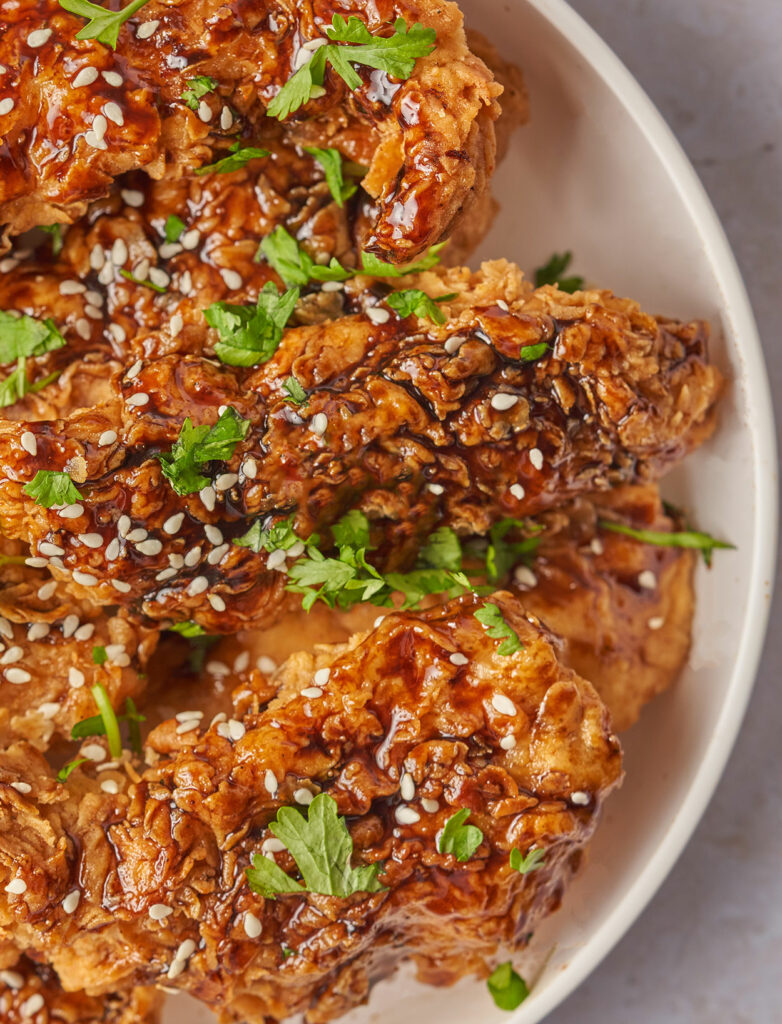
Sticky Soy Garlic Glaze
Ingrediants:
- 1/4 cup low sodium soy sauce
- 1/4 cup honey
- 1/2 tablespoon grated ginger
- 3 cloves garlic minced finely
- 1 tbsp sesame oil
For an Asian twist, try this Sticky Soy Garlic Glaze. If you are making this version go easy on the salt when making your chicken, the soy sauce is already very salty. In a small saucepan heat honey + soy sauce + garlic + ginger + sesame oil until thickened about a minute or two. Using a kitchen brush, brush the glaze over your hot chicken. Sprinkle with sesame seeds.
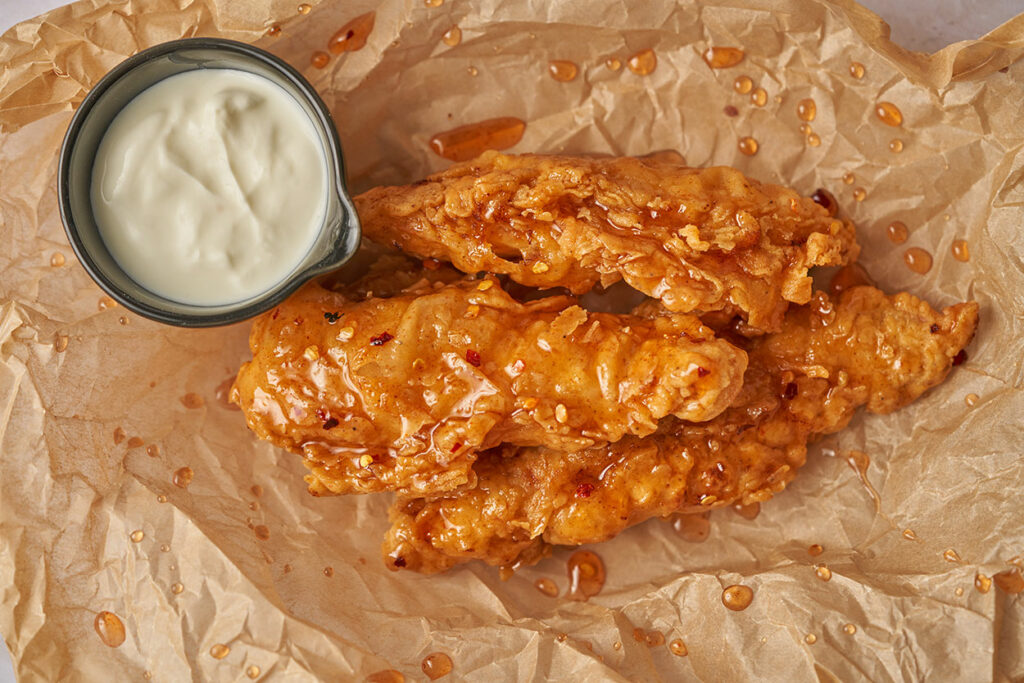
Sriracha Honey Glaze:
Ingredients:
- 6 tbsp honey
- 1 tsp Sriracha
- 1/4-1/2 tsp dried chili flakes
For a sweet and spicy kick, this Sriracha Honey is perfection.
In a small saucepan heat, 6 tablespoons of honey + 1 tsp Sriracha (more if you like) + 1/4-1/2 tsp dried chili flakes for about a minute or two. When the mixture has warmed through and is thin enough to glaze remove from the heat (about 1-2min). Using a kitchen brush, brush the glaze over your hot chicken.
If you make these Crunchy Buttermilk Fried Chicken Tenders, let us know! Leave a comment, rate it, and don’t forget to tag a photo #thetablediaries on Instagram. We love seeing all the recipes you and your family enjoy.
Crispy Buttermilk Fried Chicken Tenders
Ingredients
Chicken Marinade
- 4 chicken breasts
- 1.5 tsp black pepper
- 2 tsp salt
- 2 tsp paprika
- 1 cup milk
- 1 tbsp vinegar or lemon juice
Wet Batter
- 1 cup flour
- 1 egg
- 1 tsp salt
- 1 tsp paprika
- 1 tsp garlic powder
- 1 tsp black pepper
- 2 tbsp Tobasco optional
- 1 cup water + 4 tbsp
Flour Dredge
- 2.5 Cups Flour
- 1 tsp salt
- 1 tsp paprika
- 1 tsp black pepper
- vegetable oil for frying
Spicy Sriracha Honey Glaze
- 6 tbsp honey
- 1 tsp Siracha
- ¼-½ tsp chili flakes
Sticky Soy Sauce Garlic Glaze
- ¼ cup low sodium soy sauce
- ¼ cup honey
- ½ tbsp grated ginger
- 3 cloves garlic finely minced
- 1 tbsp sesame oil
- sesame seeds for garnish
Instructions
Chicken Marinade
- Add 1 tbsp of vinegar to milk and let sit for 5 minutes
- Cut each chicken breast into about 4 strips.
- Place chicken strips into a container. Season with salt + paprika + black pepper. Using your hand's mix well.
- Pour the milk+vinegar mixture (buttermilk) onto the chicken. Cover with cling film. Let marinate in the fridge for a minimum of 2 hours or overnight.
Wet batter mixture
- Whisk 1 cup of flour + paprika + black pepper + salt + garlic powder until distributed evenly.
- Crack in egg plus 4 tbsp of water. Start whisking we are looking to achieve a paste-like mixture. You might need to add an extra tablespoon or 2.
- Once your paste mixture is achieved pour in 1 cup of water and whisk. Add 2 tbsp of Tobasco (optional) if you like spicy, mix well. Set Aside. The texture we are looking for is thick buttermilk or thick heavy cream.
Dredging Flour
- Mix flour + salt + pepper + paprika. Set Aside
Making the chicken tenders
- Set up your dredging station.
- Once your chicken has marinated using one hand for wet and one for dry dip the chicken from the buttermilk into the flour and cover well.
- Then dip into your wet batter mixture letting excess batter drip off.
- Then place the chicken back into the flour mixture patting the flour down hard to ensure the dredge sticks to the chicken. Don't pick up the chicken from the tip (dredge will slide off) place it into the palm of your hand and shake to remove extra flour.
- Set aside on a plate.
- Repeat with all chicken strips.
- Place in the fridge while we heat up the oil.
Frying the chicken tenders
- Using a cooking thermometer. Heat oil to 175°C.
- Fry chicken in batches for 5-6 minutes until golden brown. Using a spider strainer remove the chicken from the oil giving them a gentle shake to remove any excess oil. Then place chicken on a cooling rack set on a baking sheet. Before placing the second batch into oil check the temperature again making sure it climbs back to 175°C
- Place fried chick on a cooling rack with a baking sheet underneath. Leaving space around each one. They should not be touching, the residual steam will cause them to get soggy.
- If you're making a double recipe preheat your oven to 120°C and place your fried chicken in a single layer on a wire cooling rack onto a baking sheet, while you fry the rest.
- Serve alongside your favorite condiment. Or try one of our galzes.
Sriracha Honey Glaze:
- In a small saucepan heat, 6 tablespoons of honey + 1 tsp Siracha (more if you like) + 1/4-1/2 tsp dried chili flakes until mixture has warmed through and is thin enough to glaze, 1-2 minutes. Remove from the heat. Using a kitchen brush, brush the glaze over your hot chicken.
Sticky Soy Garlic Glaze
- If you are making this version go easy on the salt when making your chicken, the soy sauce is already very salty. In a small saucepan heat honey + soy sauce + garlic + ginger + sesame oil until thickened, 1-2 minutes. Using a kitchen brush, brush the glaze over your hot chicken. Sprinkle with sesame seeds.