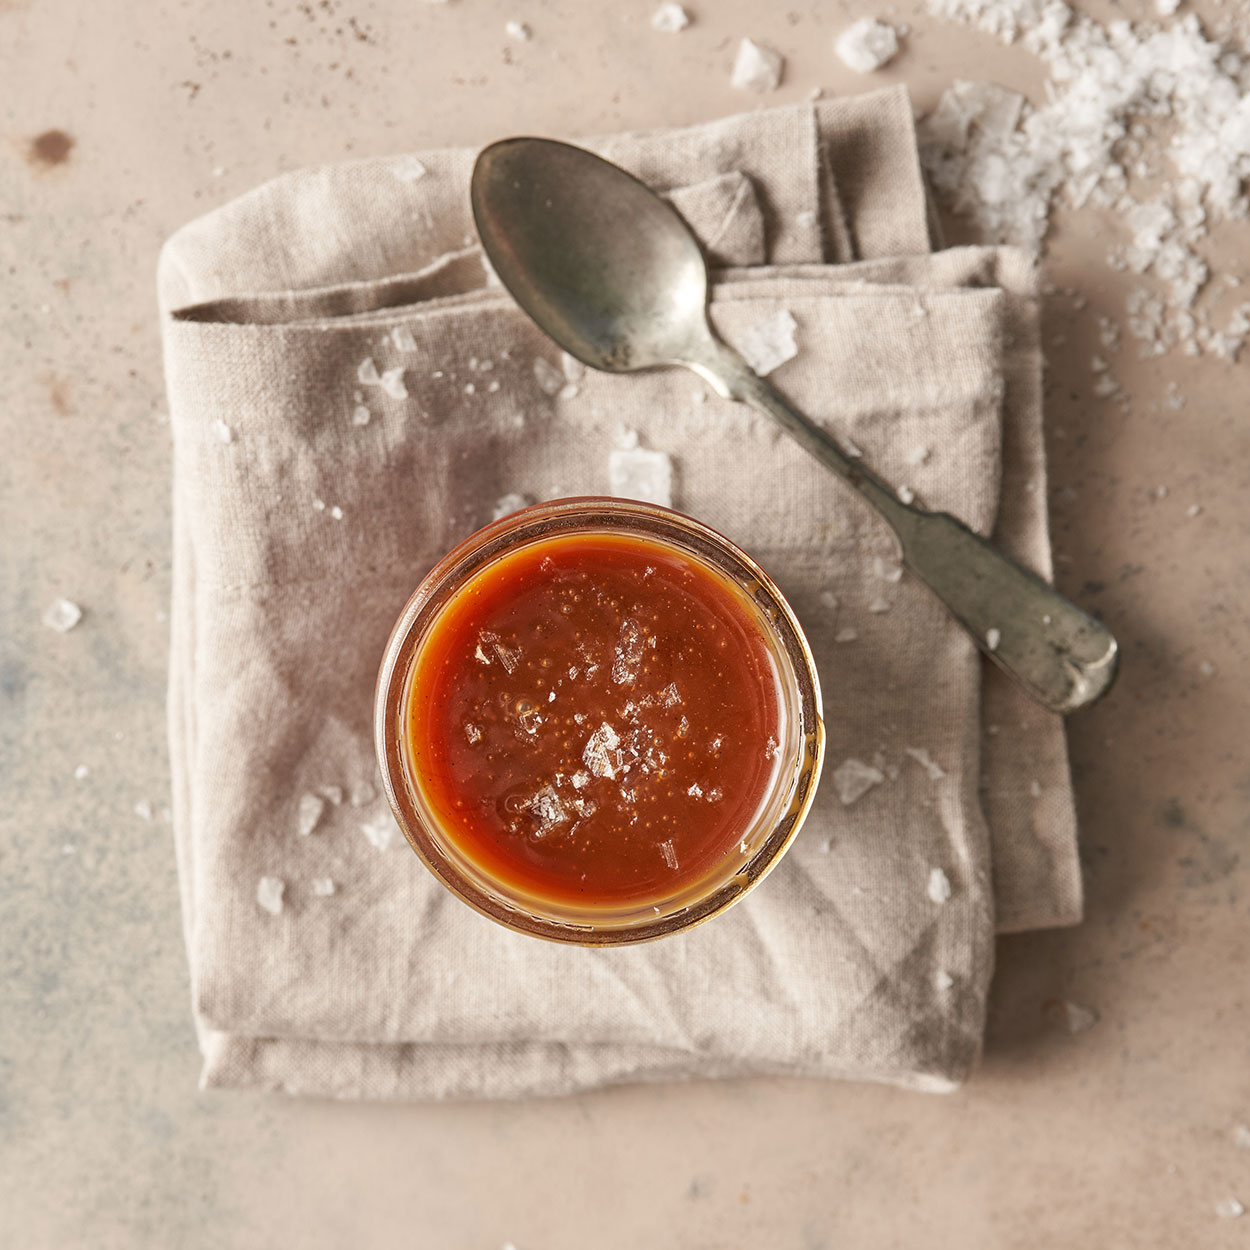
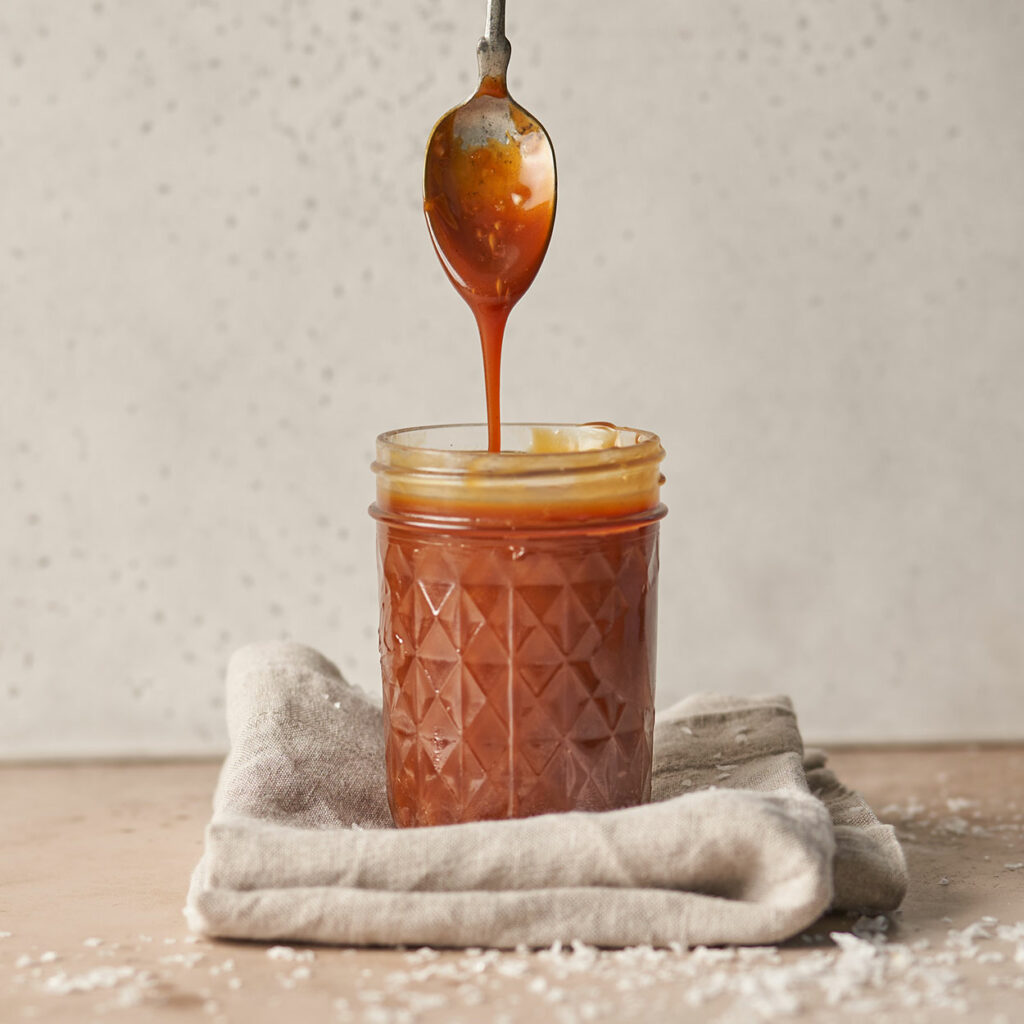
Deep dark Salted Caramel is one of our favorite things to make. It comes together using ingredients you most likely have in your kitchen pantry and keeps for a long time in your fridge. People are always a little intimidated by making caramel, but once you get the technique down it couldn’t be easier. Take some notes people when we are done with you are going to be making salted caramel like a pro.
Use this on anything and everything; brownies, pound cakes, our banana bread, our crepes, cookies, pie, pancakes, waffles, ice cream, or our favorite with a spoon straight out of the jar.
DRY VS WET CARAMEL :
There are two techniques for making caramel. A wet technique, where water is added to wet the sugar at the beginning of the cooking process. A dry technique where the sugar is cooked on its own. The wet technique makes people more comfortable, it takes longer to cook and is prone to crystallization (crystals of sugar appearing later). The dry technique cooks faster but you need to keep your eye on it because it is prone to burning. The choice is a preference, go with whatever makes you feel more comfortable. The dry technique is what is used by most professional chefs, is the most stable, and is the one we are going to make today.
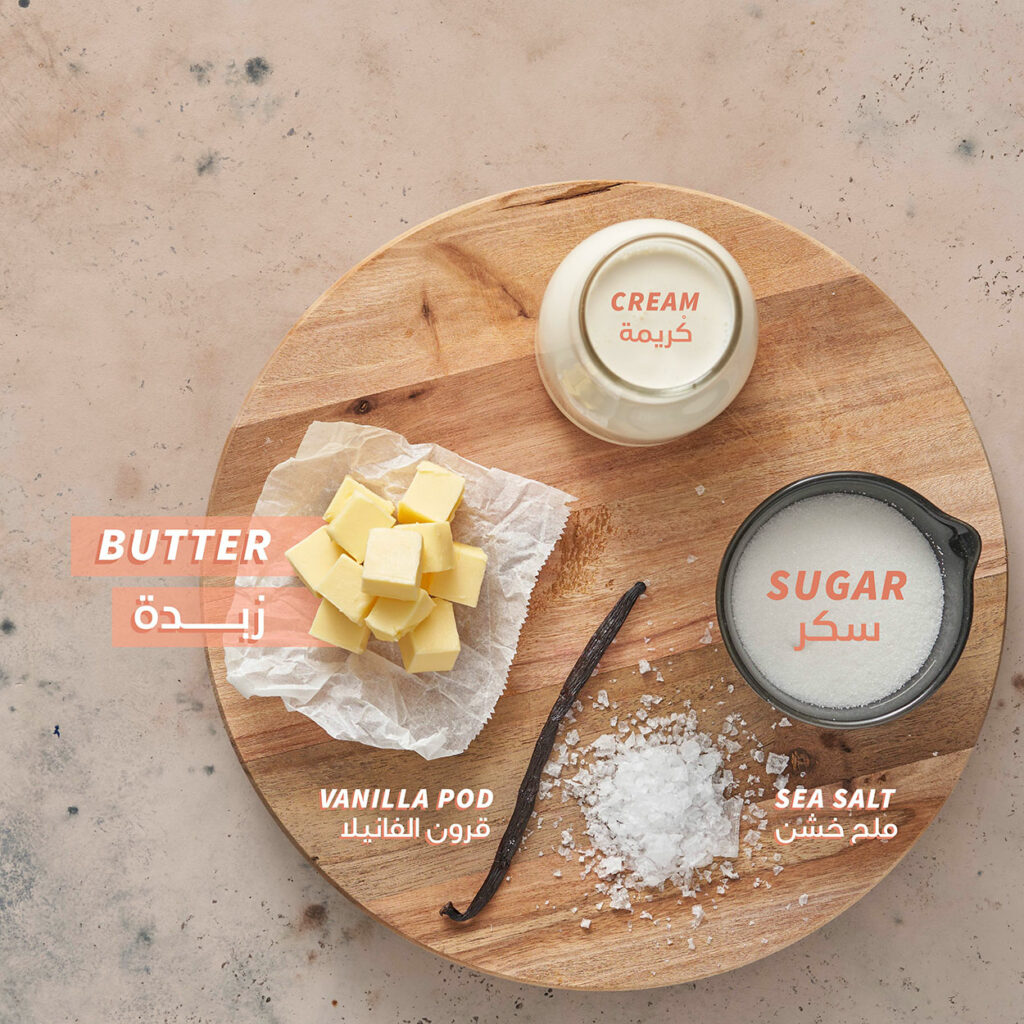
Here is what you will need:
Tips for the Perfect Salted Caramel:
- No stirring at all instead, use the handle of the pan and swirl the sugar around.
- You do not need a thermometer to make the caramel, just use your eyes. When the caramel reaches a nice dark reddish amber color (similar to the color of a rusted copper coin) remove it from the heat and start adding in your cream.
- If caramel has hardened in your pan, fill the pan with water and allow it to come to a boil until all the residue has melted. This makes for easy cleanup.
- Do not use a pan with a nonstick coating. You need a heavy bottom light-colored metal pan. The light color of the pan will allow you to judge the color of the caramel better.
- The caramel is very hot and will bubble up and release steam and might splatter, so wear oven mitts to keep your hands safe.
- Use a larger pot than you think you need, this will help when adding the cream. A pot that can hold 2.8 liters of water will do.
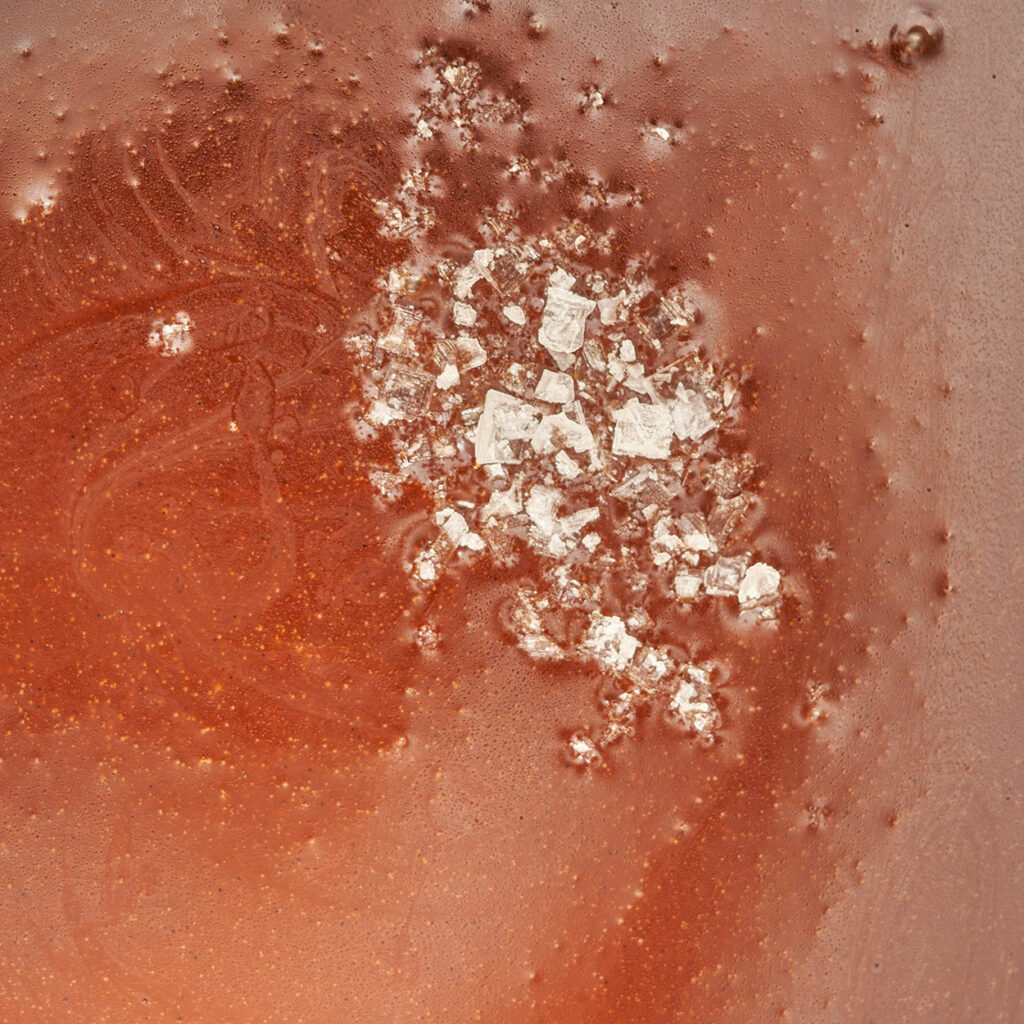
- We prefer using flakey sea salt (we like the little salty granules in the caramel), but feel free to use normal salt. You will however need to adjust the amount. Start with a pinch of table salt and work your way up until it is just right for you. IF YOU DONT LIKE SALTED CARAMEL LEAVE OUT THE SALT ALLTOGETHER.
HOW TO MAKE SALTED CARAMEL
Prepare all your ingredients before hand because this going to go quickly and you will need to be ready.
- Warmed cream with vanilla
- sugar
- butter cut into small cubes
- flakey sea salt
Do not go anywhere while you make this, it takes about 15minutes from start to finish. We were reluctant to put a cook time because its extremely subjective, depending on the width of your pan, stove top, exact cooking temperature etc…
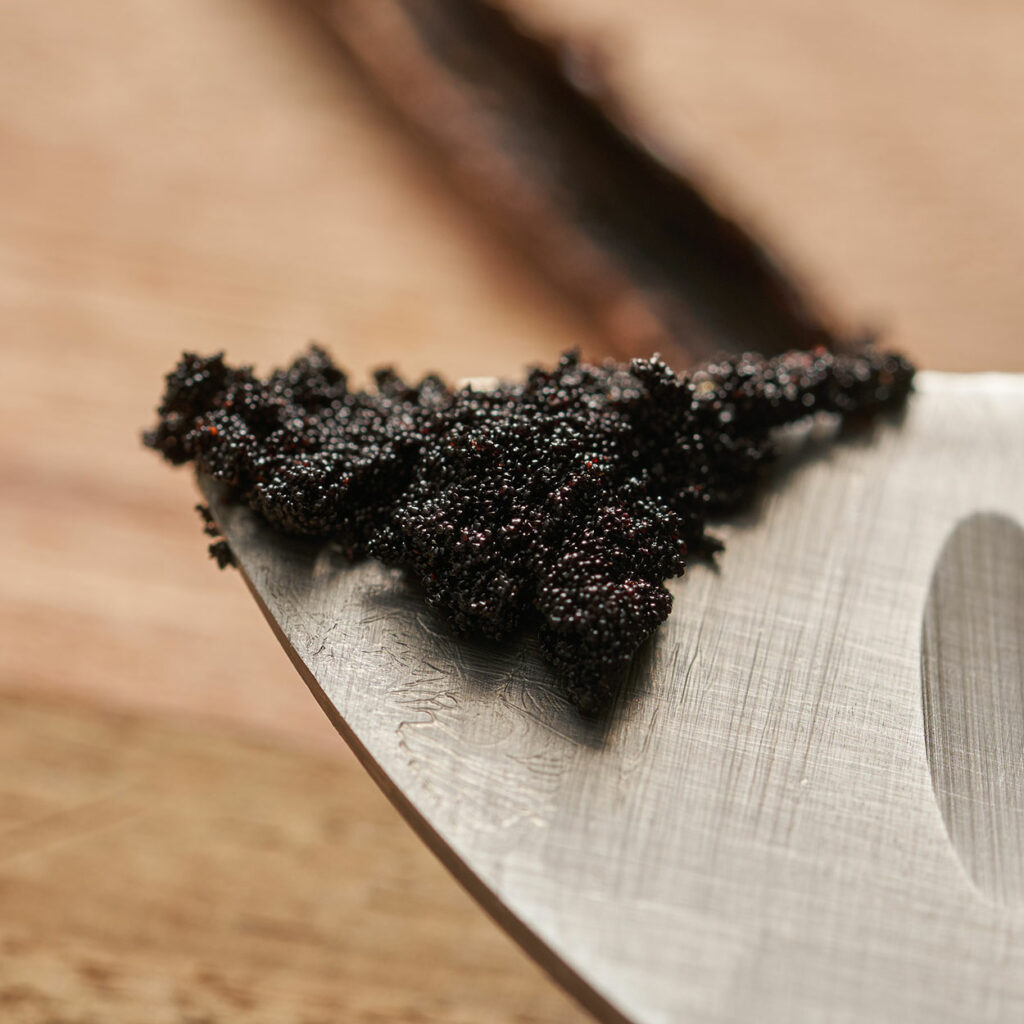
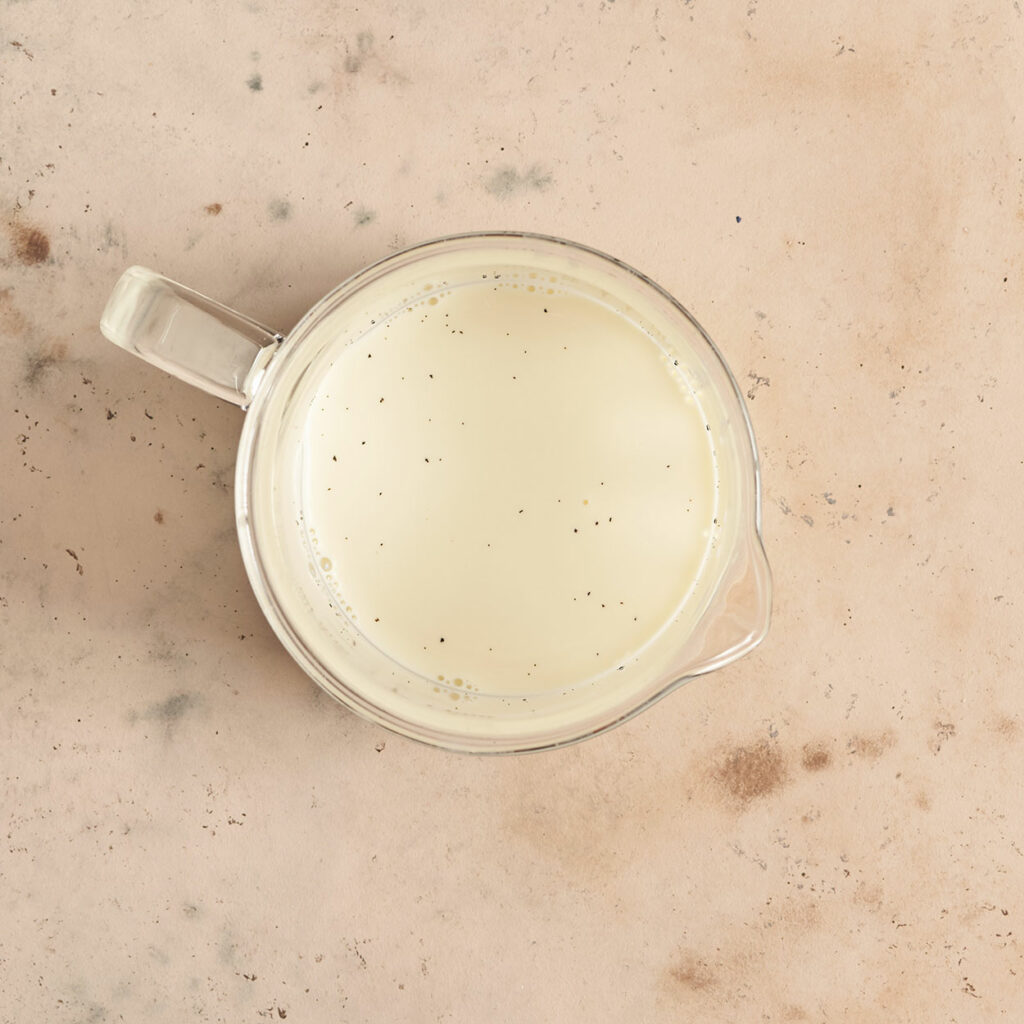
Split your vanilla pod in half and scrape the seeds with a sharp knife. Place the seeds into your cream and heat up in the microwave or on the stovetop. We are just looking to warm it up so it will incorporate into the caramel better.
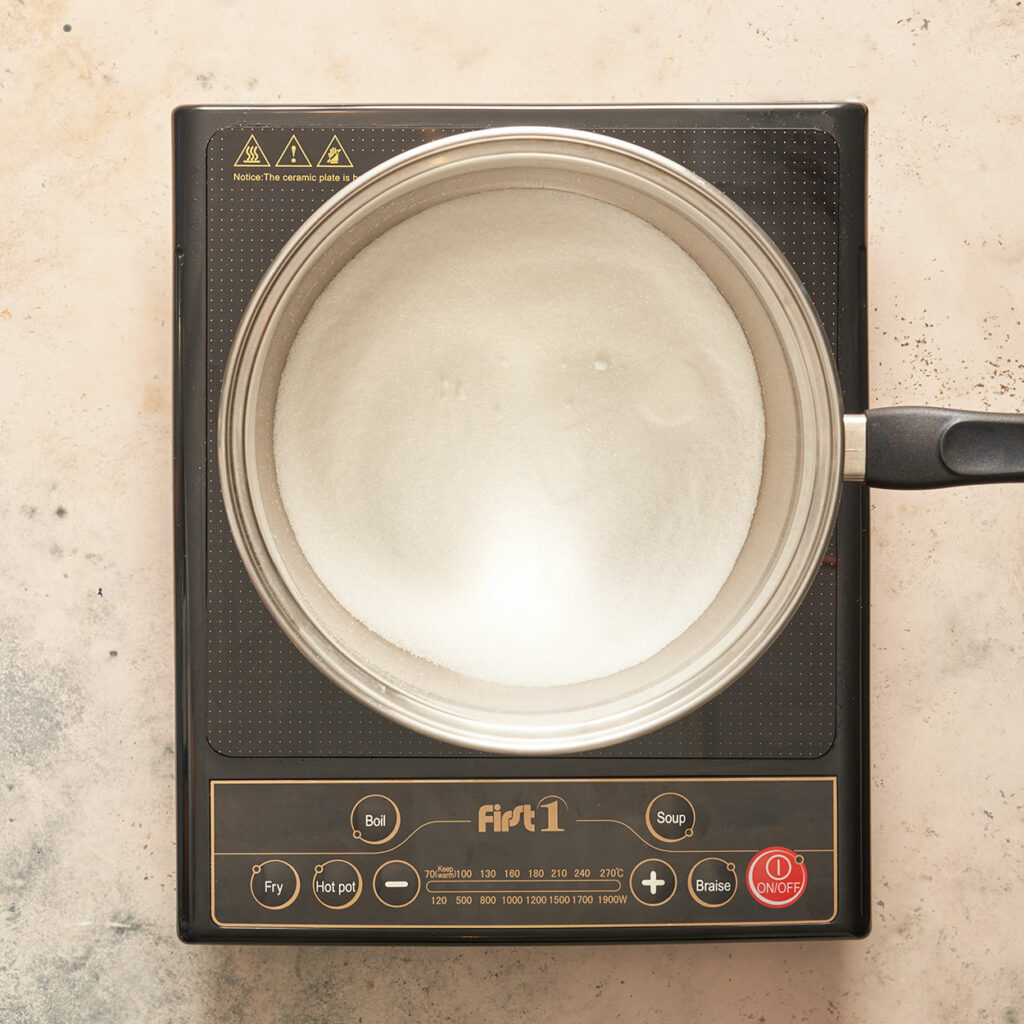
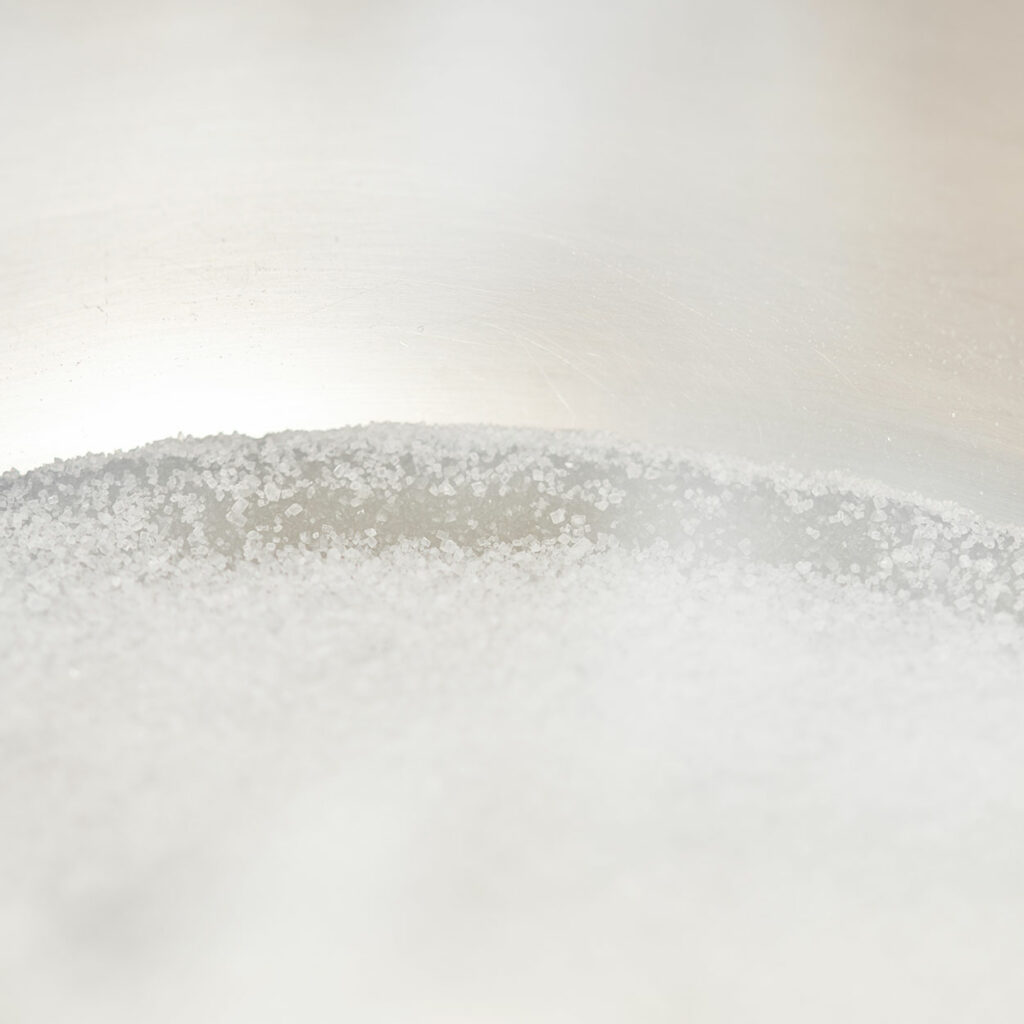
Put the sugar into a pan over medium heat and leave it alone (do not stir). The sugar will start to melt unevenly at first. You will notice it starts at the edges, then once you see larger pools of melted sugar it is time to slowly start swirling your pan. Swirl a little and then let it rest and repeat until all the sugar has melted. Make sure you swirl the melted sugar around the edges to catch any stray sugar crystals, you can also use a pastry brush dipped in water to help with this.
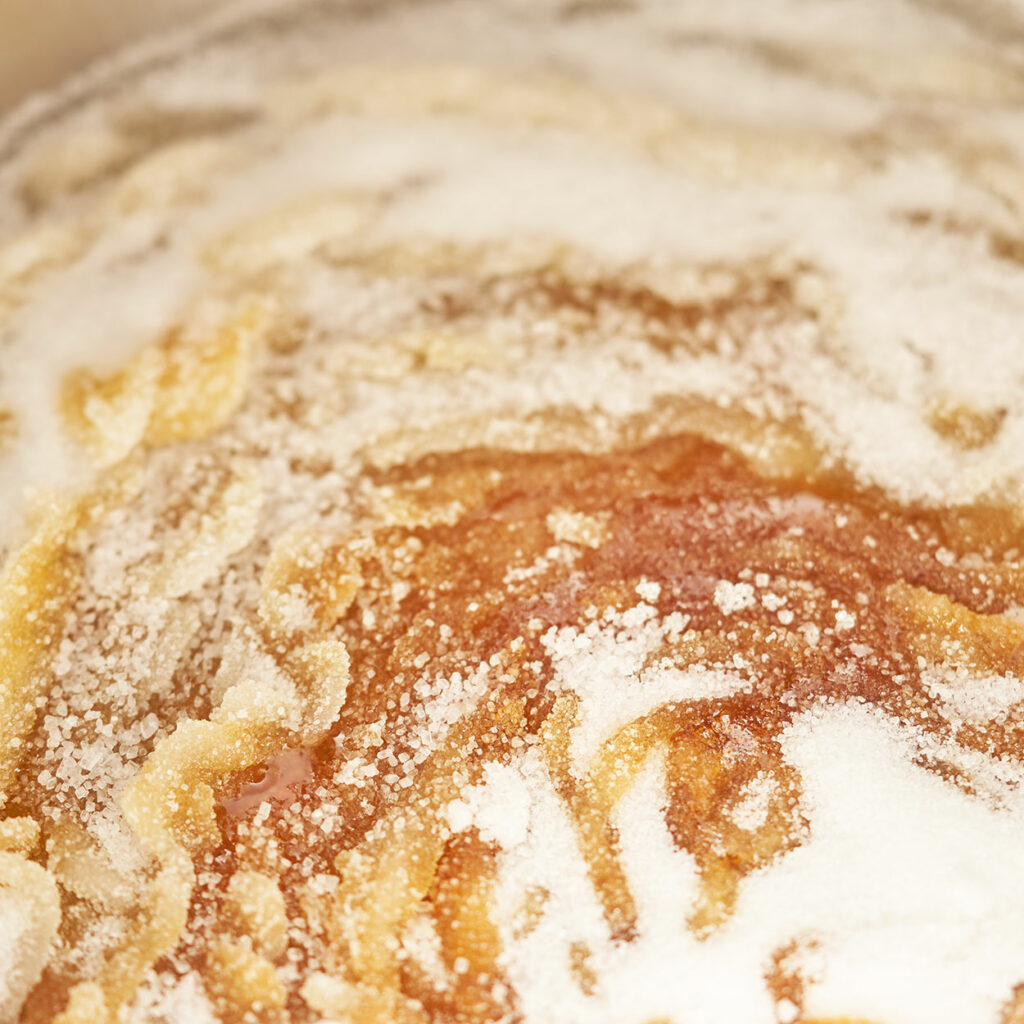
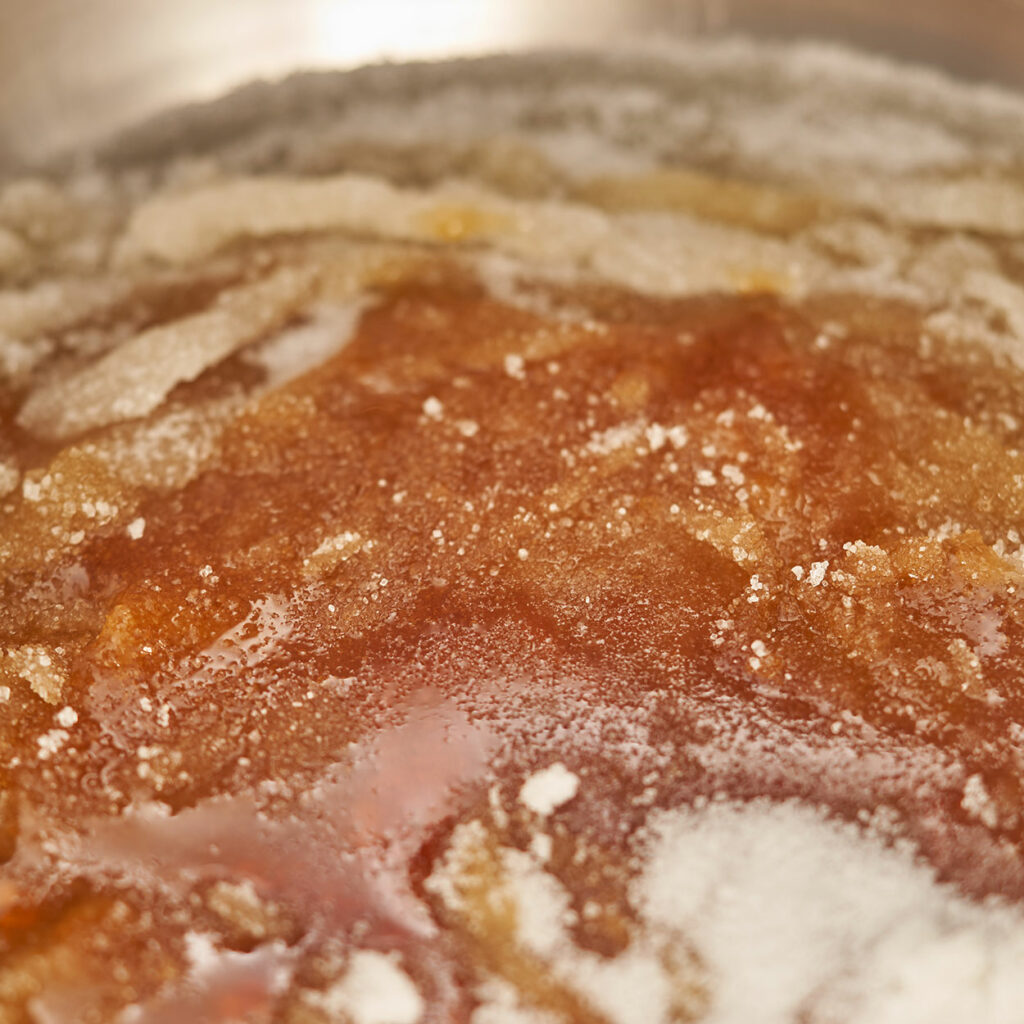
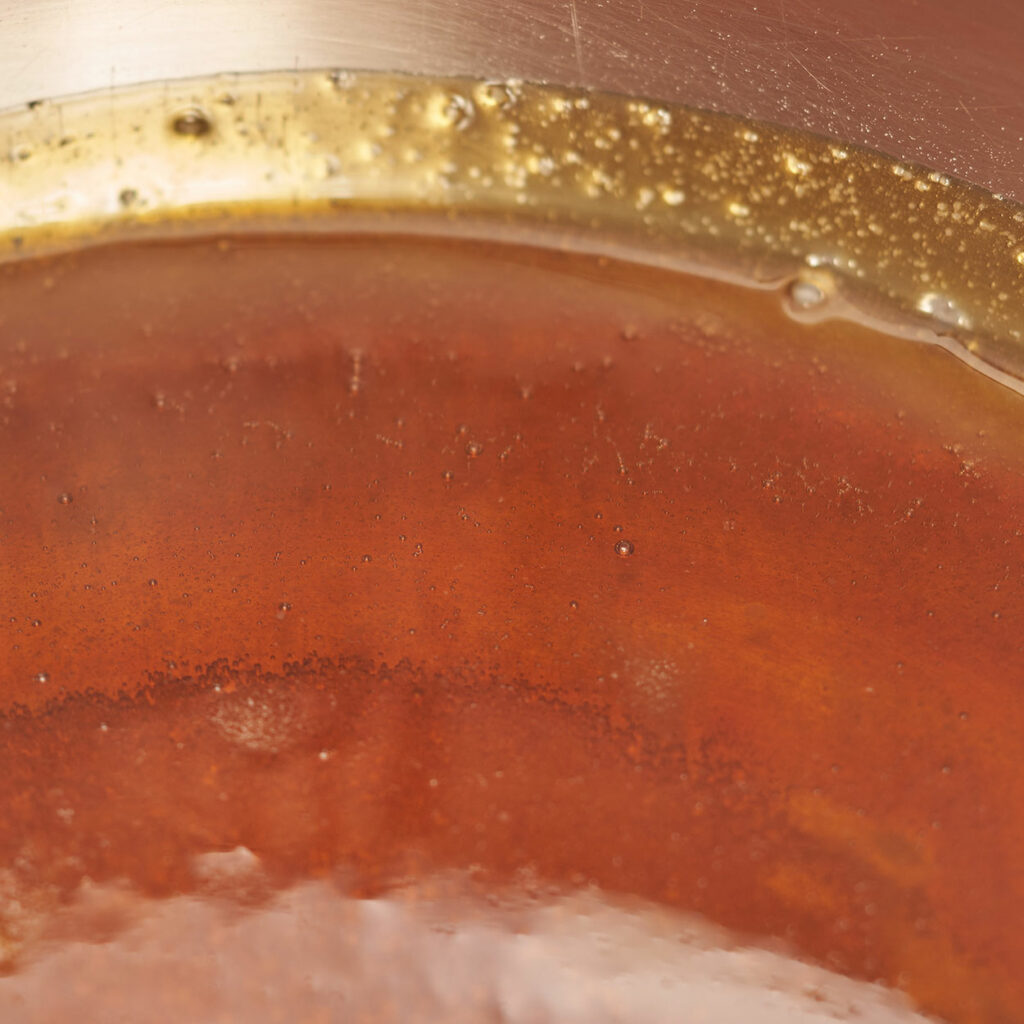
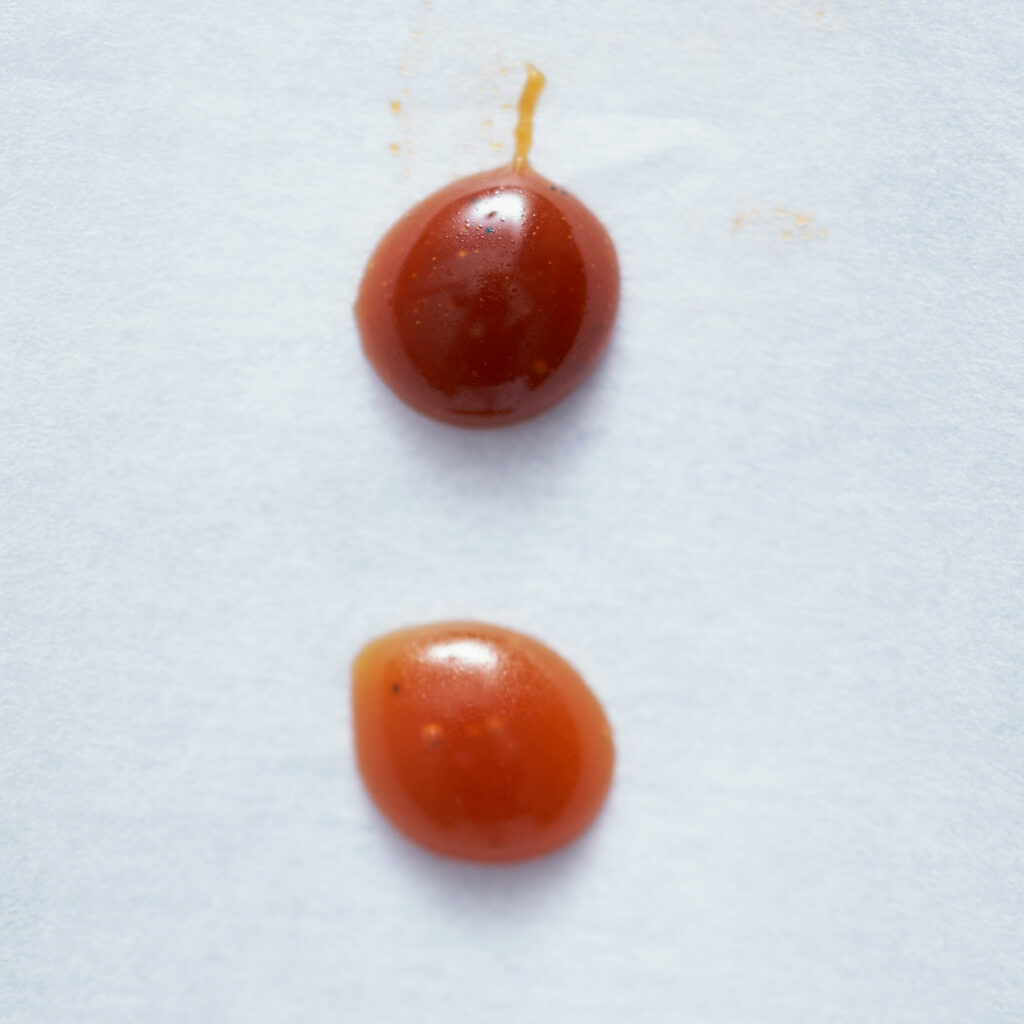
What you do next is up to you. How dark you take the caramel is your choice. We like to push it as far as we can without burning it. Once we see little bubbles release smoke we let it go a moment longer and then take it off. This produces a less sweet, more bitter caramel with a much more complex interesting flavor. If you would like more of a traditional caramel take it off the heat once it reaches a dark reddish amber color (similar to a rusted copper penny). You can even take it off before that if you want a lighter sweeter caramel. In the picture below the darker caramel is one taken to a further cooking stage and has more of a bitter taste the one below it is a more traditional caramel.
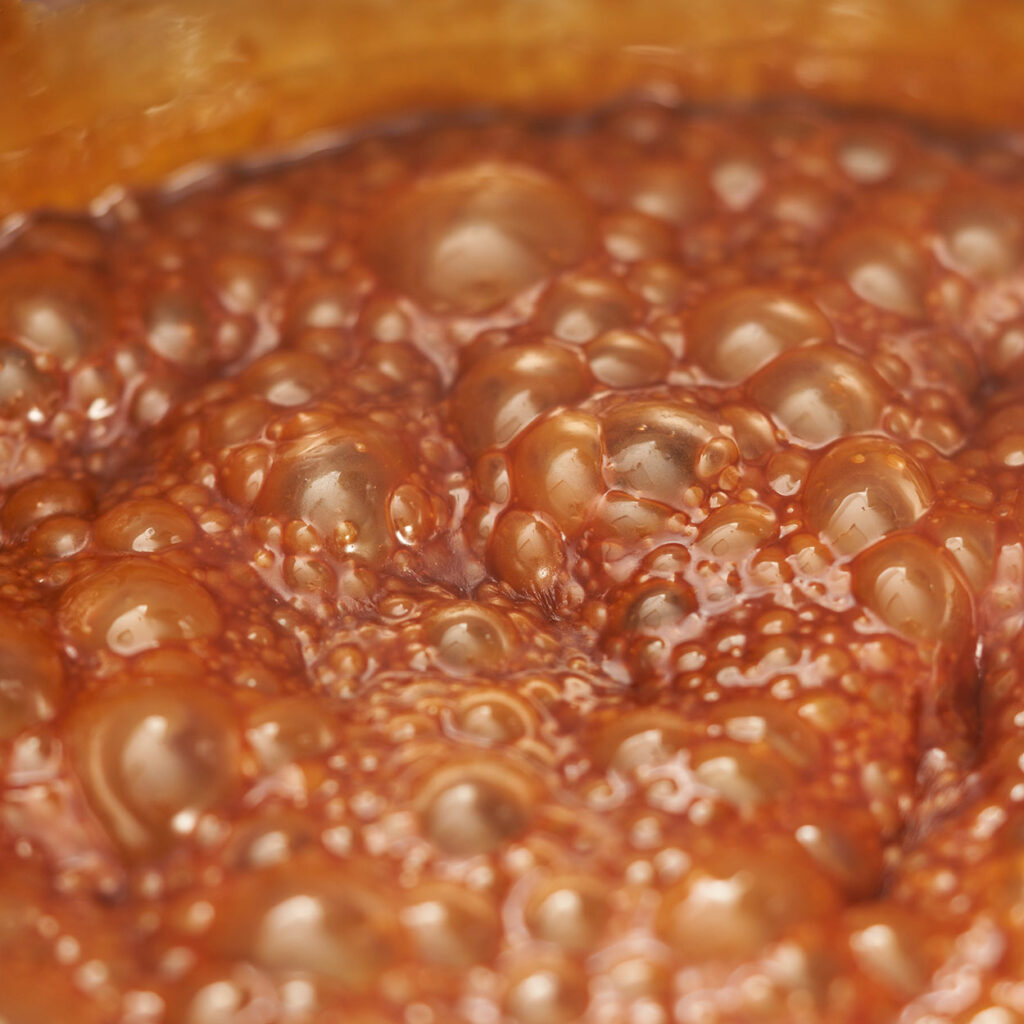
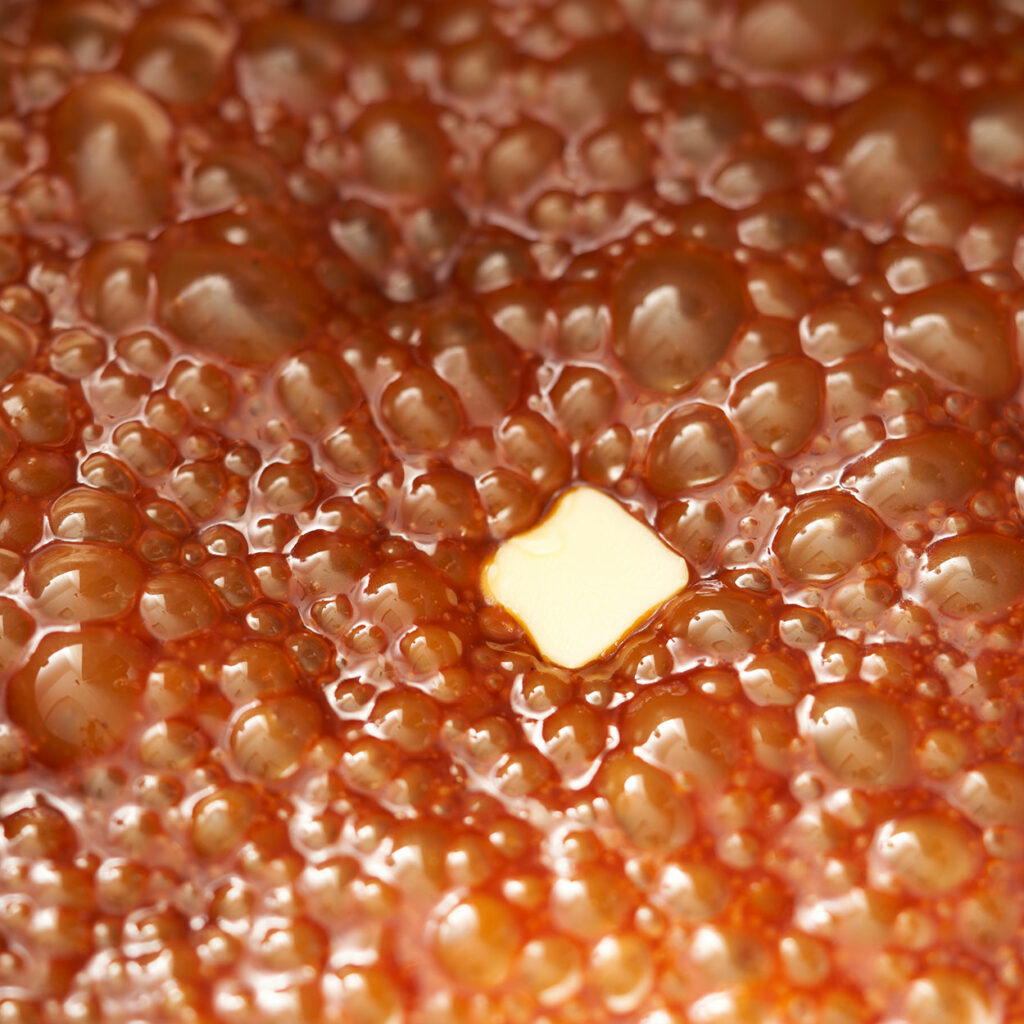
Once you like the color of your caramel remove from the heat, and put on some oven mitts because this is going to be hot. Slowly start pouring your vanilla cream in a steady stream, whisking your caramel at the same time. It will bubble up aggressively, be careful. When you are done start adding in your chunks of cubed butter. Whisk after each addition until fully incorporated. We use 1/2 tsp of sea salt, but the best way to know the amount you like is to add 1/4tsp and taste if you like more add another 1/4tsp and taste. The caramel will look thin, don’t worry it will thicken as it cools.

Storage
For storing your salted caramel place it in a heatproof jar with an airtight lid. Let it completely cool uncovered and then into your fridge it goes. This will keep for a month. When you are ready to use, reheat the amount you need in a microwave or on a stovetop to your desired consistency.
If you make this Salted Caramel with Vanilla let us know! Leave a comment, rate it, and don’t forget to tag a photo #thetablediaries on Instagram. We love seeing all the recipes you and your family enjoy.

Salted Caramel with Vanilla
Ingredients
- 200 grams sugar 1 cup
- 1 vanilla pod (optional but highly recommended)
- ½ cup cream
- 42.5 grams butter cubed 3 tbsp cubed
- 1/2 tsp flakey sea salt salt to your taste start with 1/4 tsp and work up from there
Instructions
- Prepare all your ingredients before you start, we need everything ready to go.
- Scrape your vanilla pod and place the seeds into the cream. (save the vanilla pod and place it into a jar with some sugar for some vanilla-infused sugar)
- Heat your vanilla cream mixture either in the microwave or on the stovetop. (no boiling just warm)
- Using a large saucepan (one that can hold 2.8 liters will do) place your sugar in one even layer. Heat on medium heat. Do not stir or touch it. It will start to melt unevenly, first around the edges and then larger areas. When you see larger areas of sugar melting start to swirl the pan around encouraging the wetter areas to mix with the dry sugar until all sugar has melted. Make sure you swirl the melted sugar around the edges to catch any stray sugar crystals, you can also use a pastry brush dipped in water to help with this.
- What you do next is up to you. How dark you take the caramel is your choice. We like to push it as far as we can without burning it. Once we see little bubbles release smoke l (looks like reddish like a rusted penny) we let it go a moment longer and then take it off. This produces a less sweet, more bitter caramel with a much more complex interesting flavor. If you would like more of a traditional caramel take it off the heat once it reaches an amber color. You can even take it off before that if you want a lighter sweeter caramel.
- When you are ready to stop the cooking process remove from the heat and wear your kitchen mitts. Gently stream in your warmed cream whisking at the same time. Be very careful the mixture will bubble up aggressively.
- Whisk in your butter a cube at a time make sure the butter is fully incorporated before adding the next cube.
- Add your sea salt.
- Let mixture cool down in a heatproof glass container, cover with an airtight lid and place in the fridge for up to a month. When ready to use reheat amount in a microwave or on stovetop to your desired consistency.